Just about every cupcake shop these days feature a Red Velvet Cupcake flavour!! A lot of people have asked me ‘what exactly IS the red velvet flavour?’
Traditionally , a red velvet cake is a buttermilk cake – I say traditionally because I’m not traditional and didn’t use a buttermilk base for my cupcakes! Buttermilk is a slightly acidic milk, which was the result of using the left over liquid from churning butter from a fermented or cultured cream ….but i digress…what was the question again?
Oh right…so what IS red velvet?
To put it simply, it’s a slightly cocoa flavoured buttermilk cake base with red colouring. There are a few theories floating around out there on how the cake got it’s vibrant red colour. Some state that the use of betroot juice in the batter caused this whilst another theory is the reaction between the natural cocoa power and an acidic ingredient such as buttermilk – oh right…that’s why I mentioned buttermilk earlier!
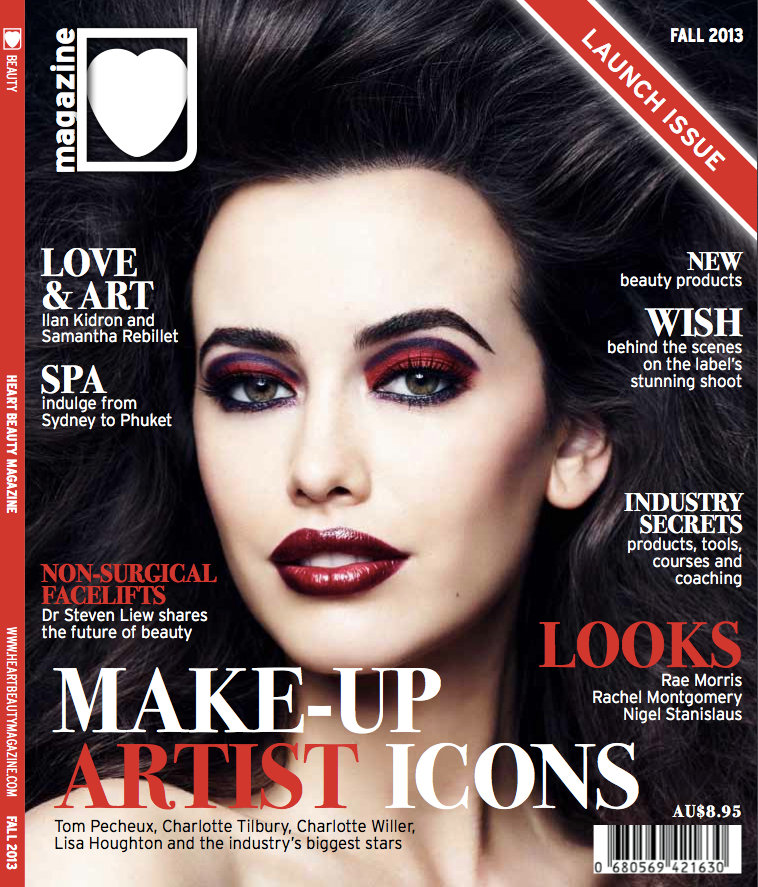
So last month I was asked to make 250 red velvet cupcakes for the launch of Australia’s newest beauty magazine – Heart Beauty Magazine.

Heart Beauty Magazine, the first issue!
After much research into many existing recipes I stumbled accross a product that had rave reviews –
LorAnn Oils’ Red Velvet Emulsion. It’s a water based, gluten free and sugar free concentrated emulsion used in any cake batter recipe to turn it into a vibrant red velvet cake! I must say, the results were AMAZING!! You can buy the emulsion through Australian distributor
Cakes Around Town.
My first task was to simply make my traditional vanilla cupcake recipe…hmm…I say simple but it took quite a while to perfect it!
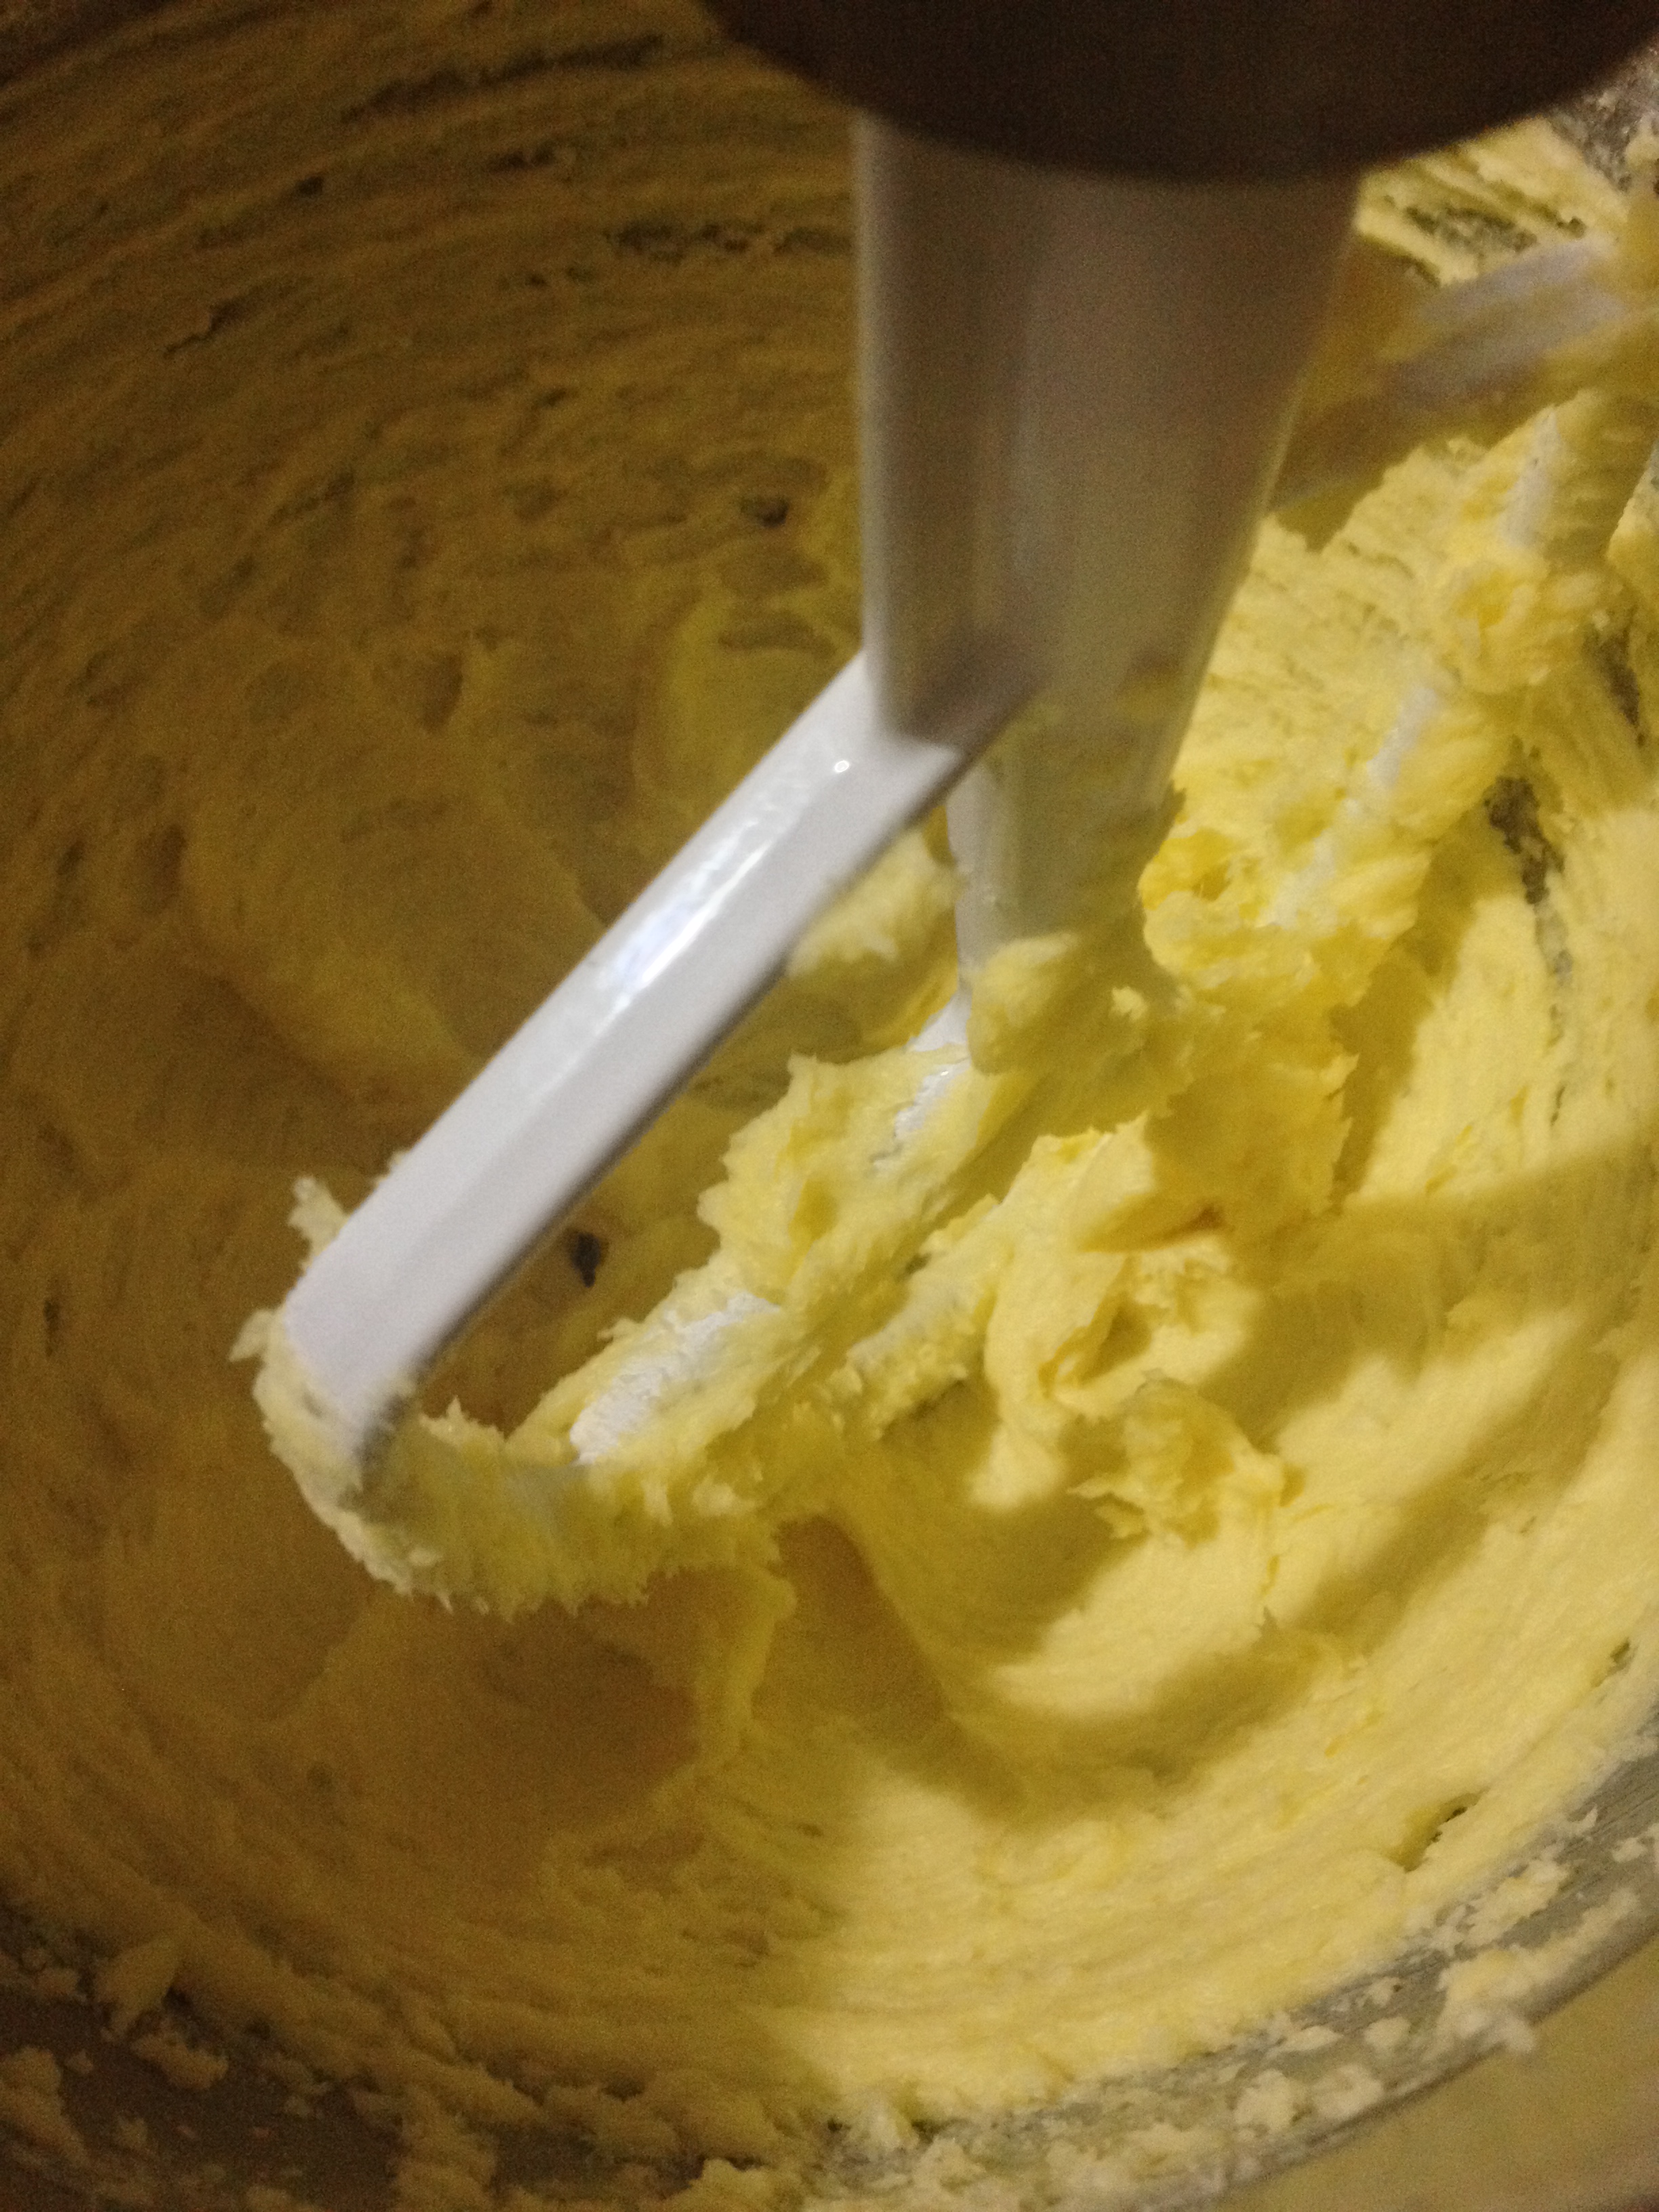
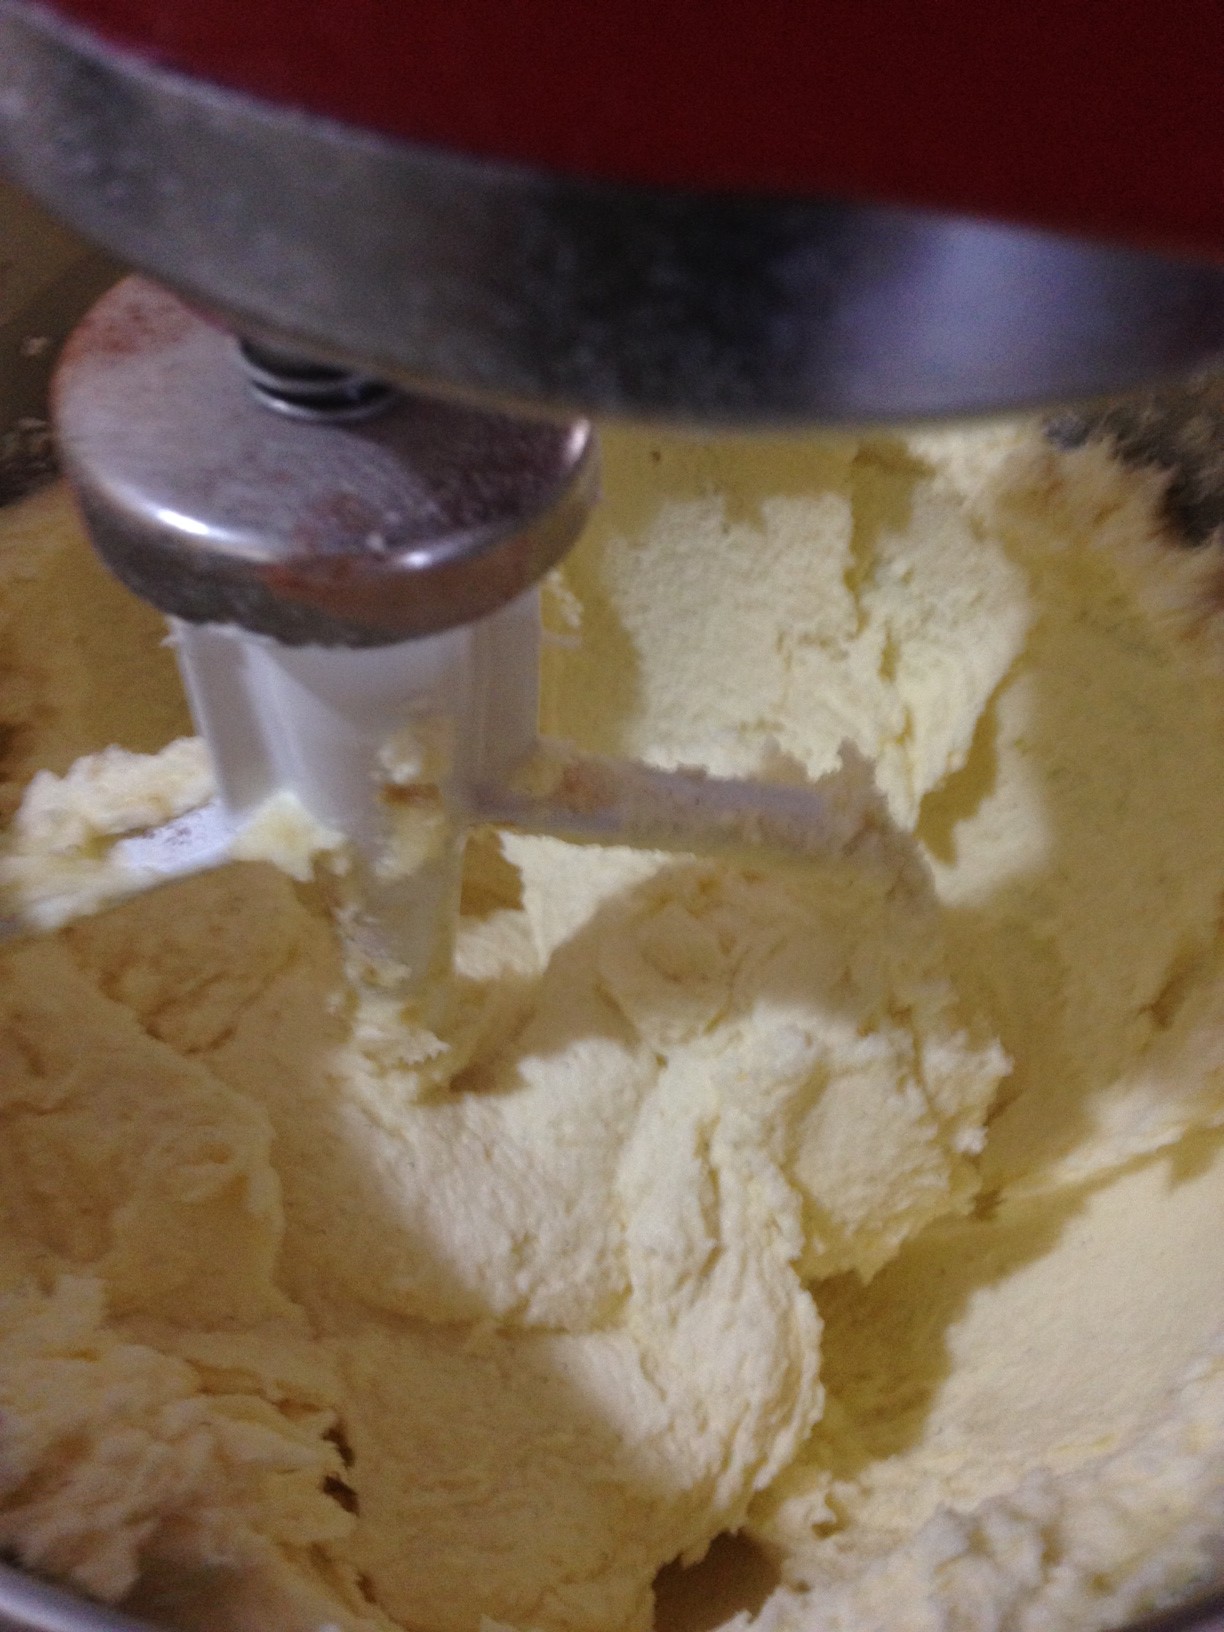
The first step is to cream your butter and sugar together – normally I would also add my vanilla extract at this stage, but seeing as I was using an emulsion, I left this step out.
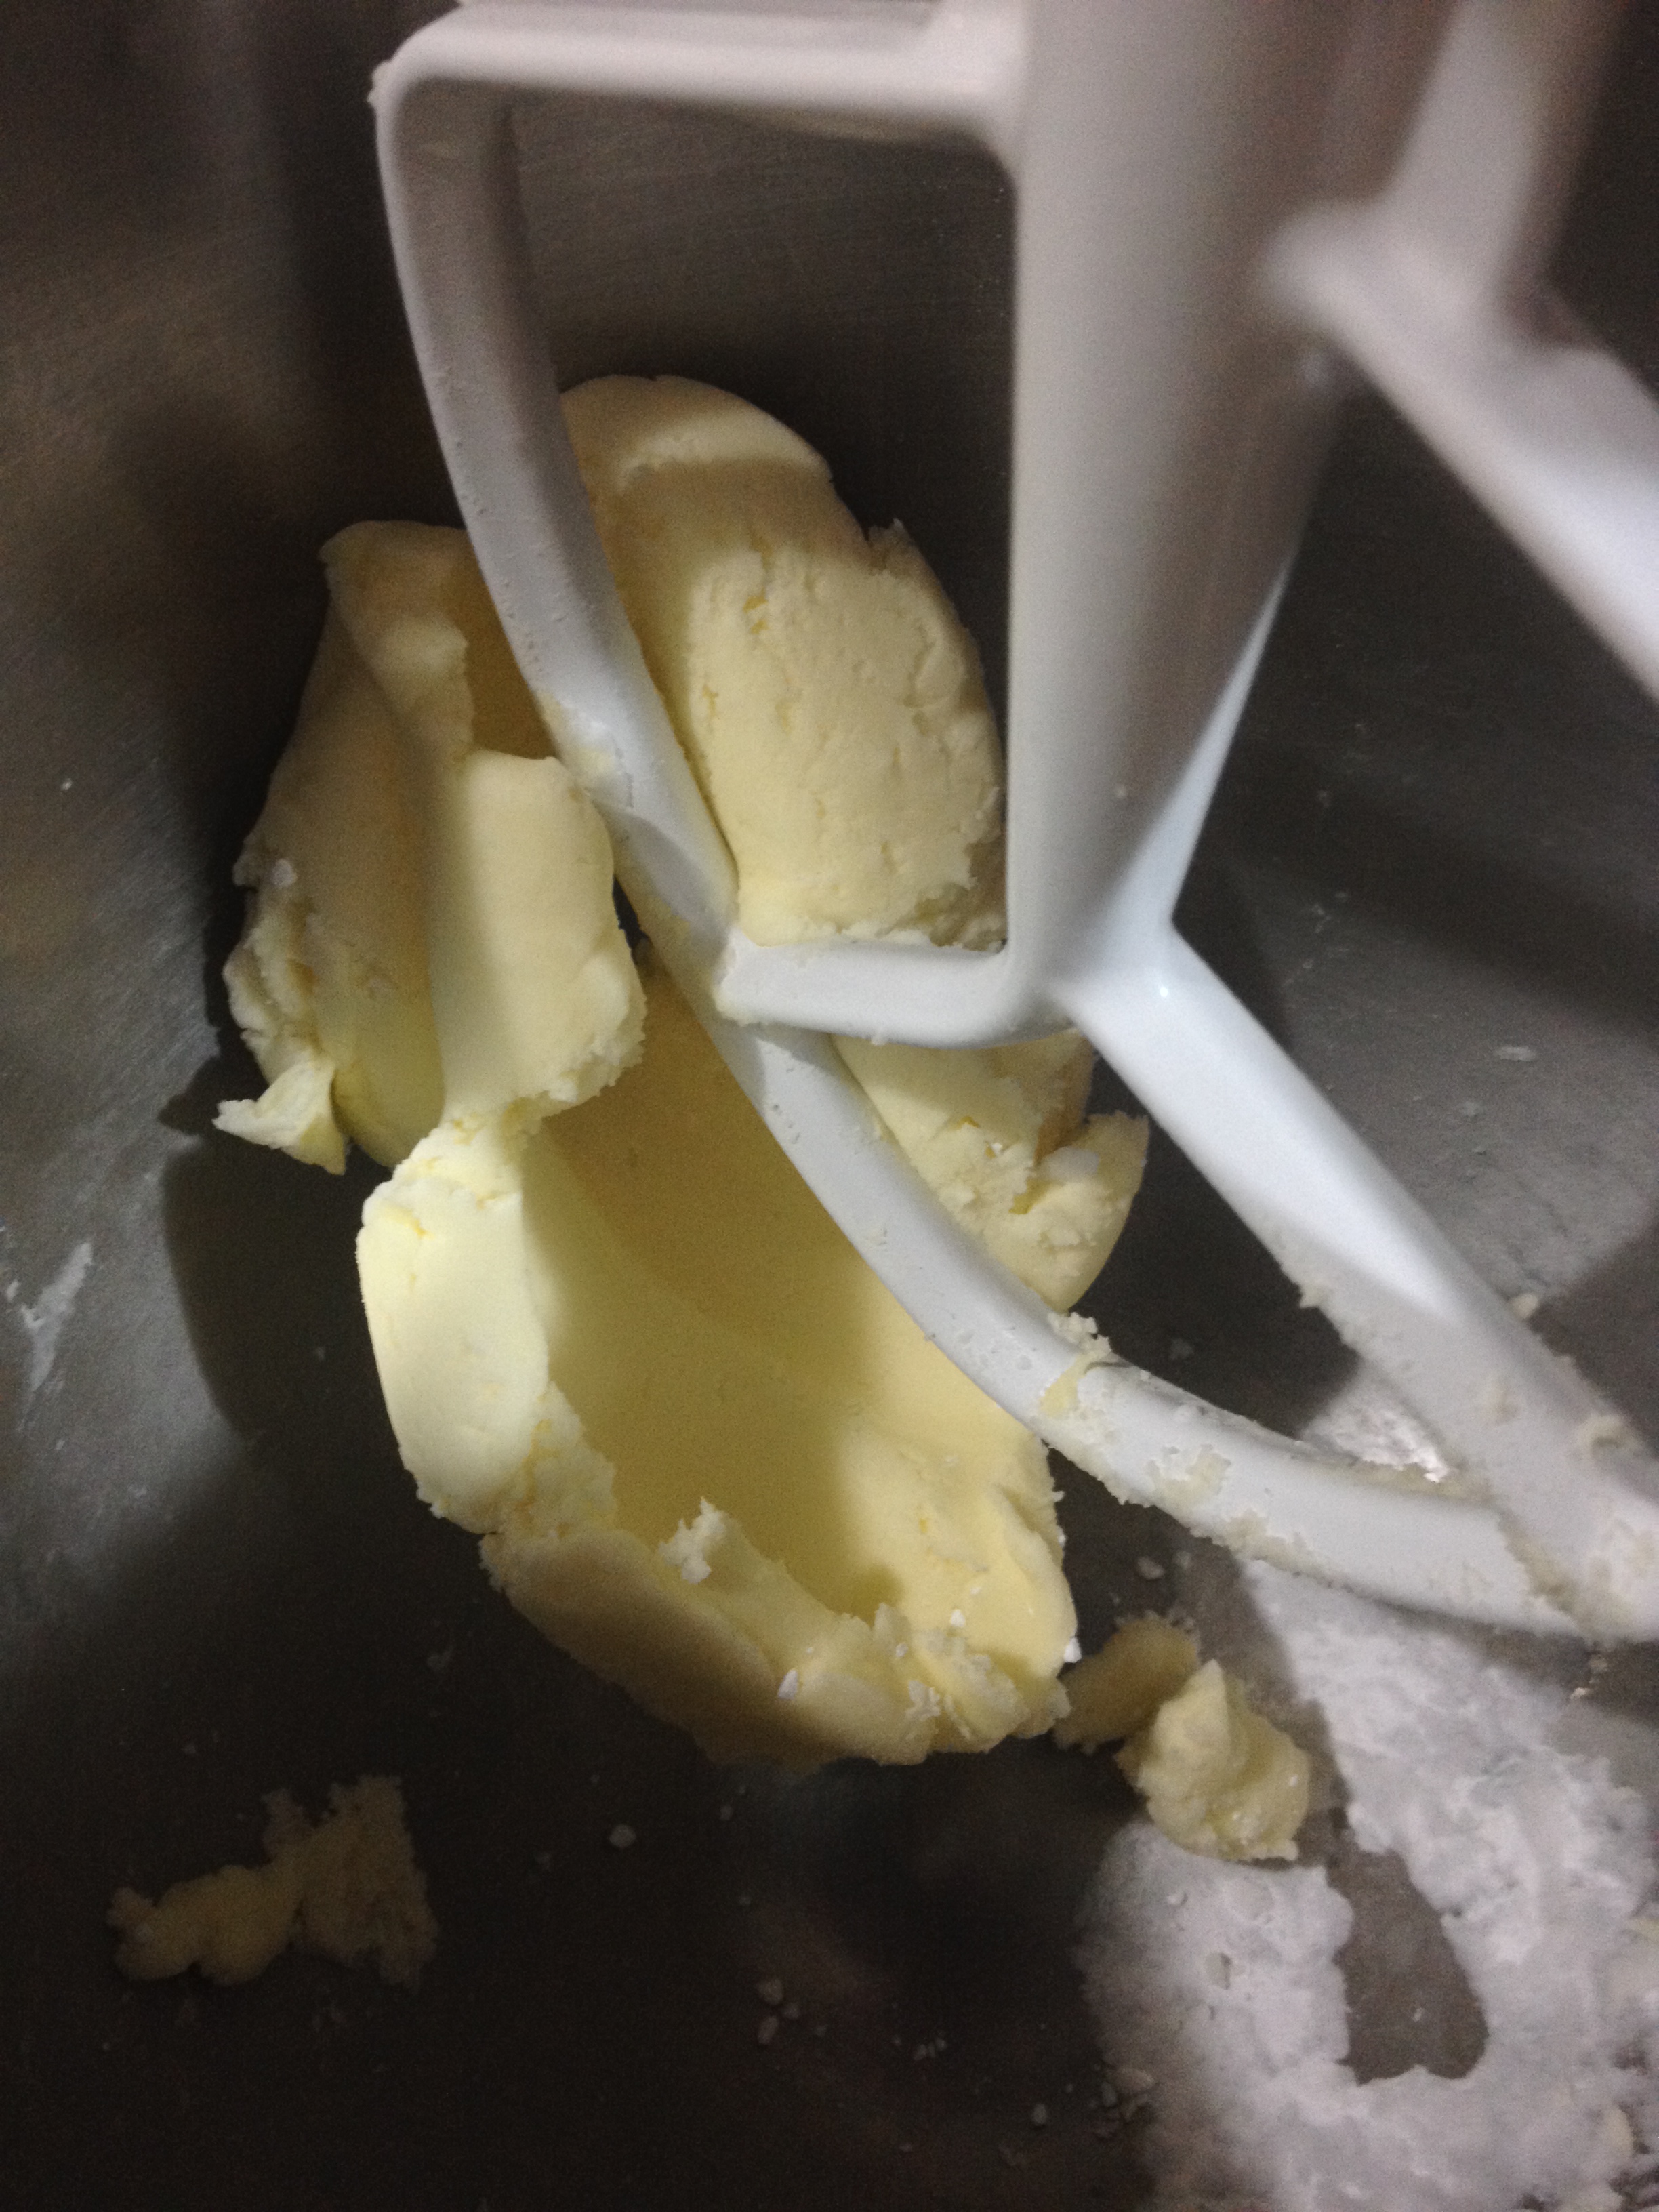
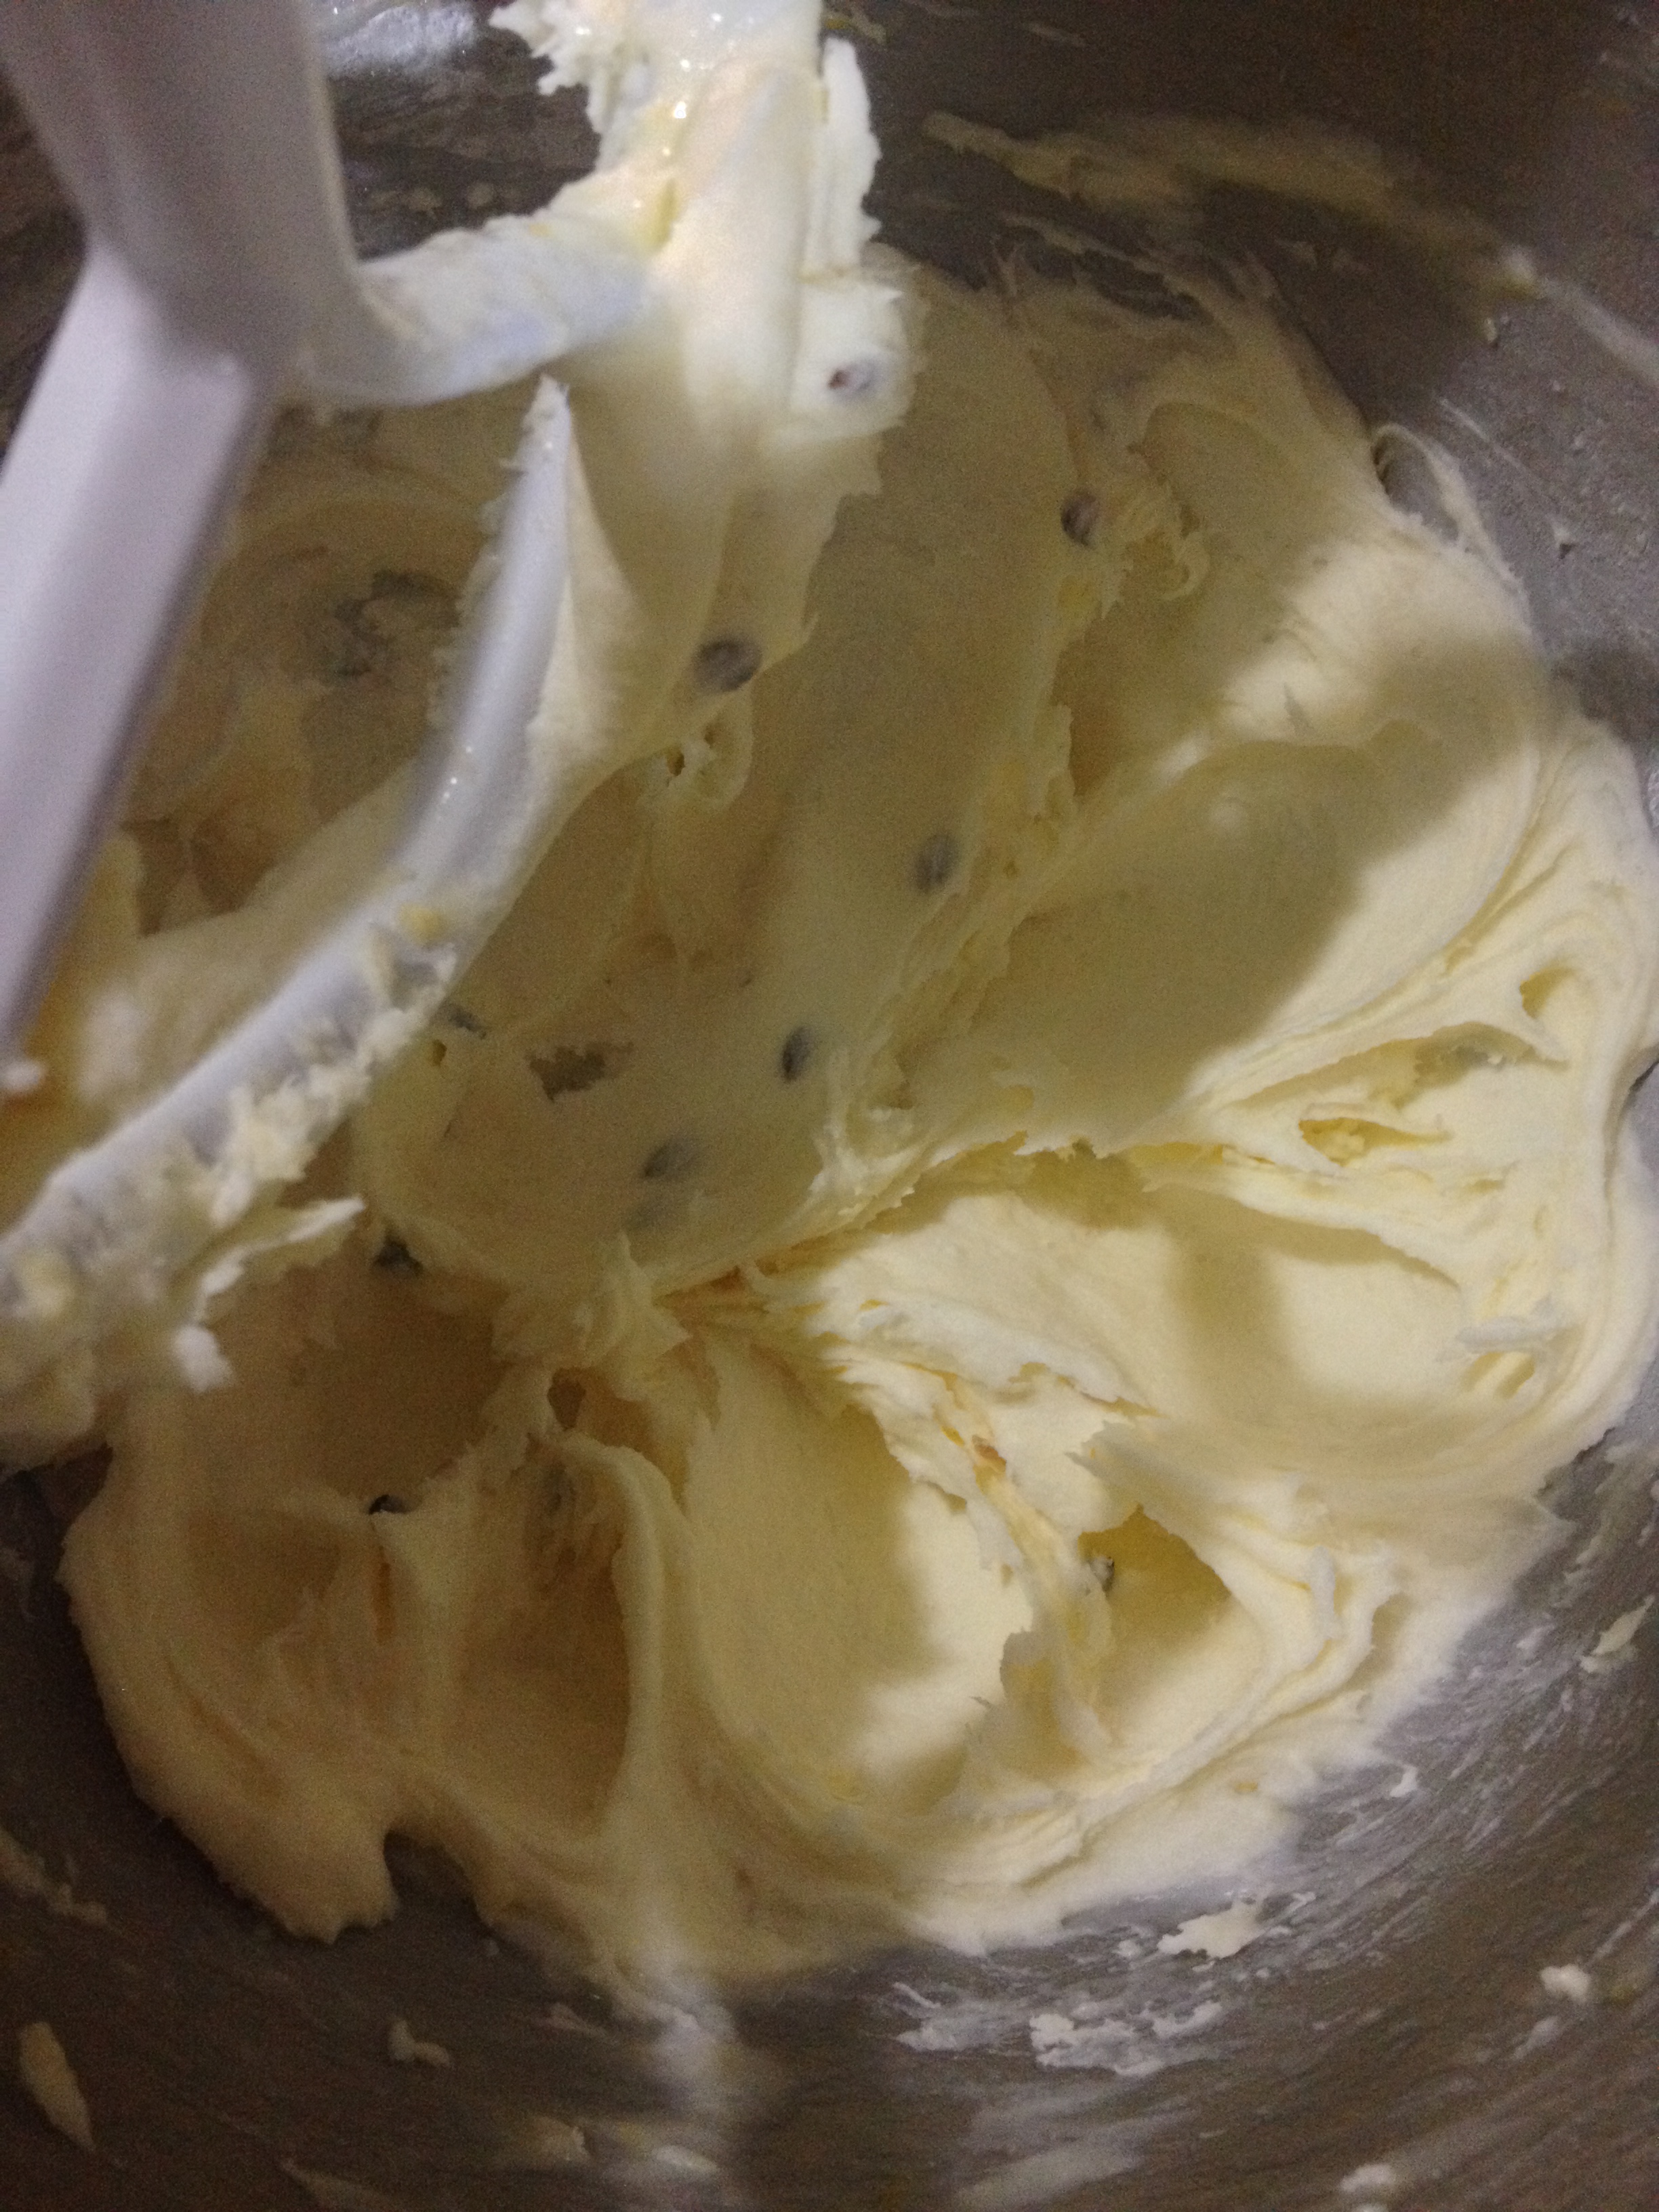
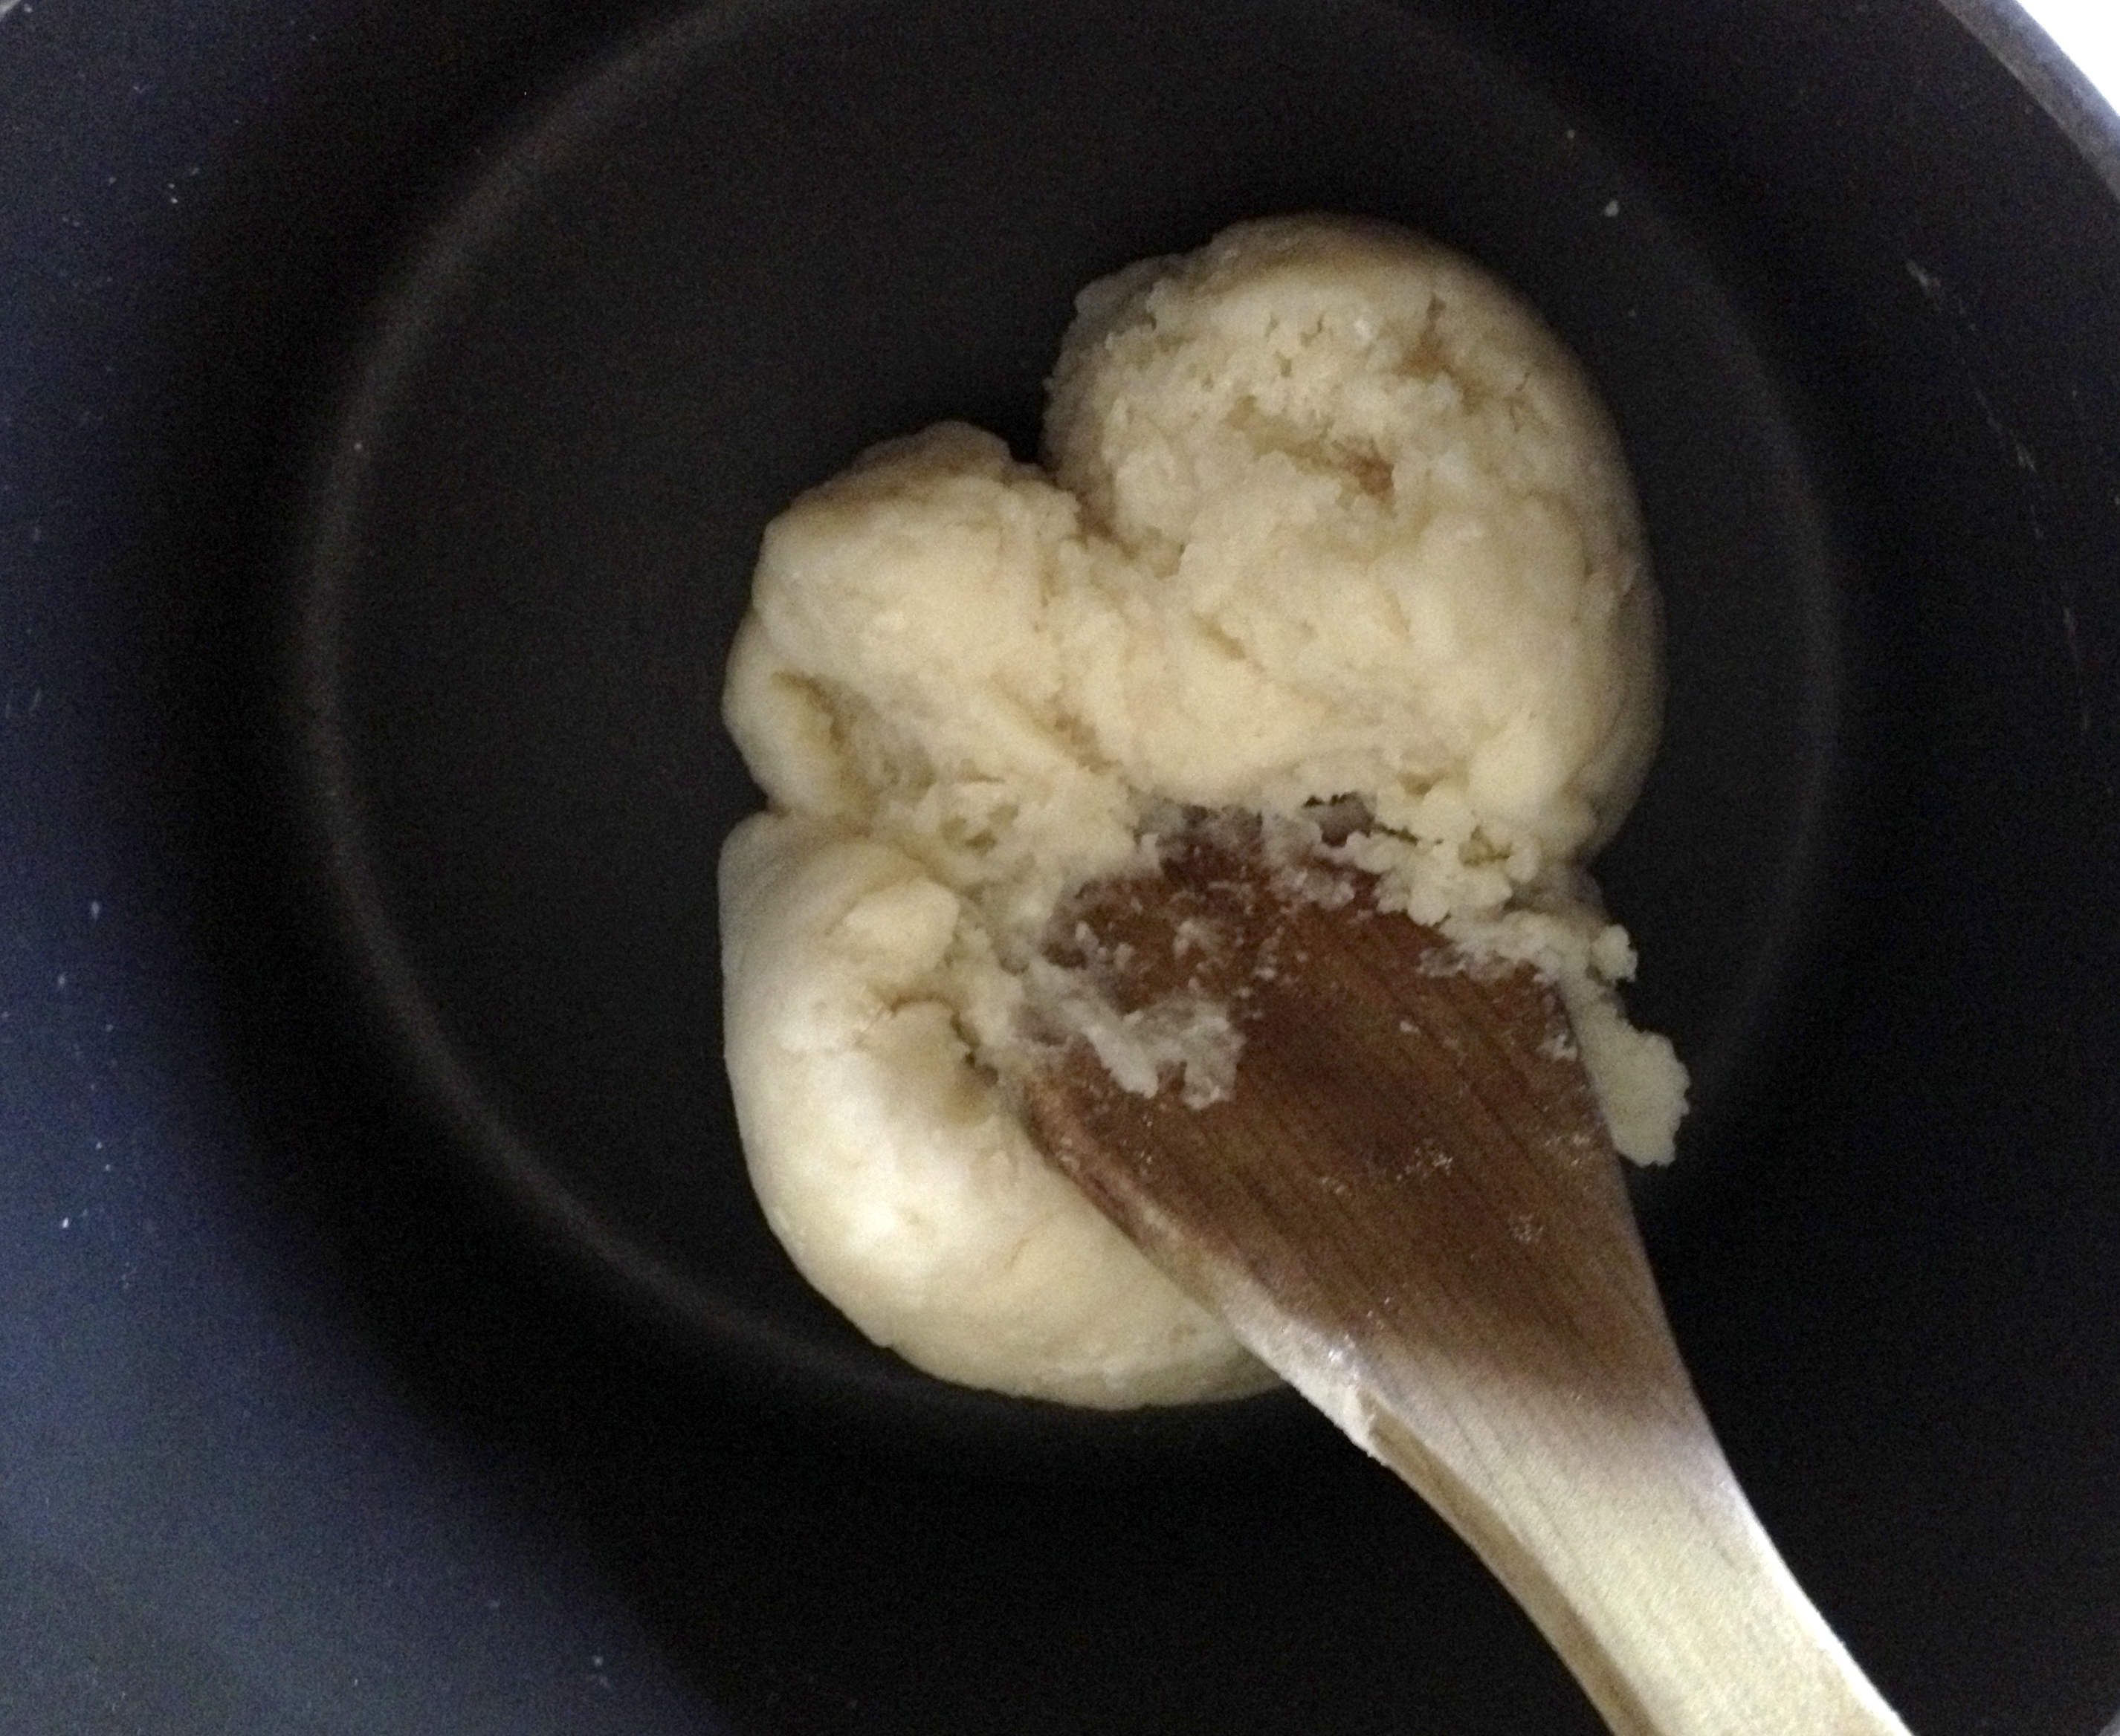
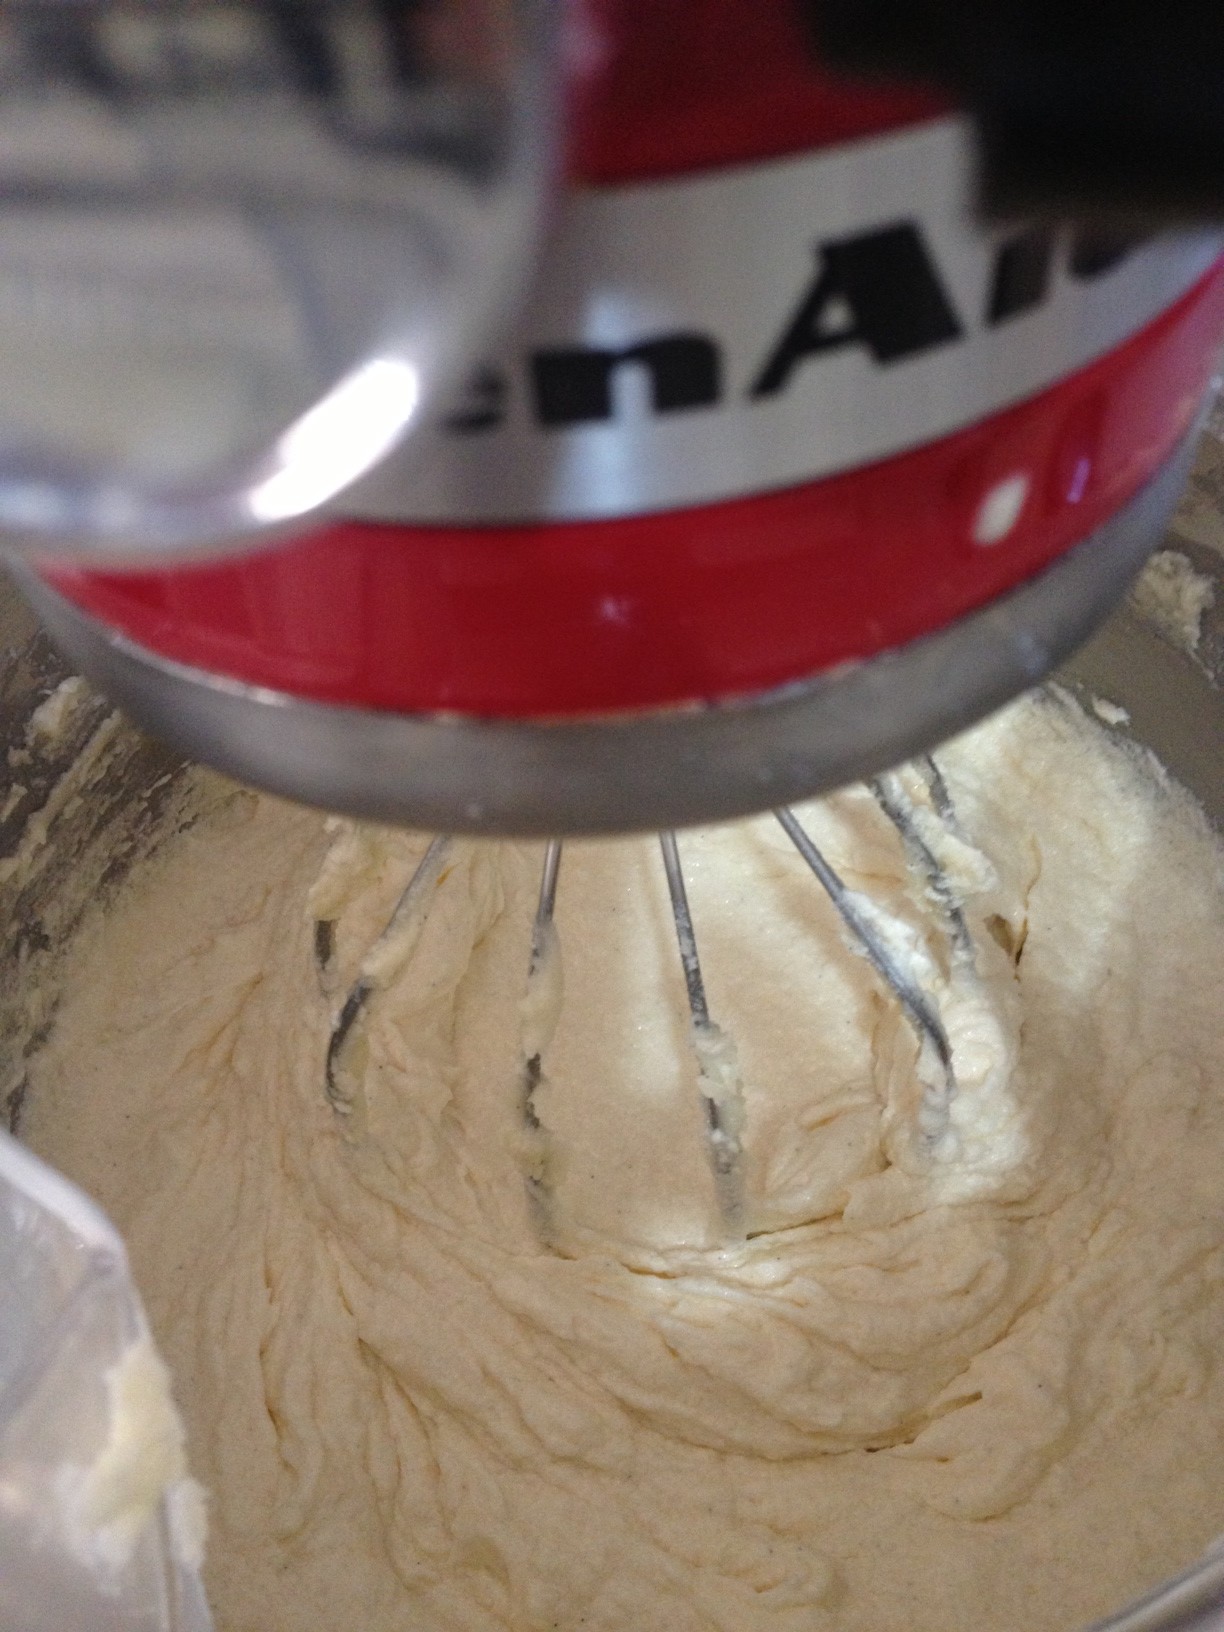
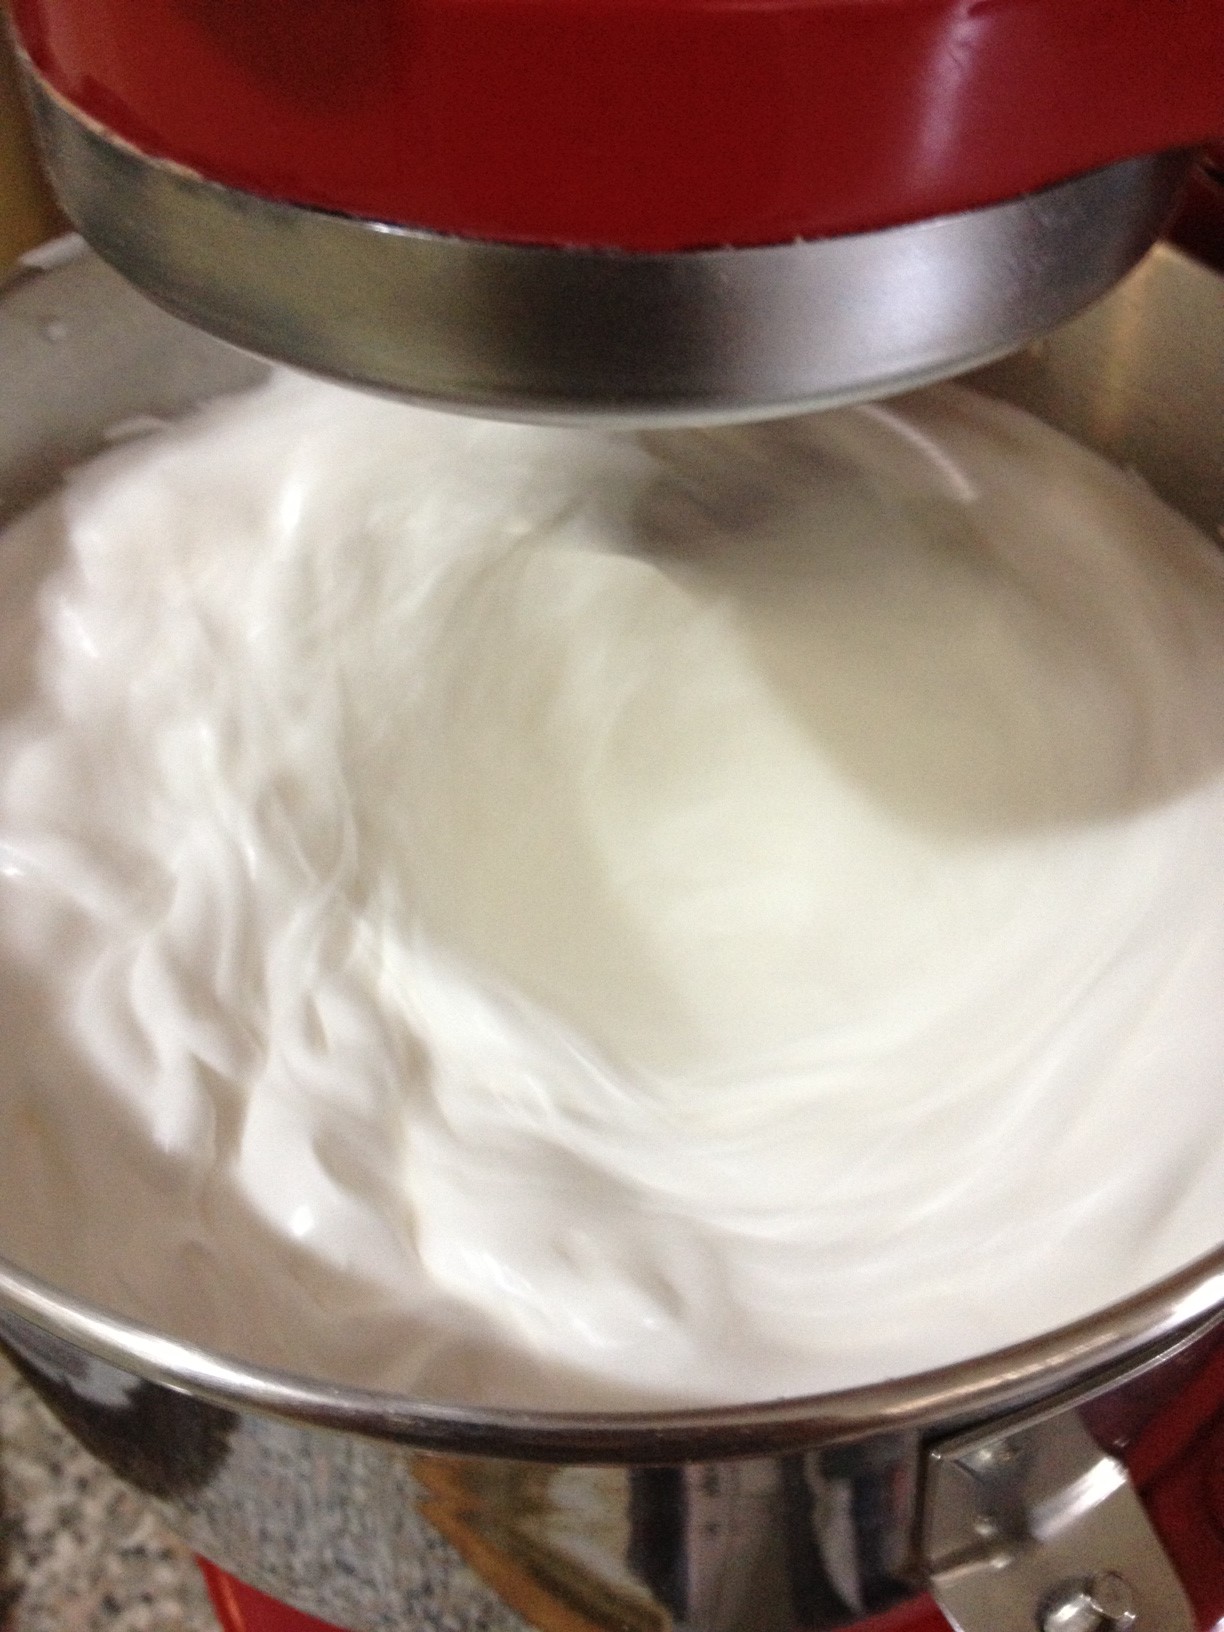
Baking Tip: When creaming your butter and sugar together, pay attention to the texture of your butter! You want your butter to be light and fluffy and become pale in colour. If it isn’t…keep your mixer on high and leave it on until your butter and sugar look like the picture below. This creaming method will give your cake a finer crumb resulting in a lighter and fluffier cake.

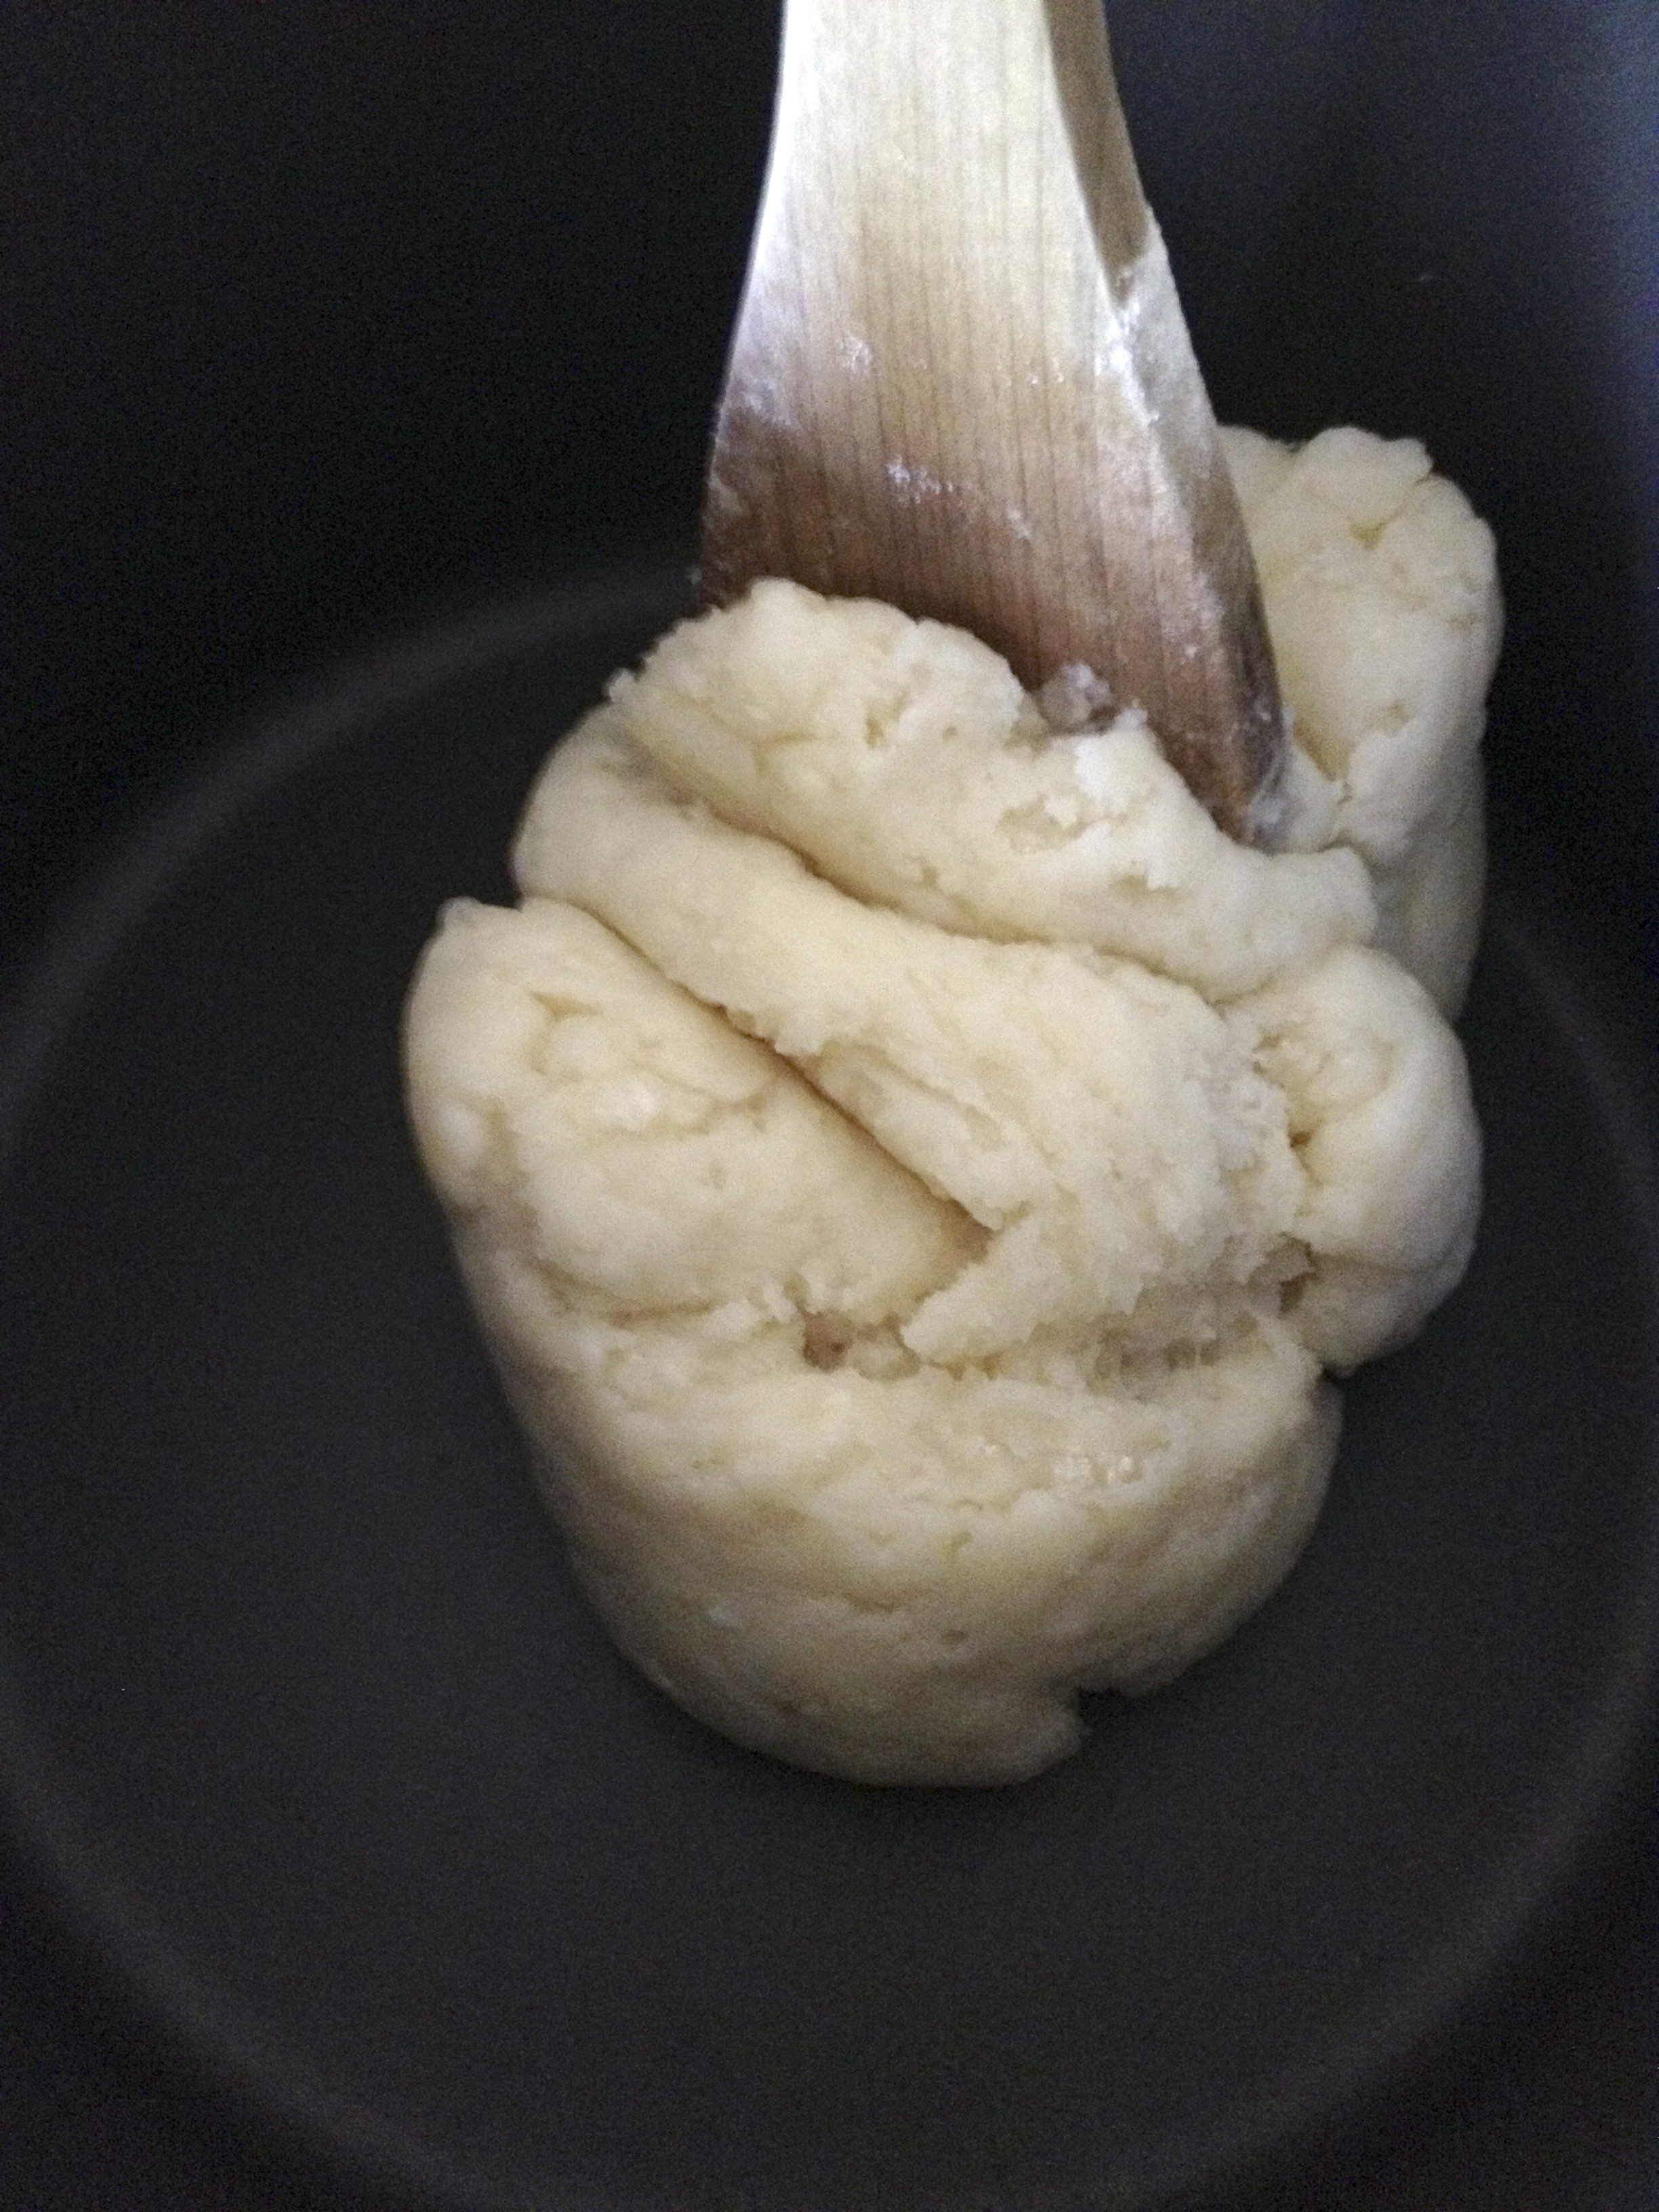
Make sure your butter fluffs up and becomes pale in colour
It’s always best to have all your ingredients at room temperature too – eggs, butter and milk. This will ensure all your ingredients will bond and fold together perfectly.
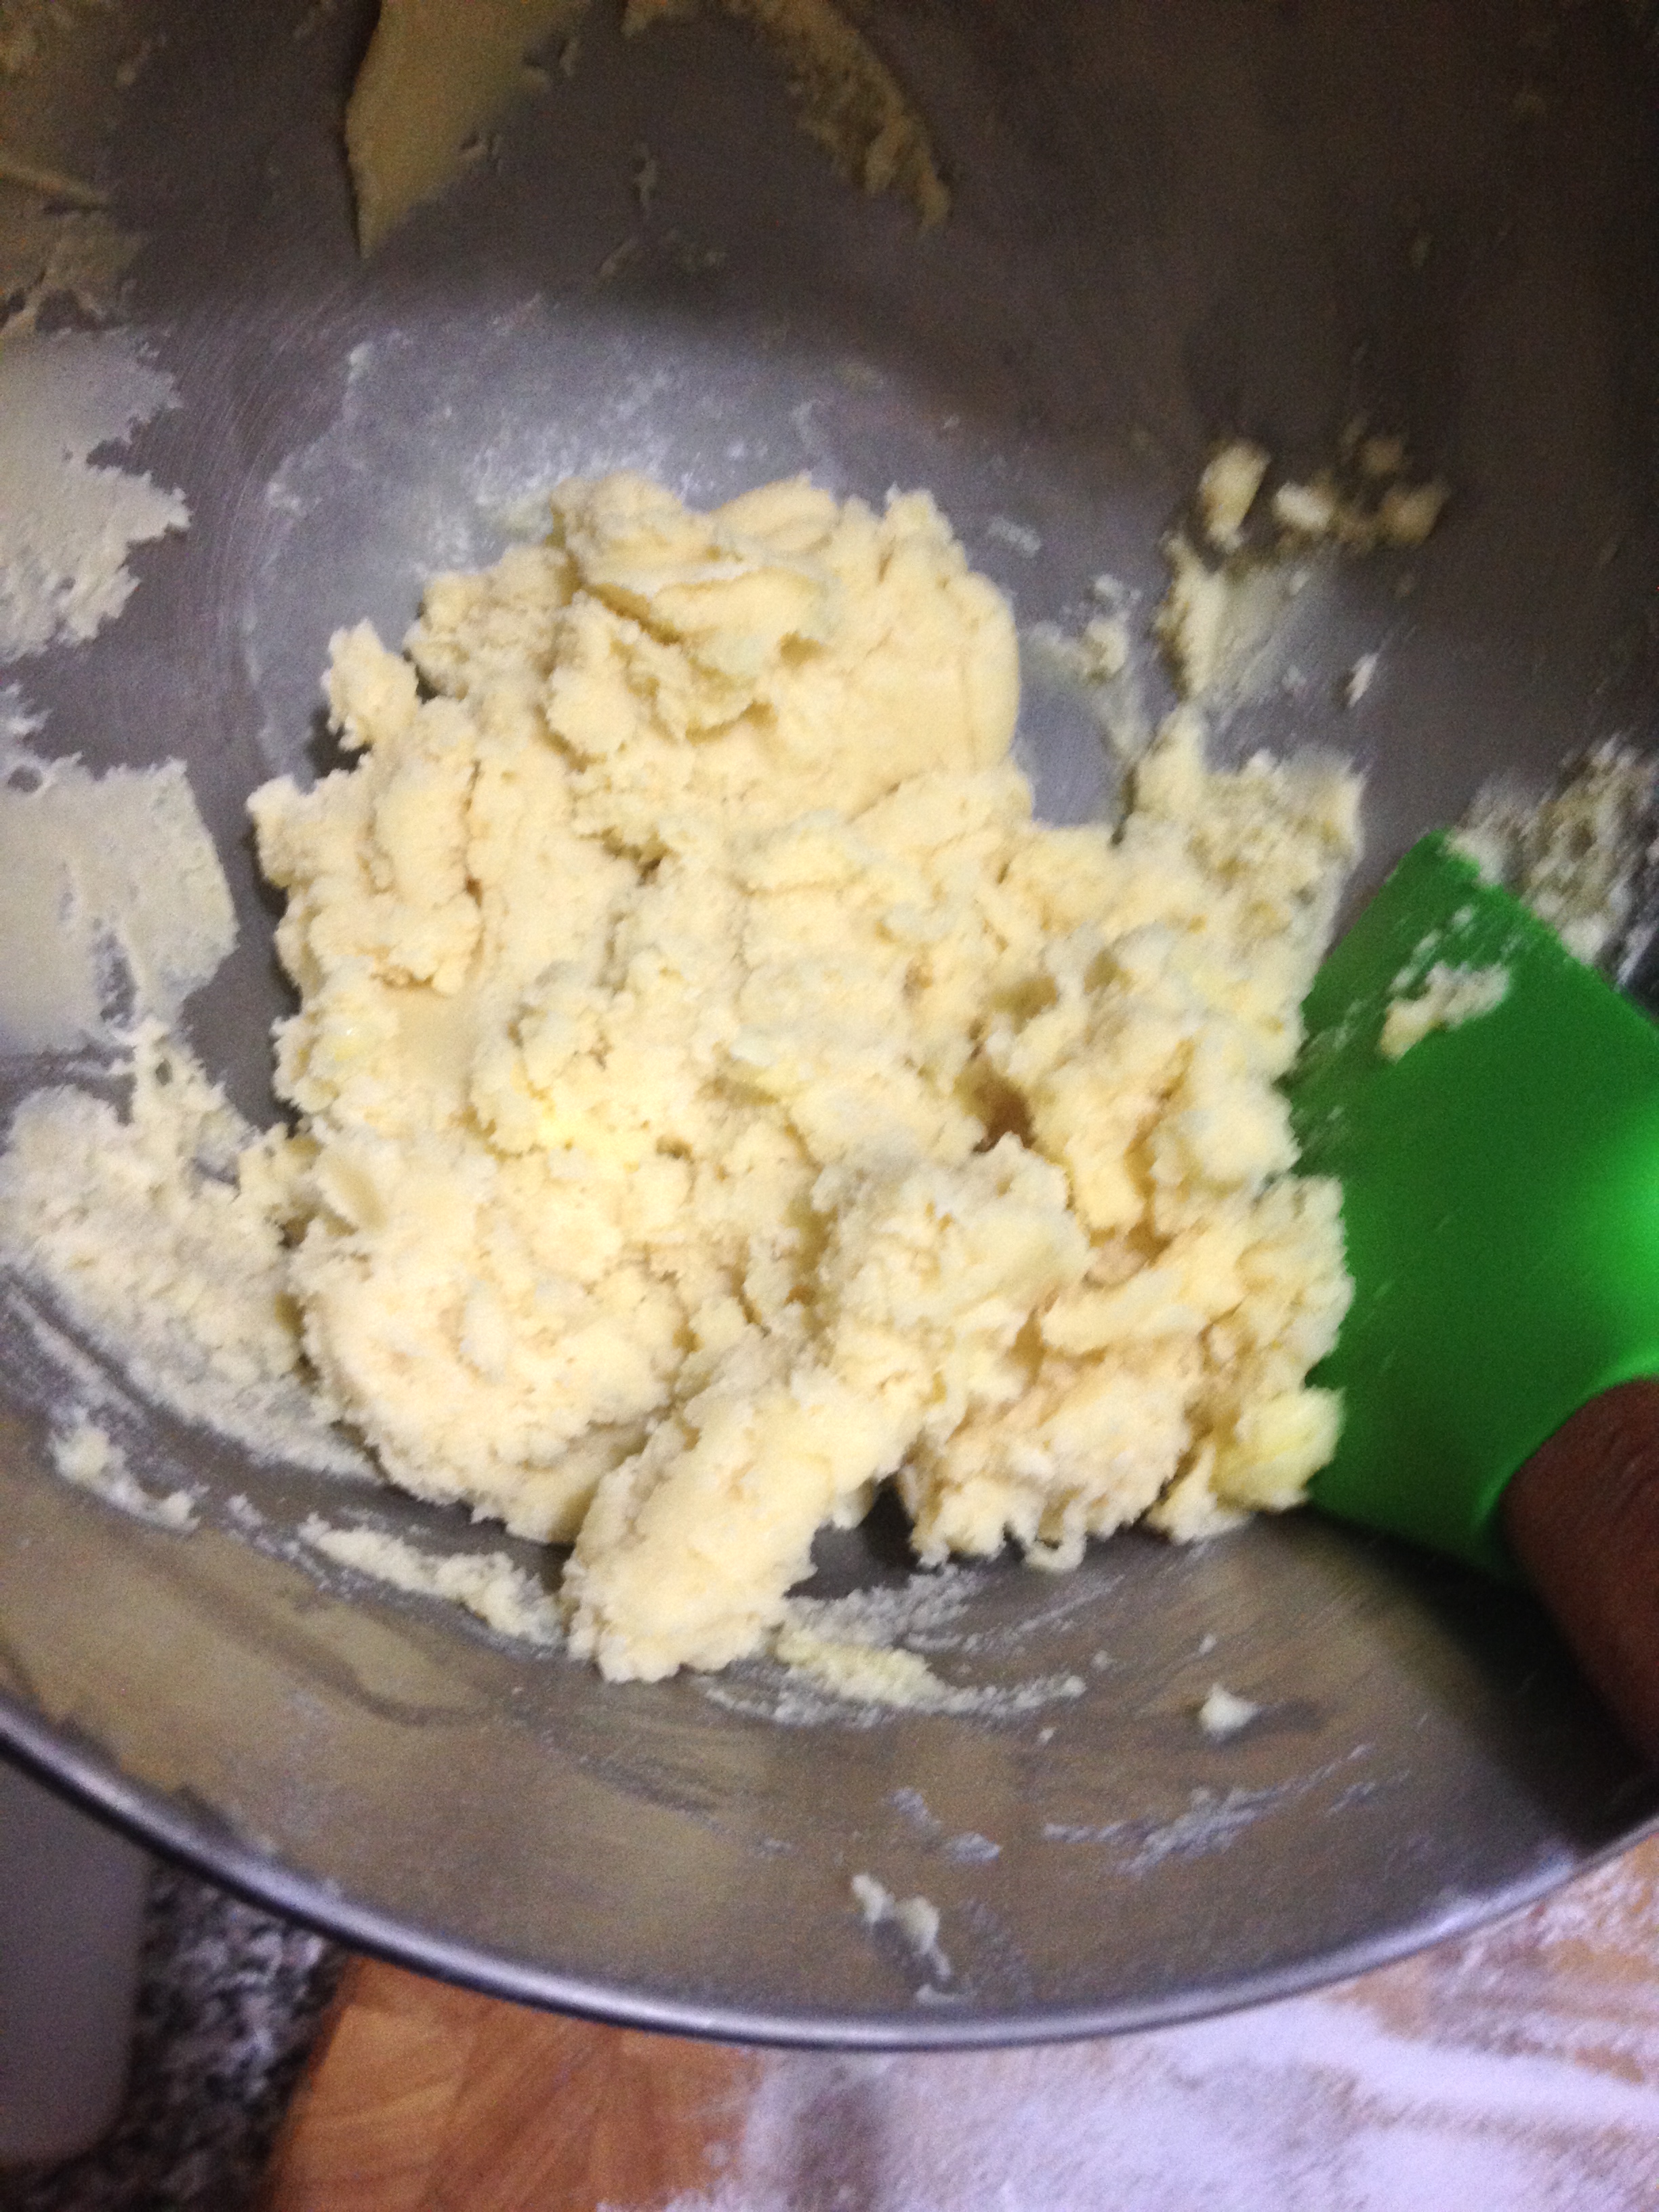
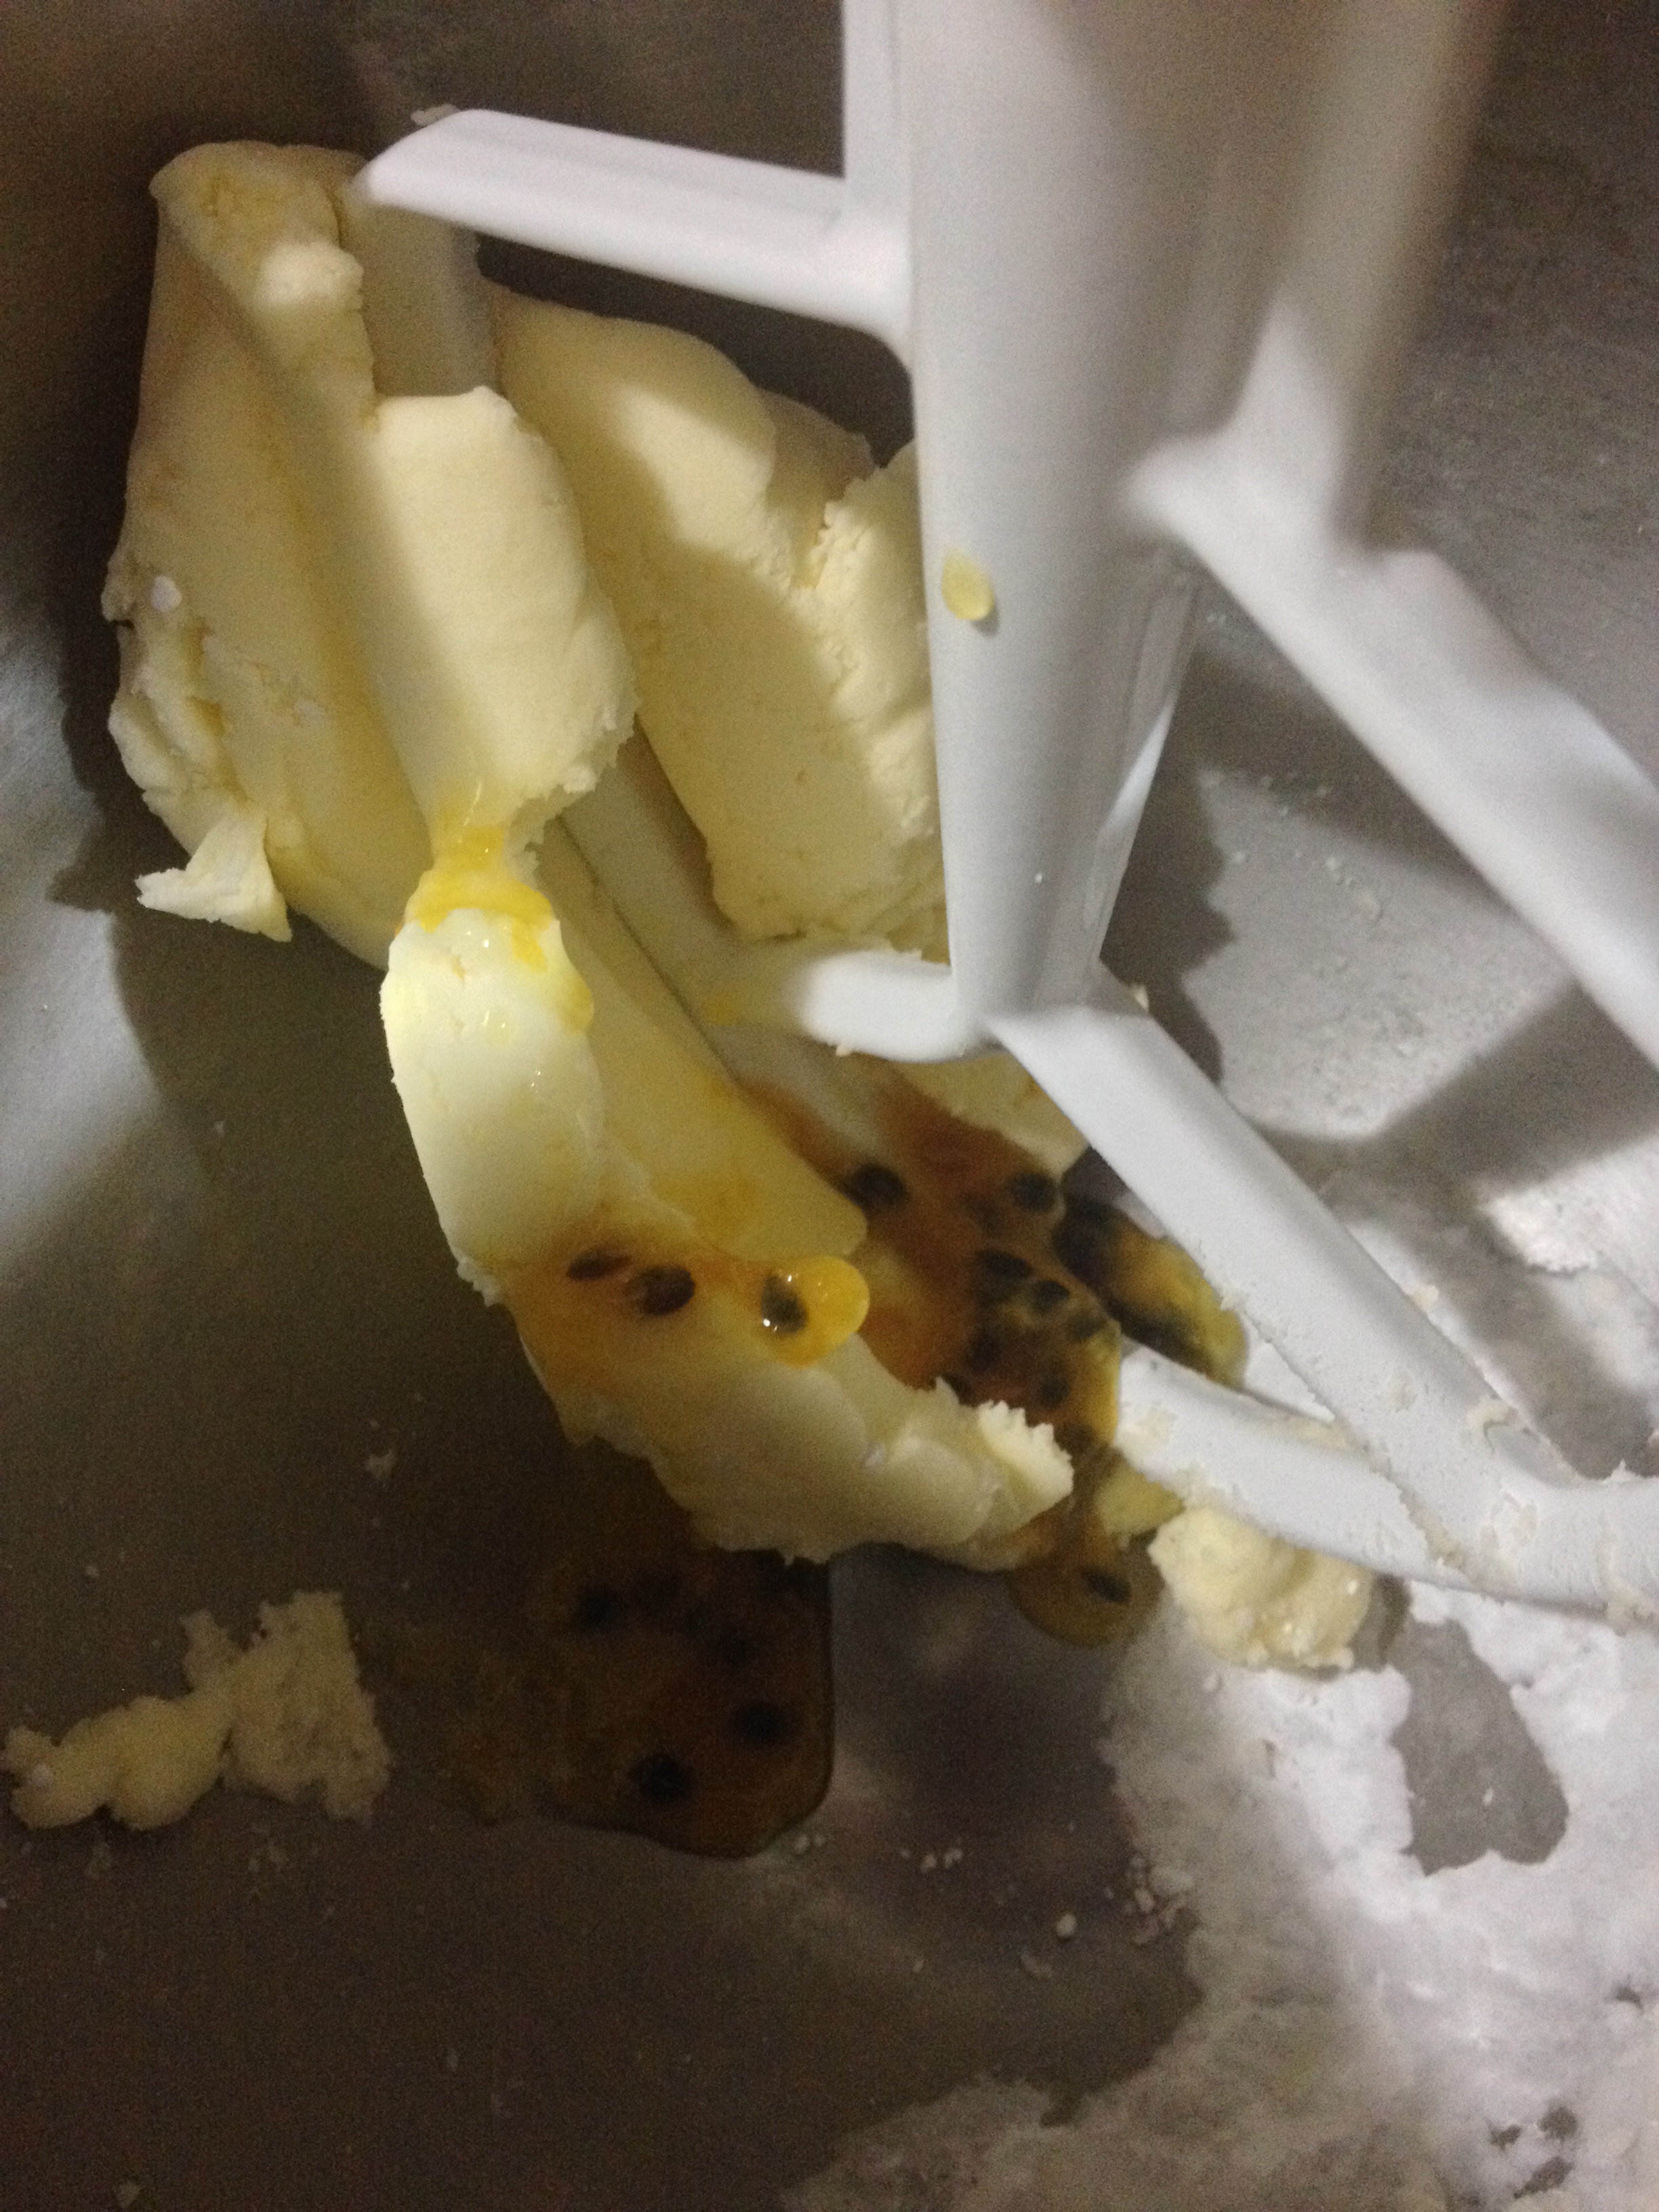
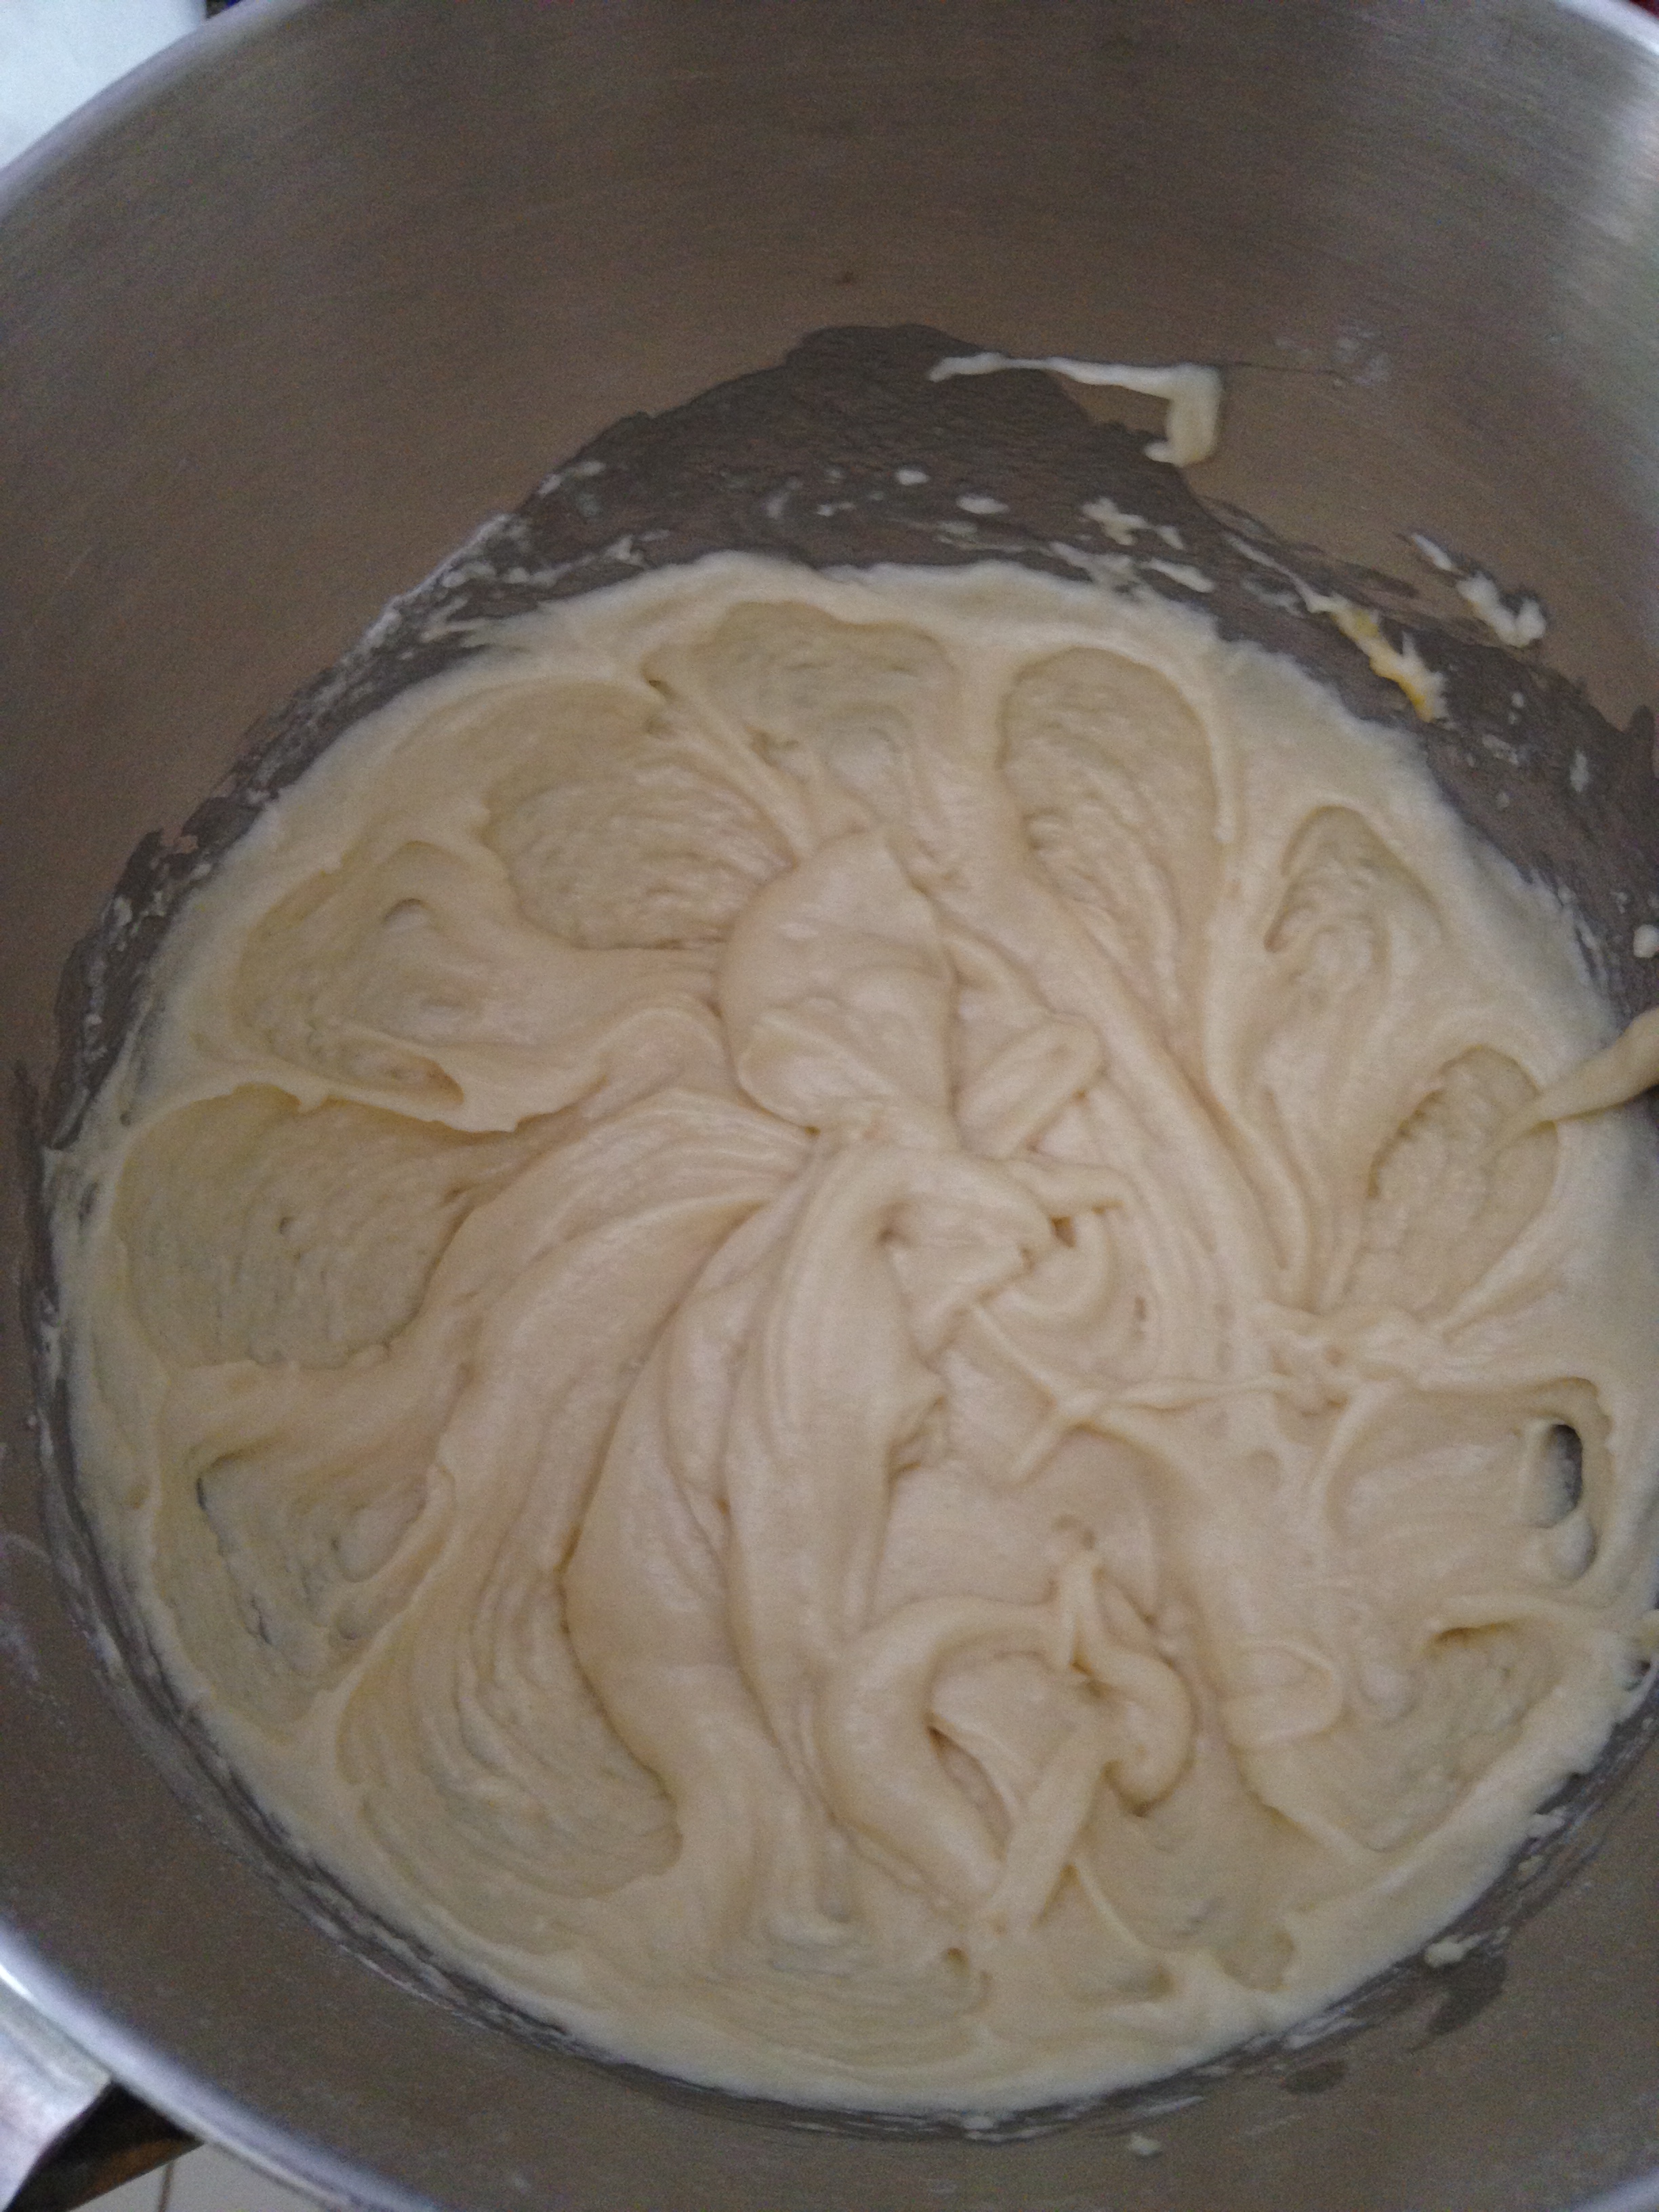
Once your butter and sugar have creamed together and is fluffy and pale, add the eggs one at a time ensuring the last egg is completely beaten into the mixture before adding the next one.

Your batter should look something like this once the eggs are added.
The next step is to add the last of your wet and dry ingredients by alternating them.
Baking Tip: When alternating your wet and dry ingredients, usually flour and milk, always start and end with the dry ingredient! Because of the high ratio of fat in most cake recipes, adding flour first gives the proteins a coating – making it harder for the proteins to form strong bonds with other proteins, you are effectively ‘shortening’ gluten strands which results in a more tender cake that feels less buttery and dense. So when you add your milk (protein), the flour is protecting the exisitng protein (butter) from bonding too heavily with the milk – who knew there was so much science involved in baking!!

Always alternate when adding your dry and wet ingredients, starting and ending with dry!
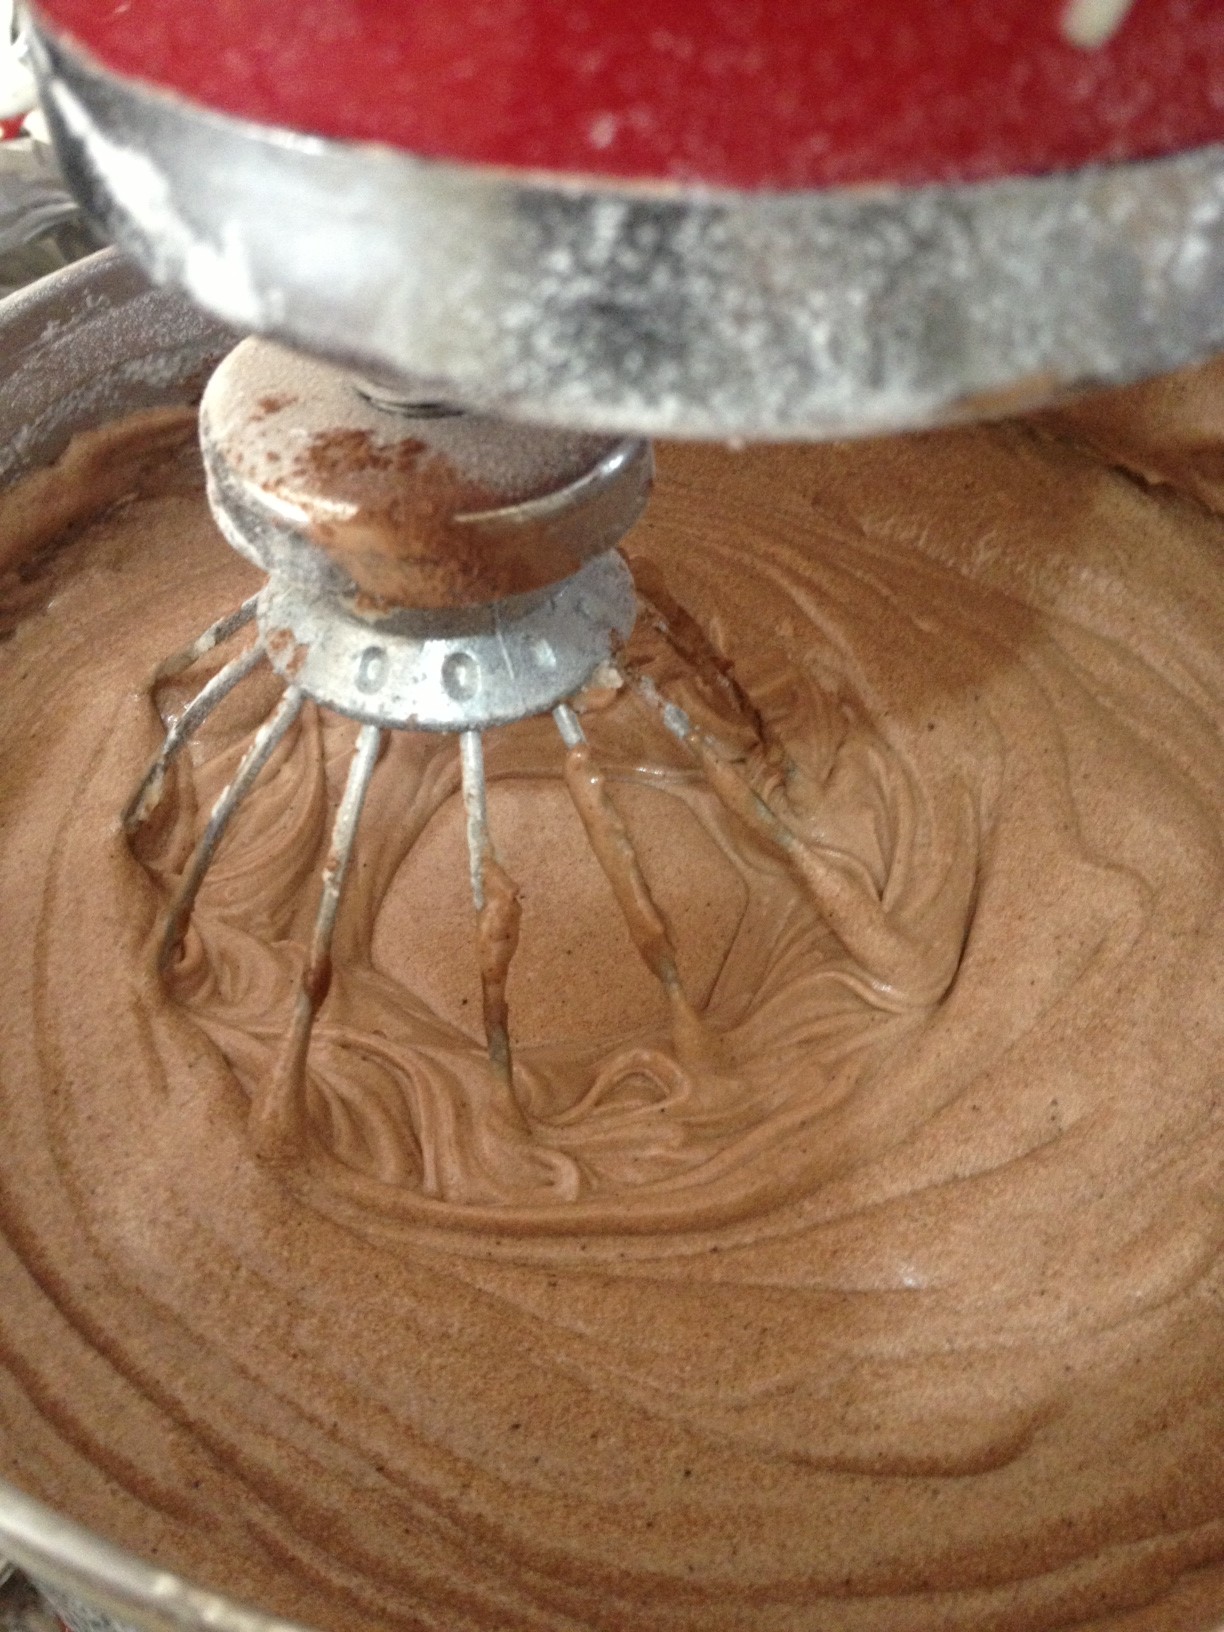
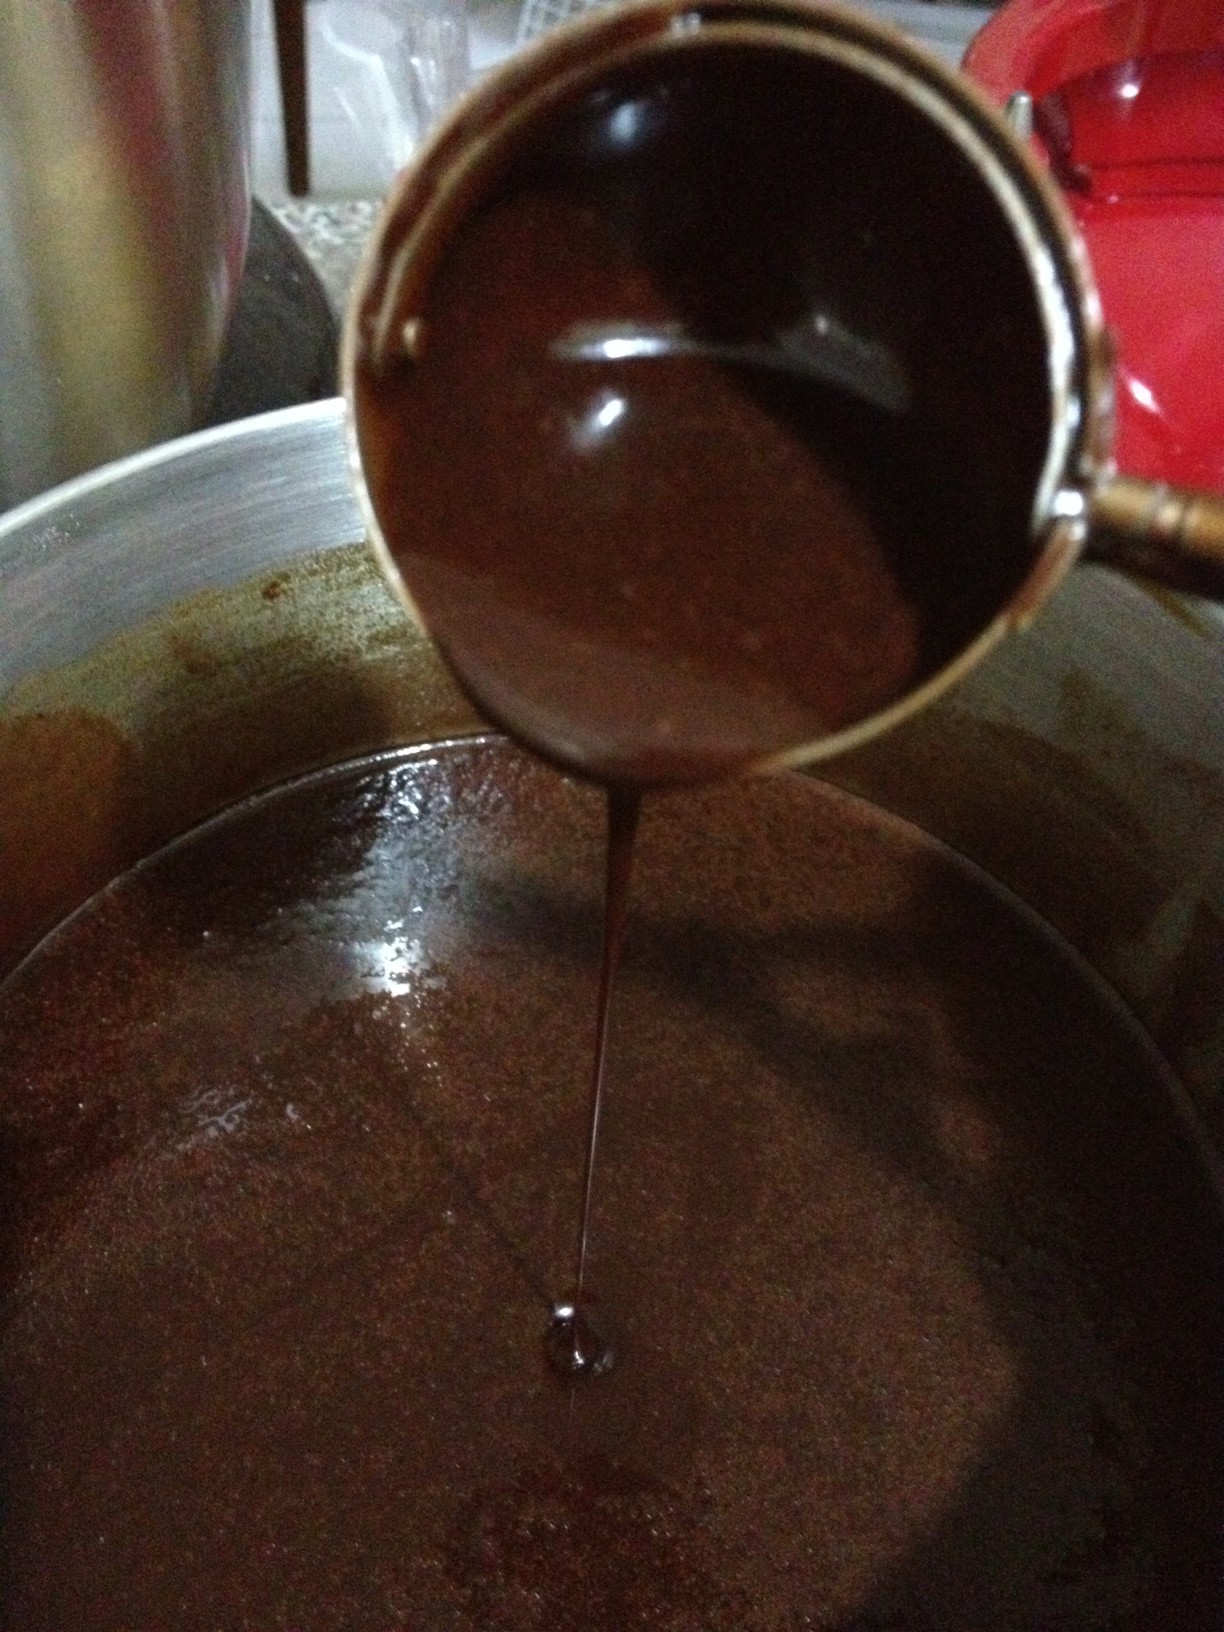
In the image above, I sifted my cocoa and flour together before adding to the batter. Now for the last step using this newly discovered product –
LorAnn Oils’ Red Velvet Emulsion!
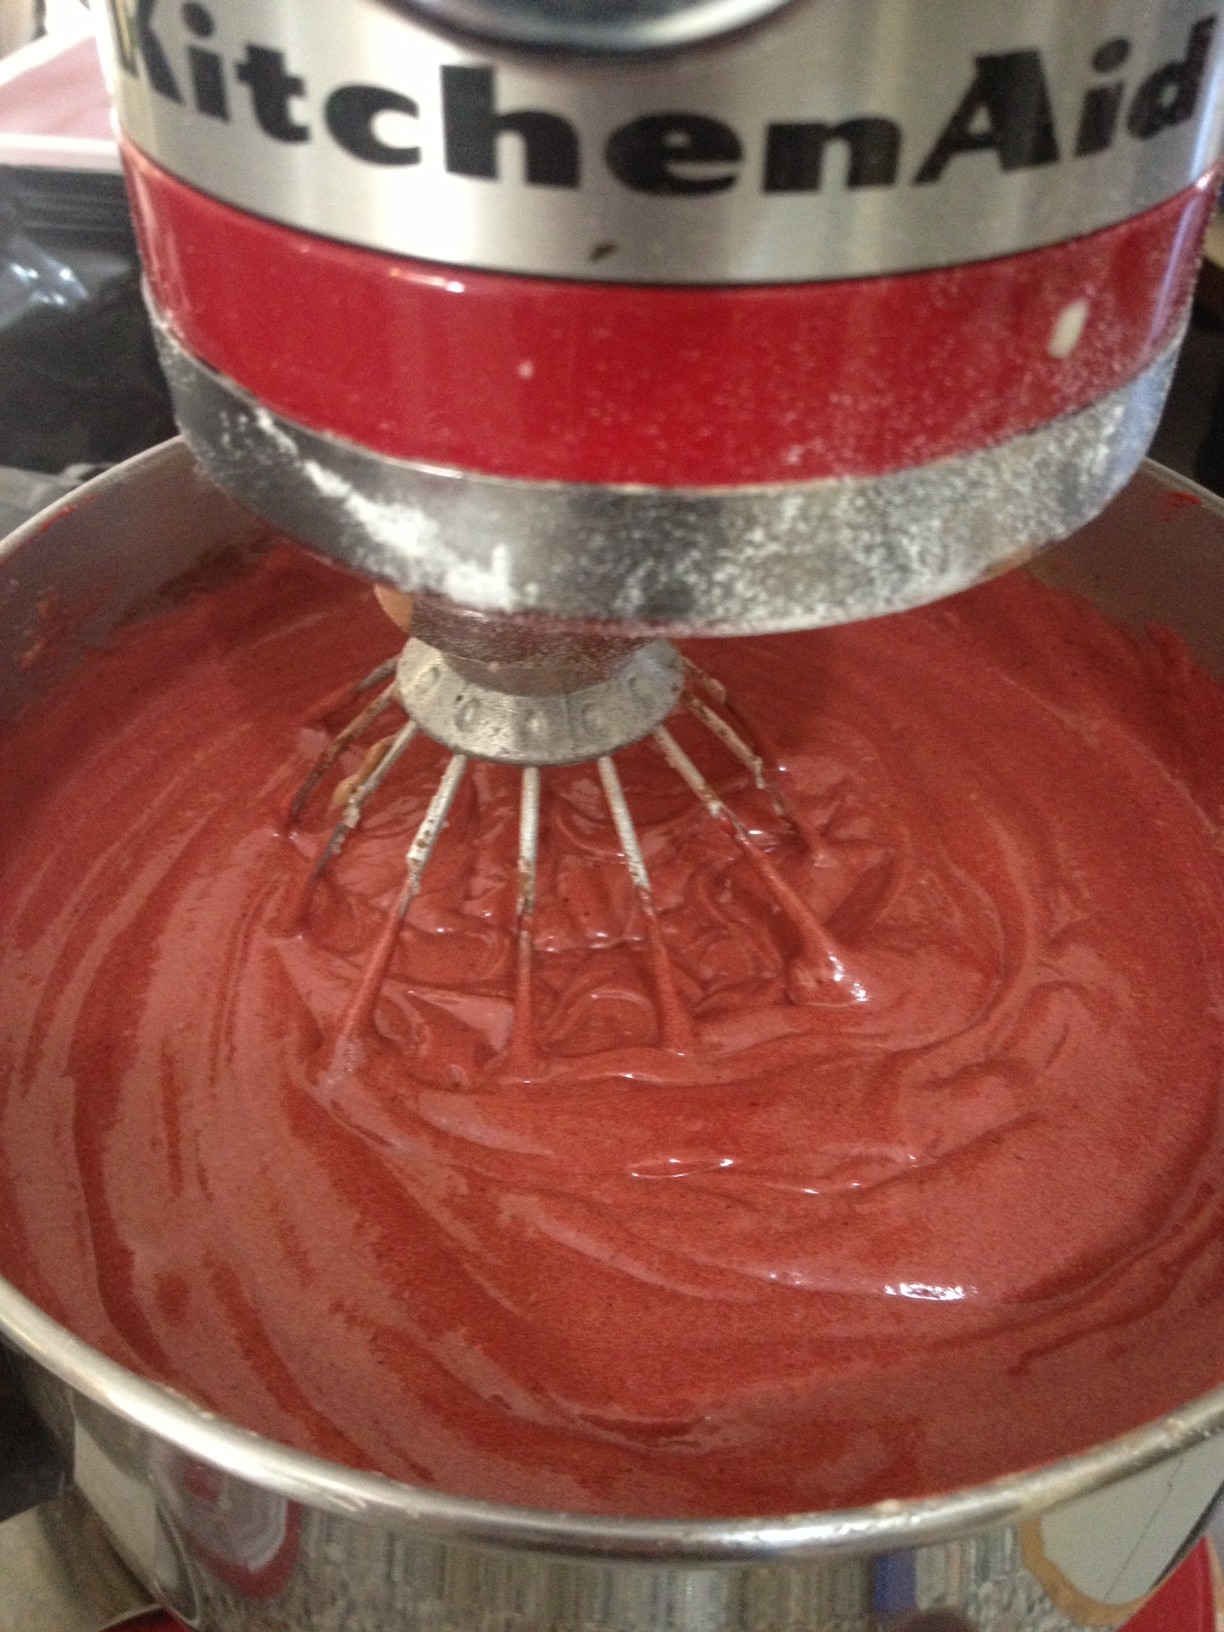
The instructions say to add 1 tablepoon to for every 12 cupcakes. This recipe makes between 24 and 30 cupcakes depending on how generous you are with your batter scoops, so I added two and a half table spoons.

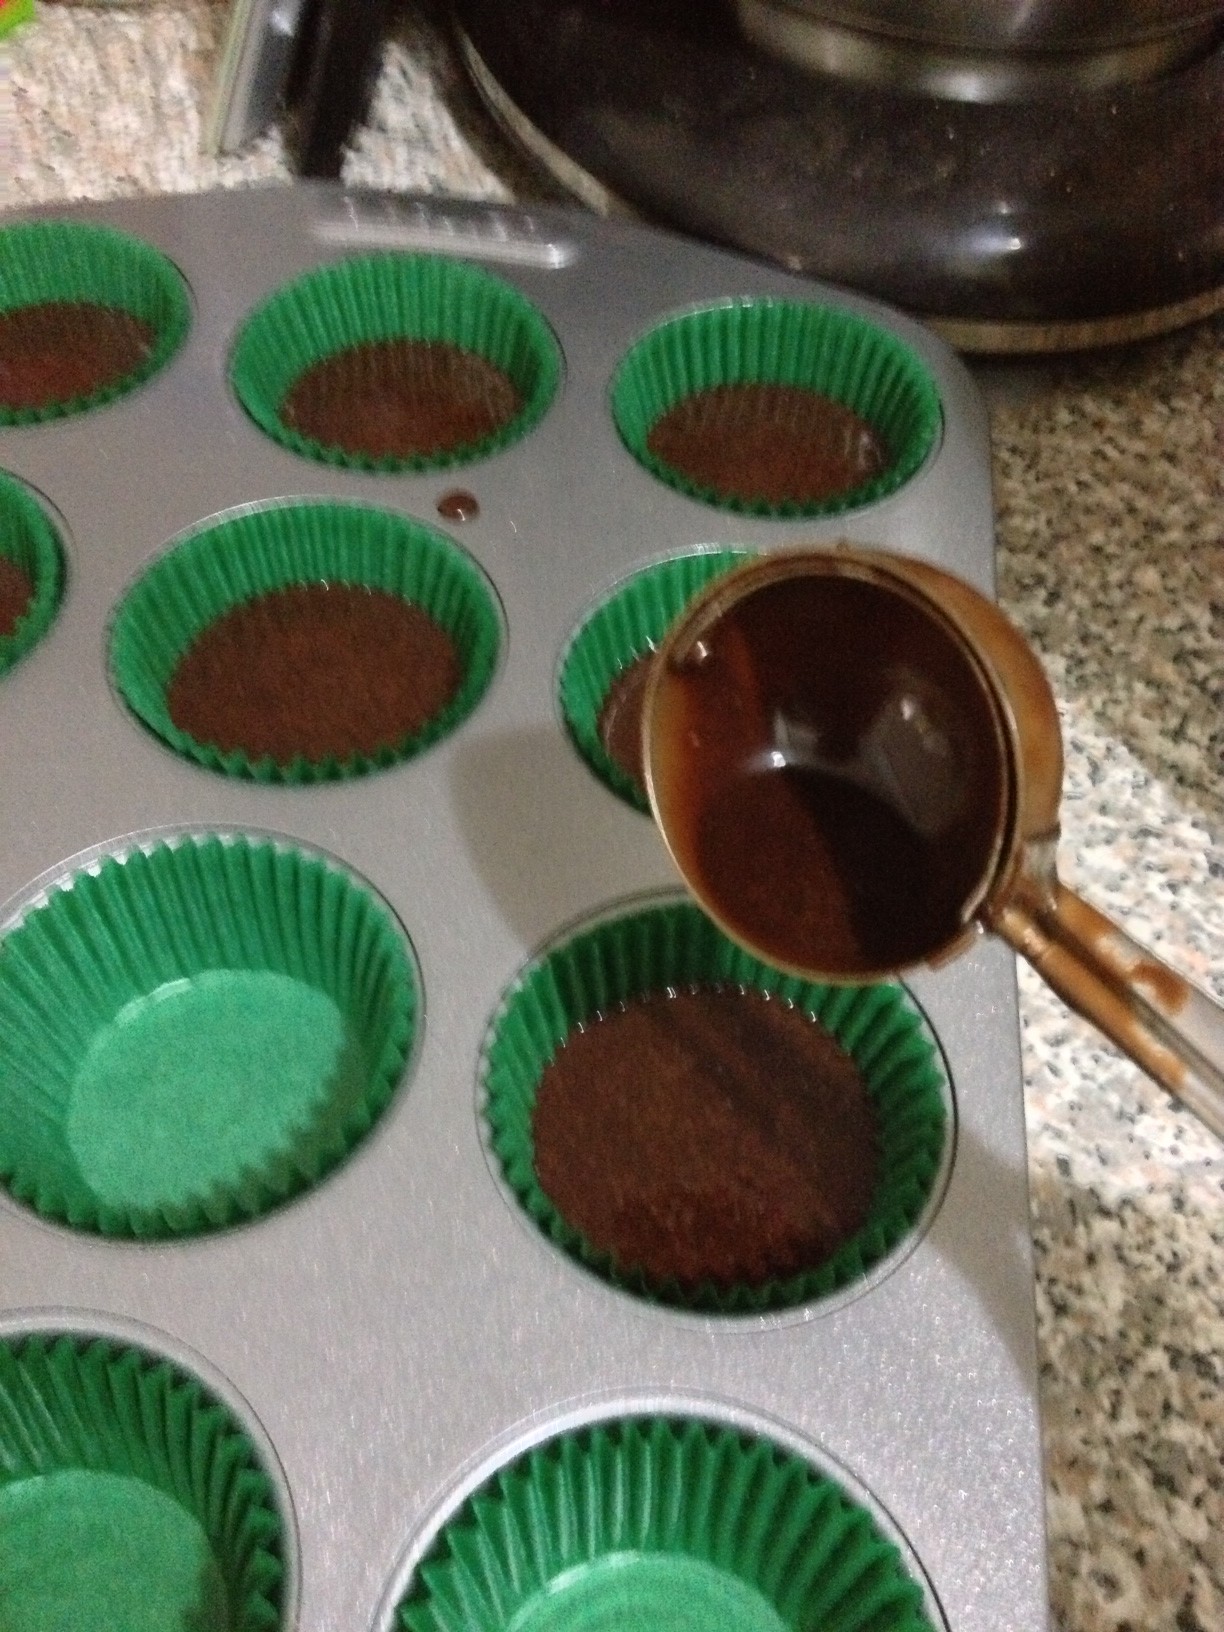
The LorAnn Red Velvet Emulsion instantly gave the batter a vibrant red colour.
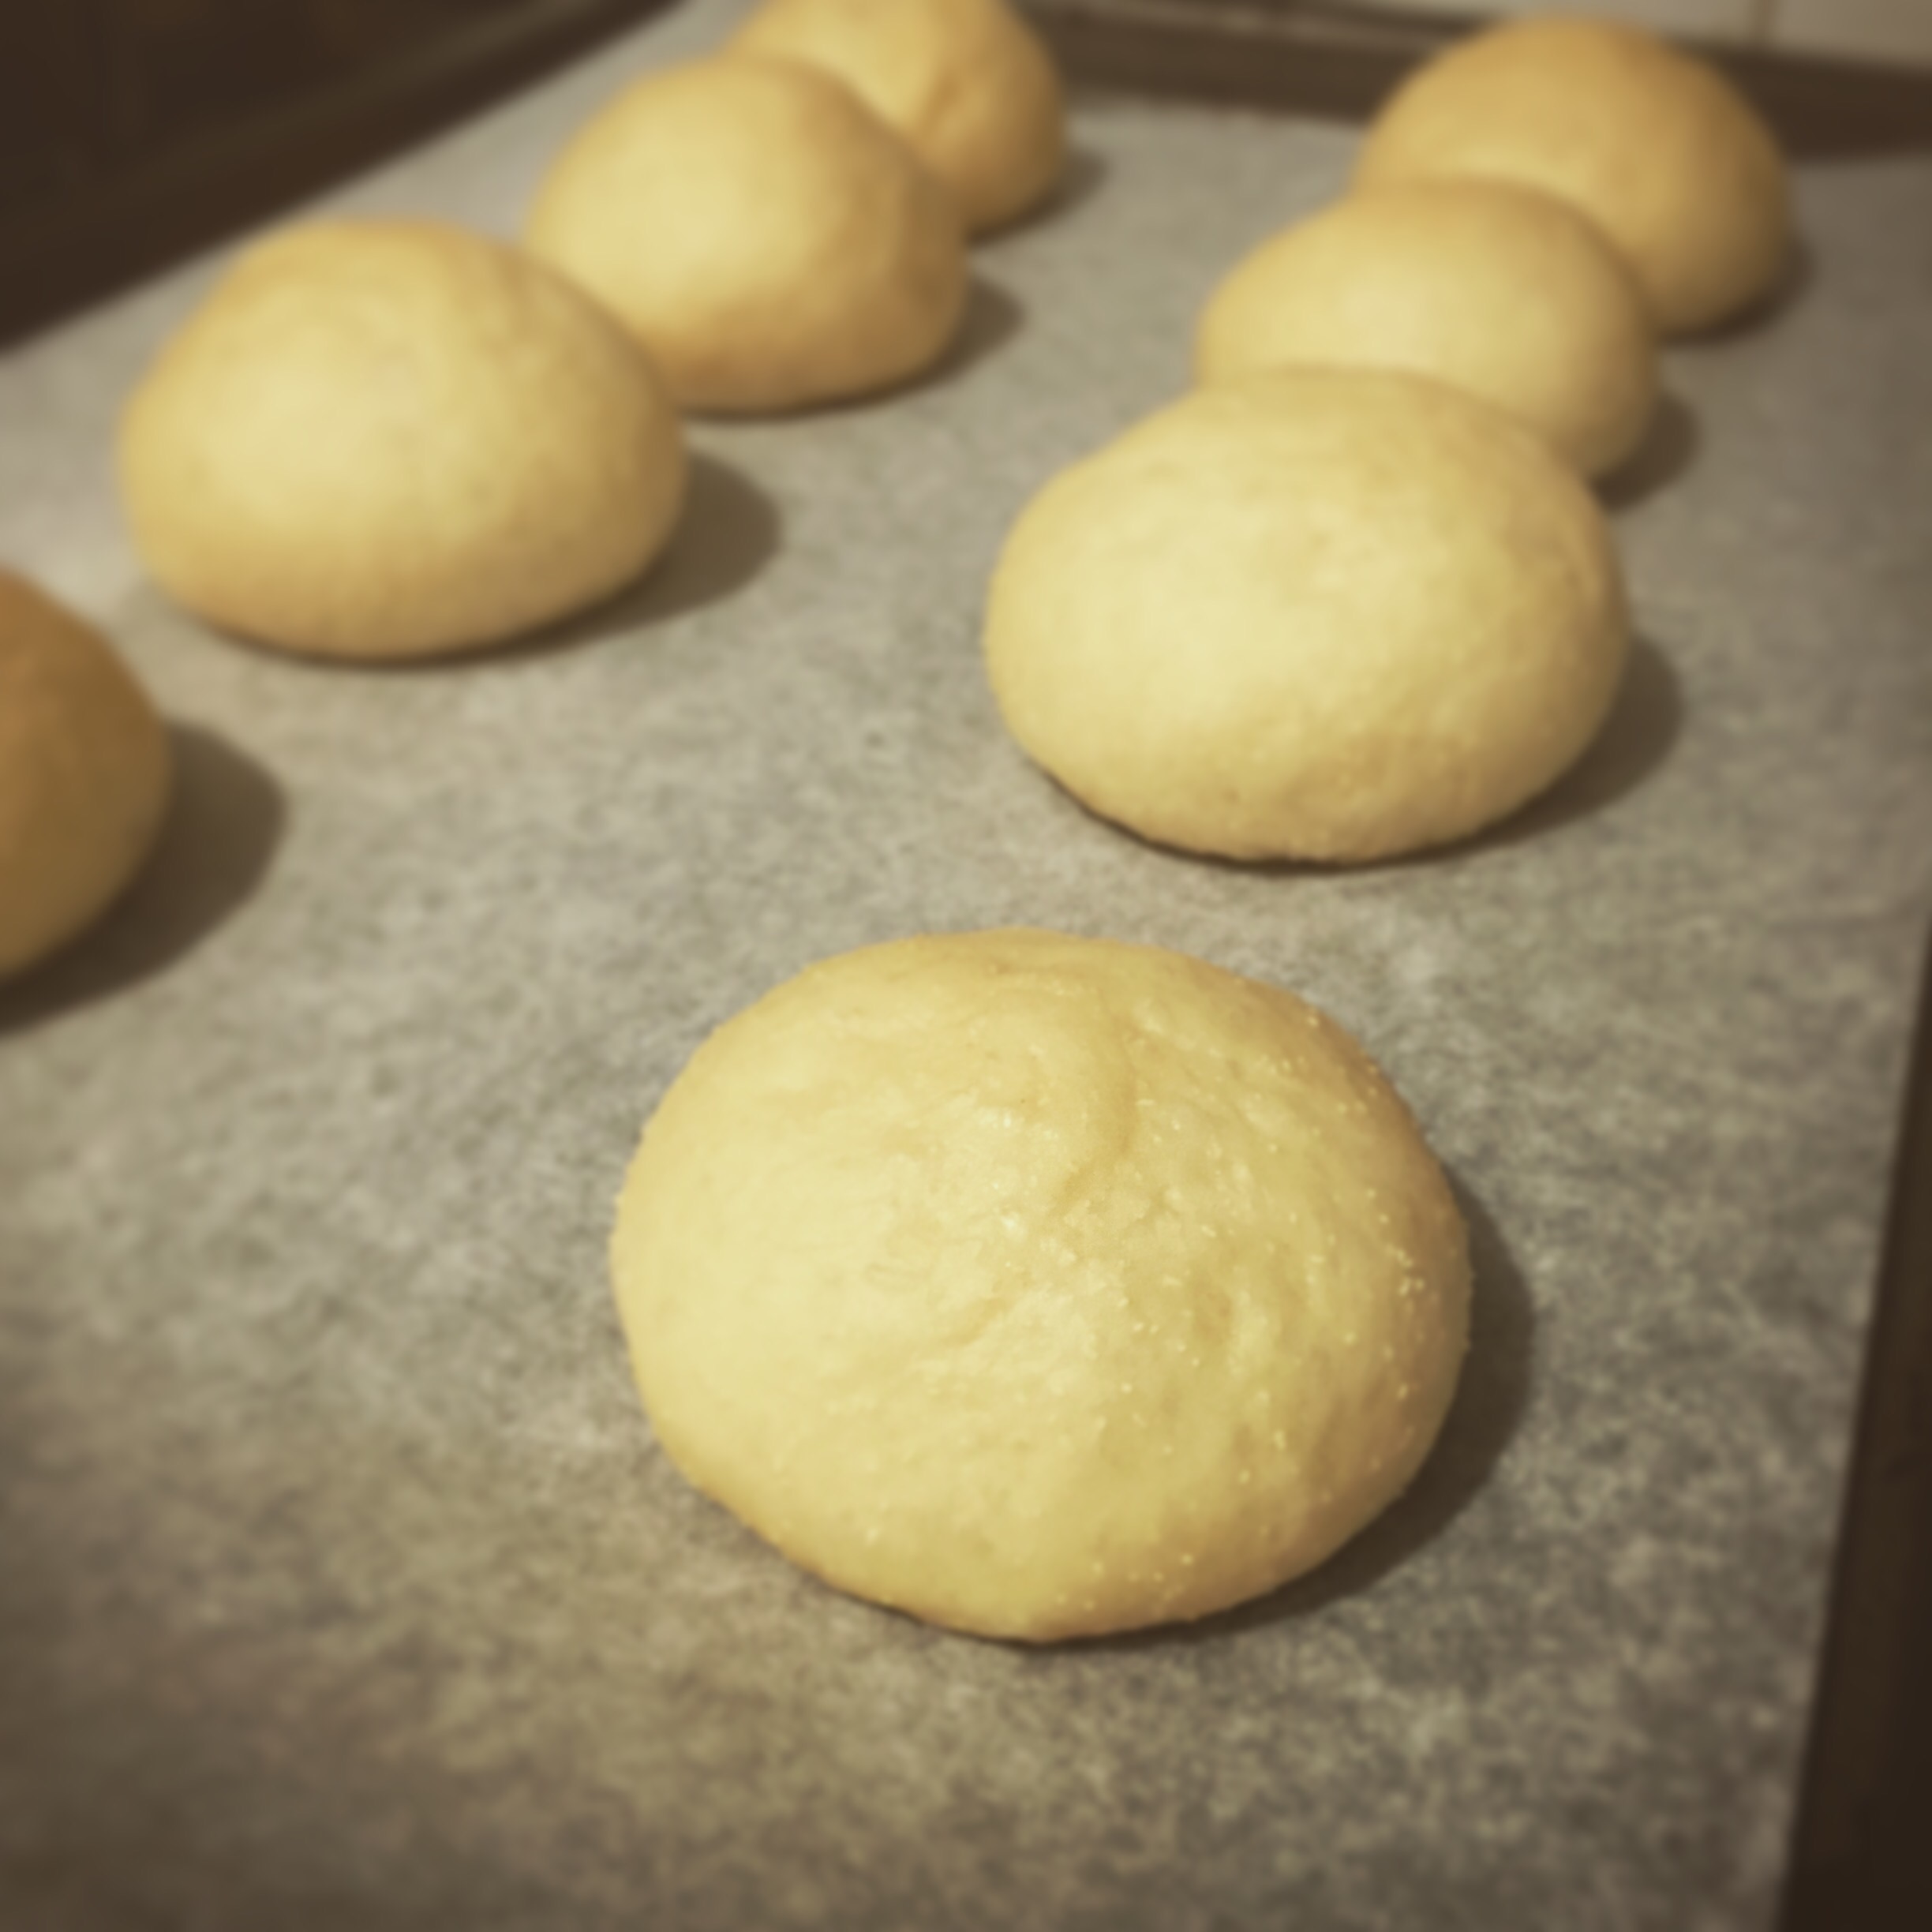
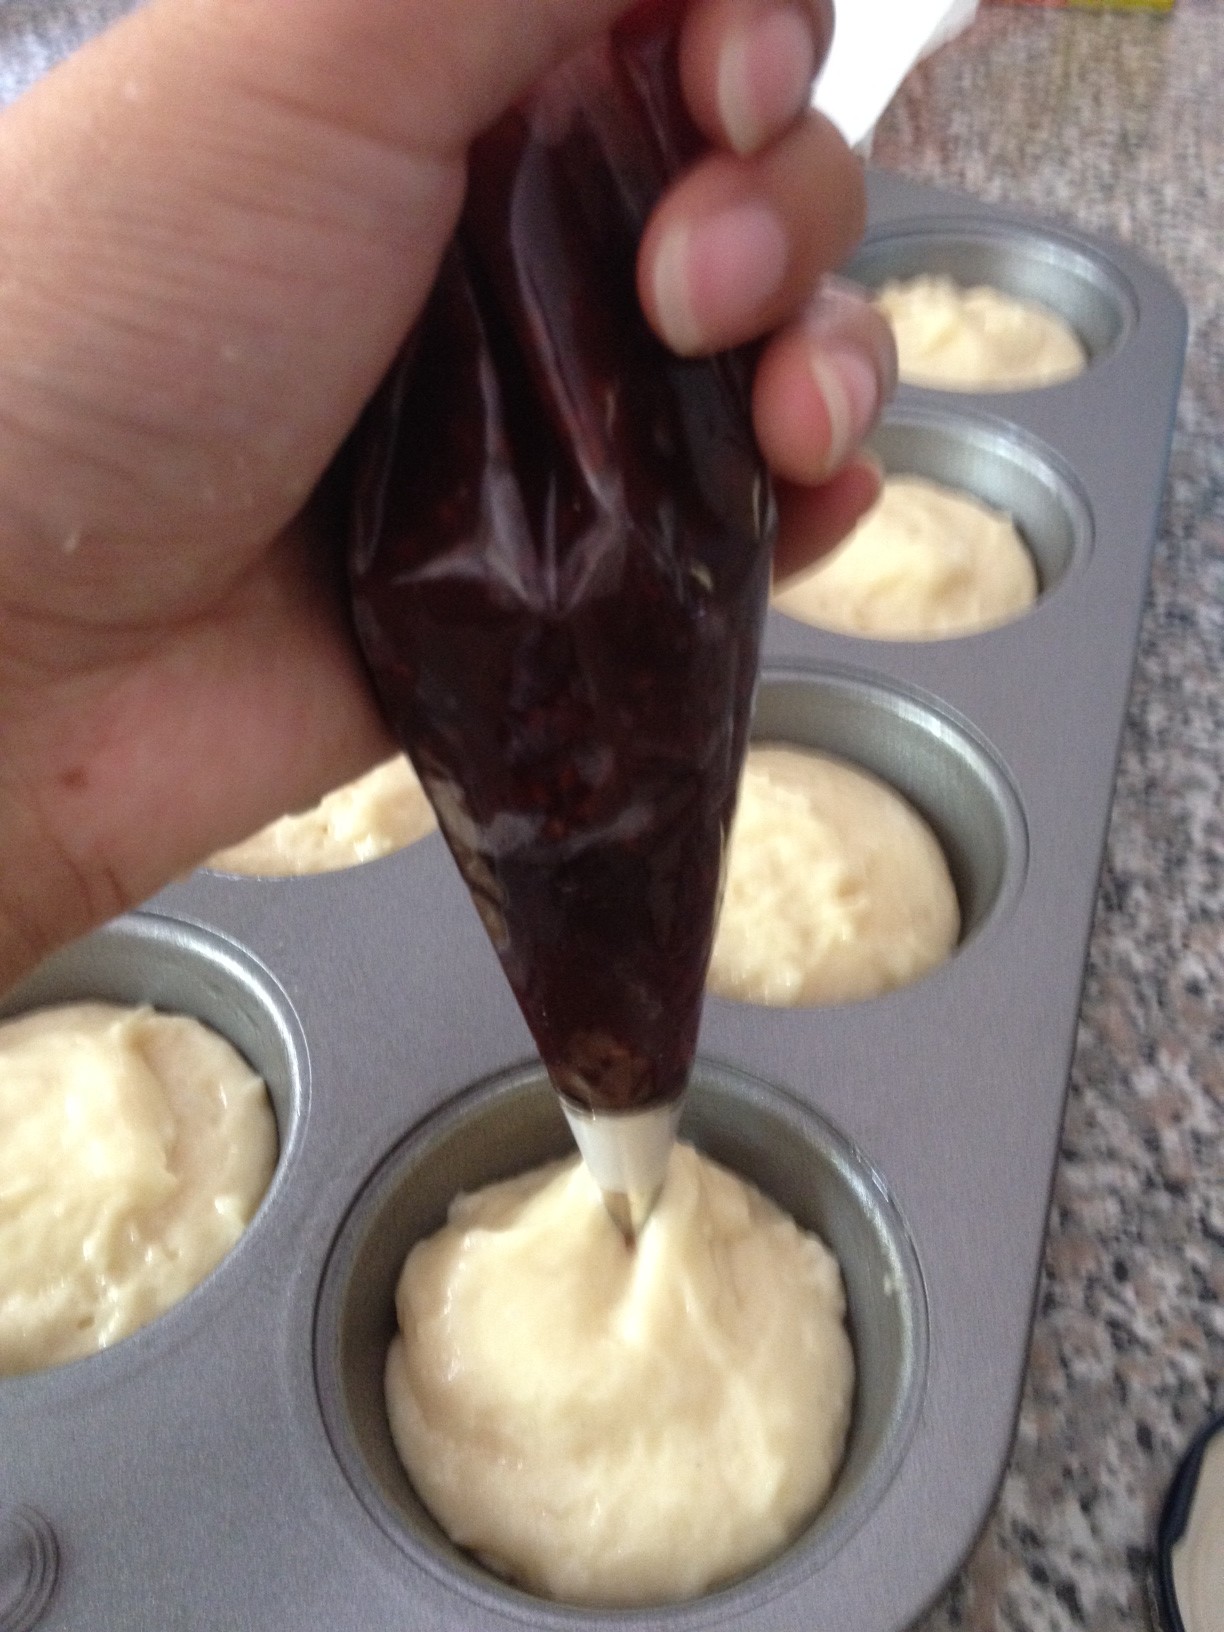
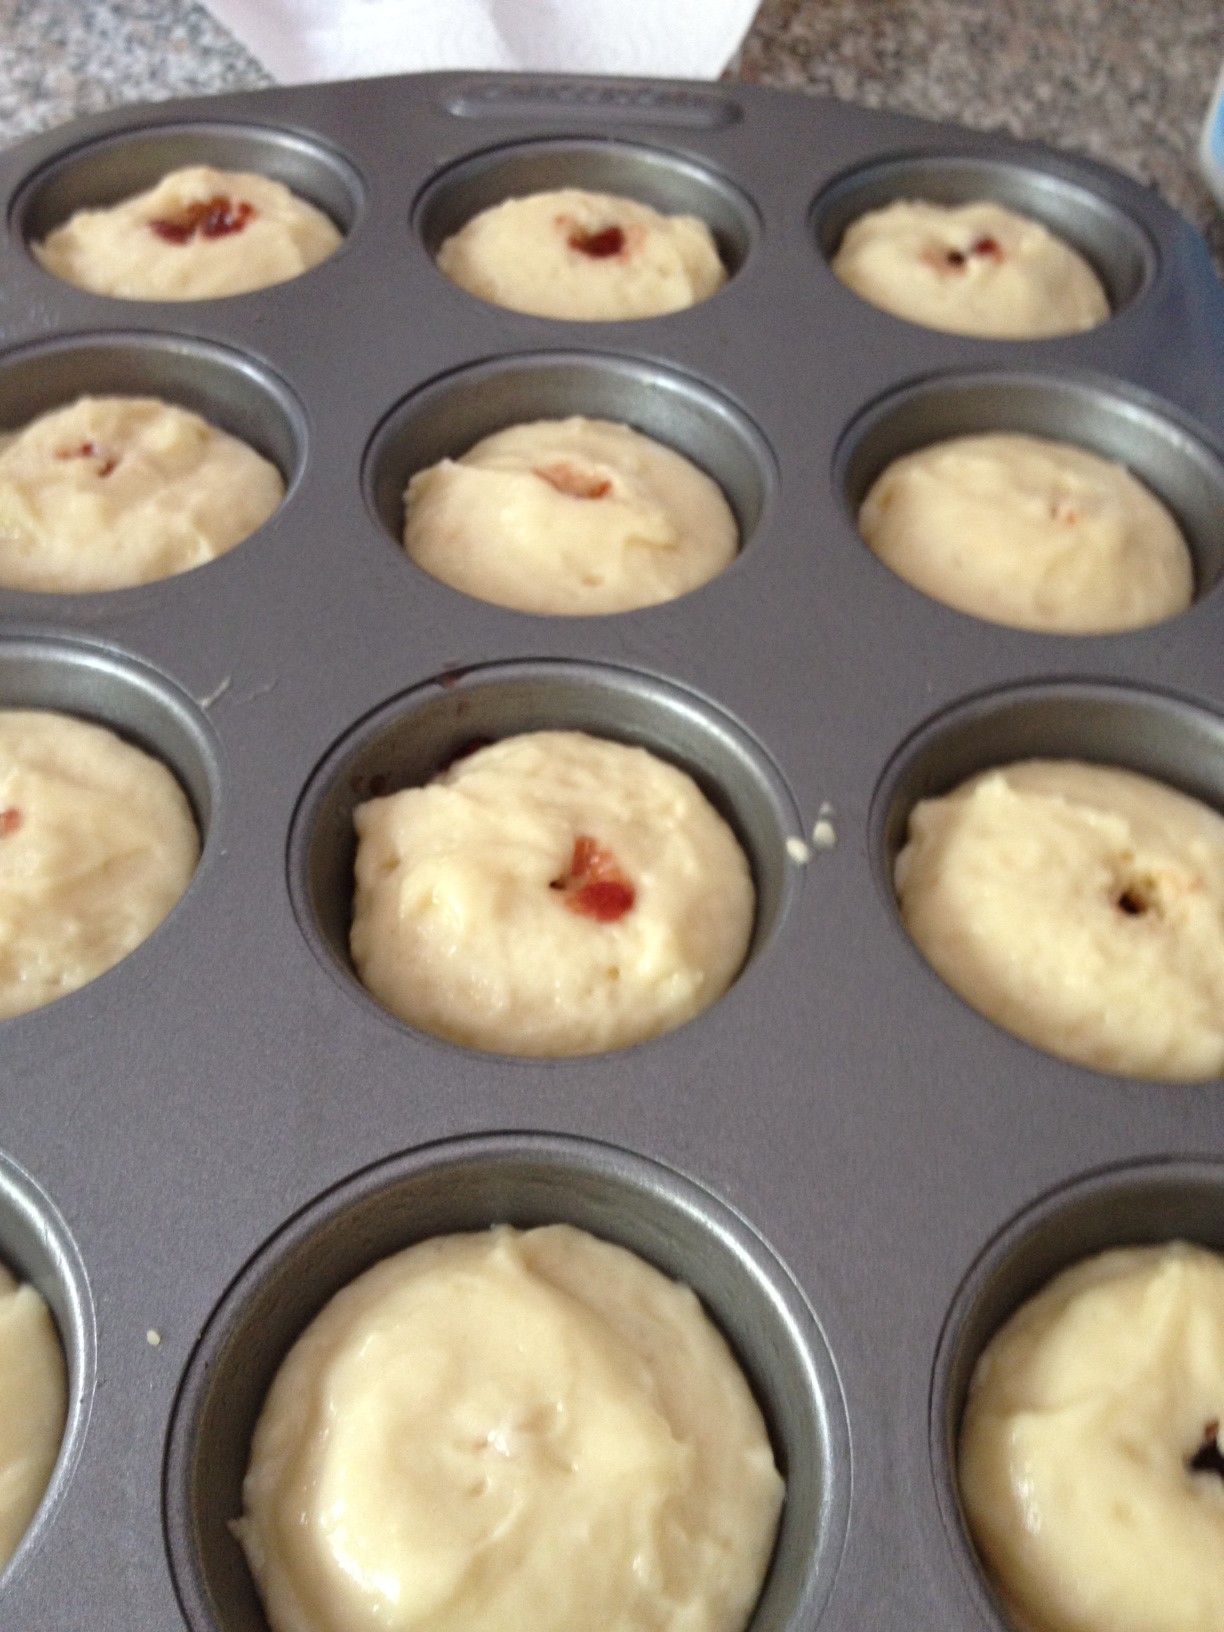
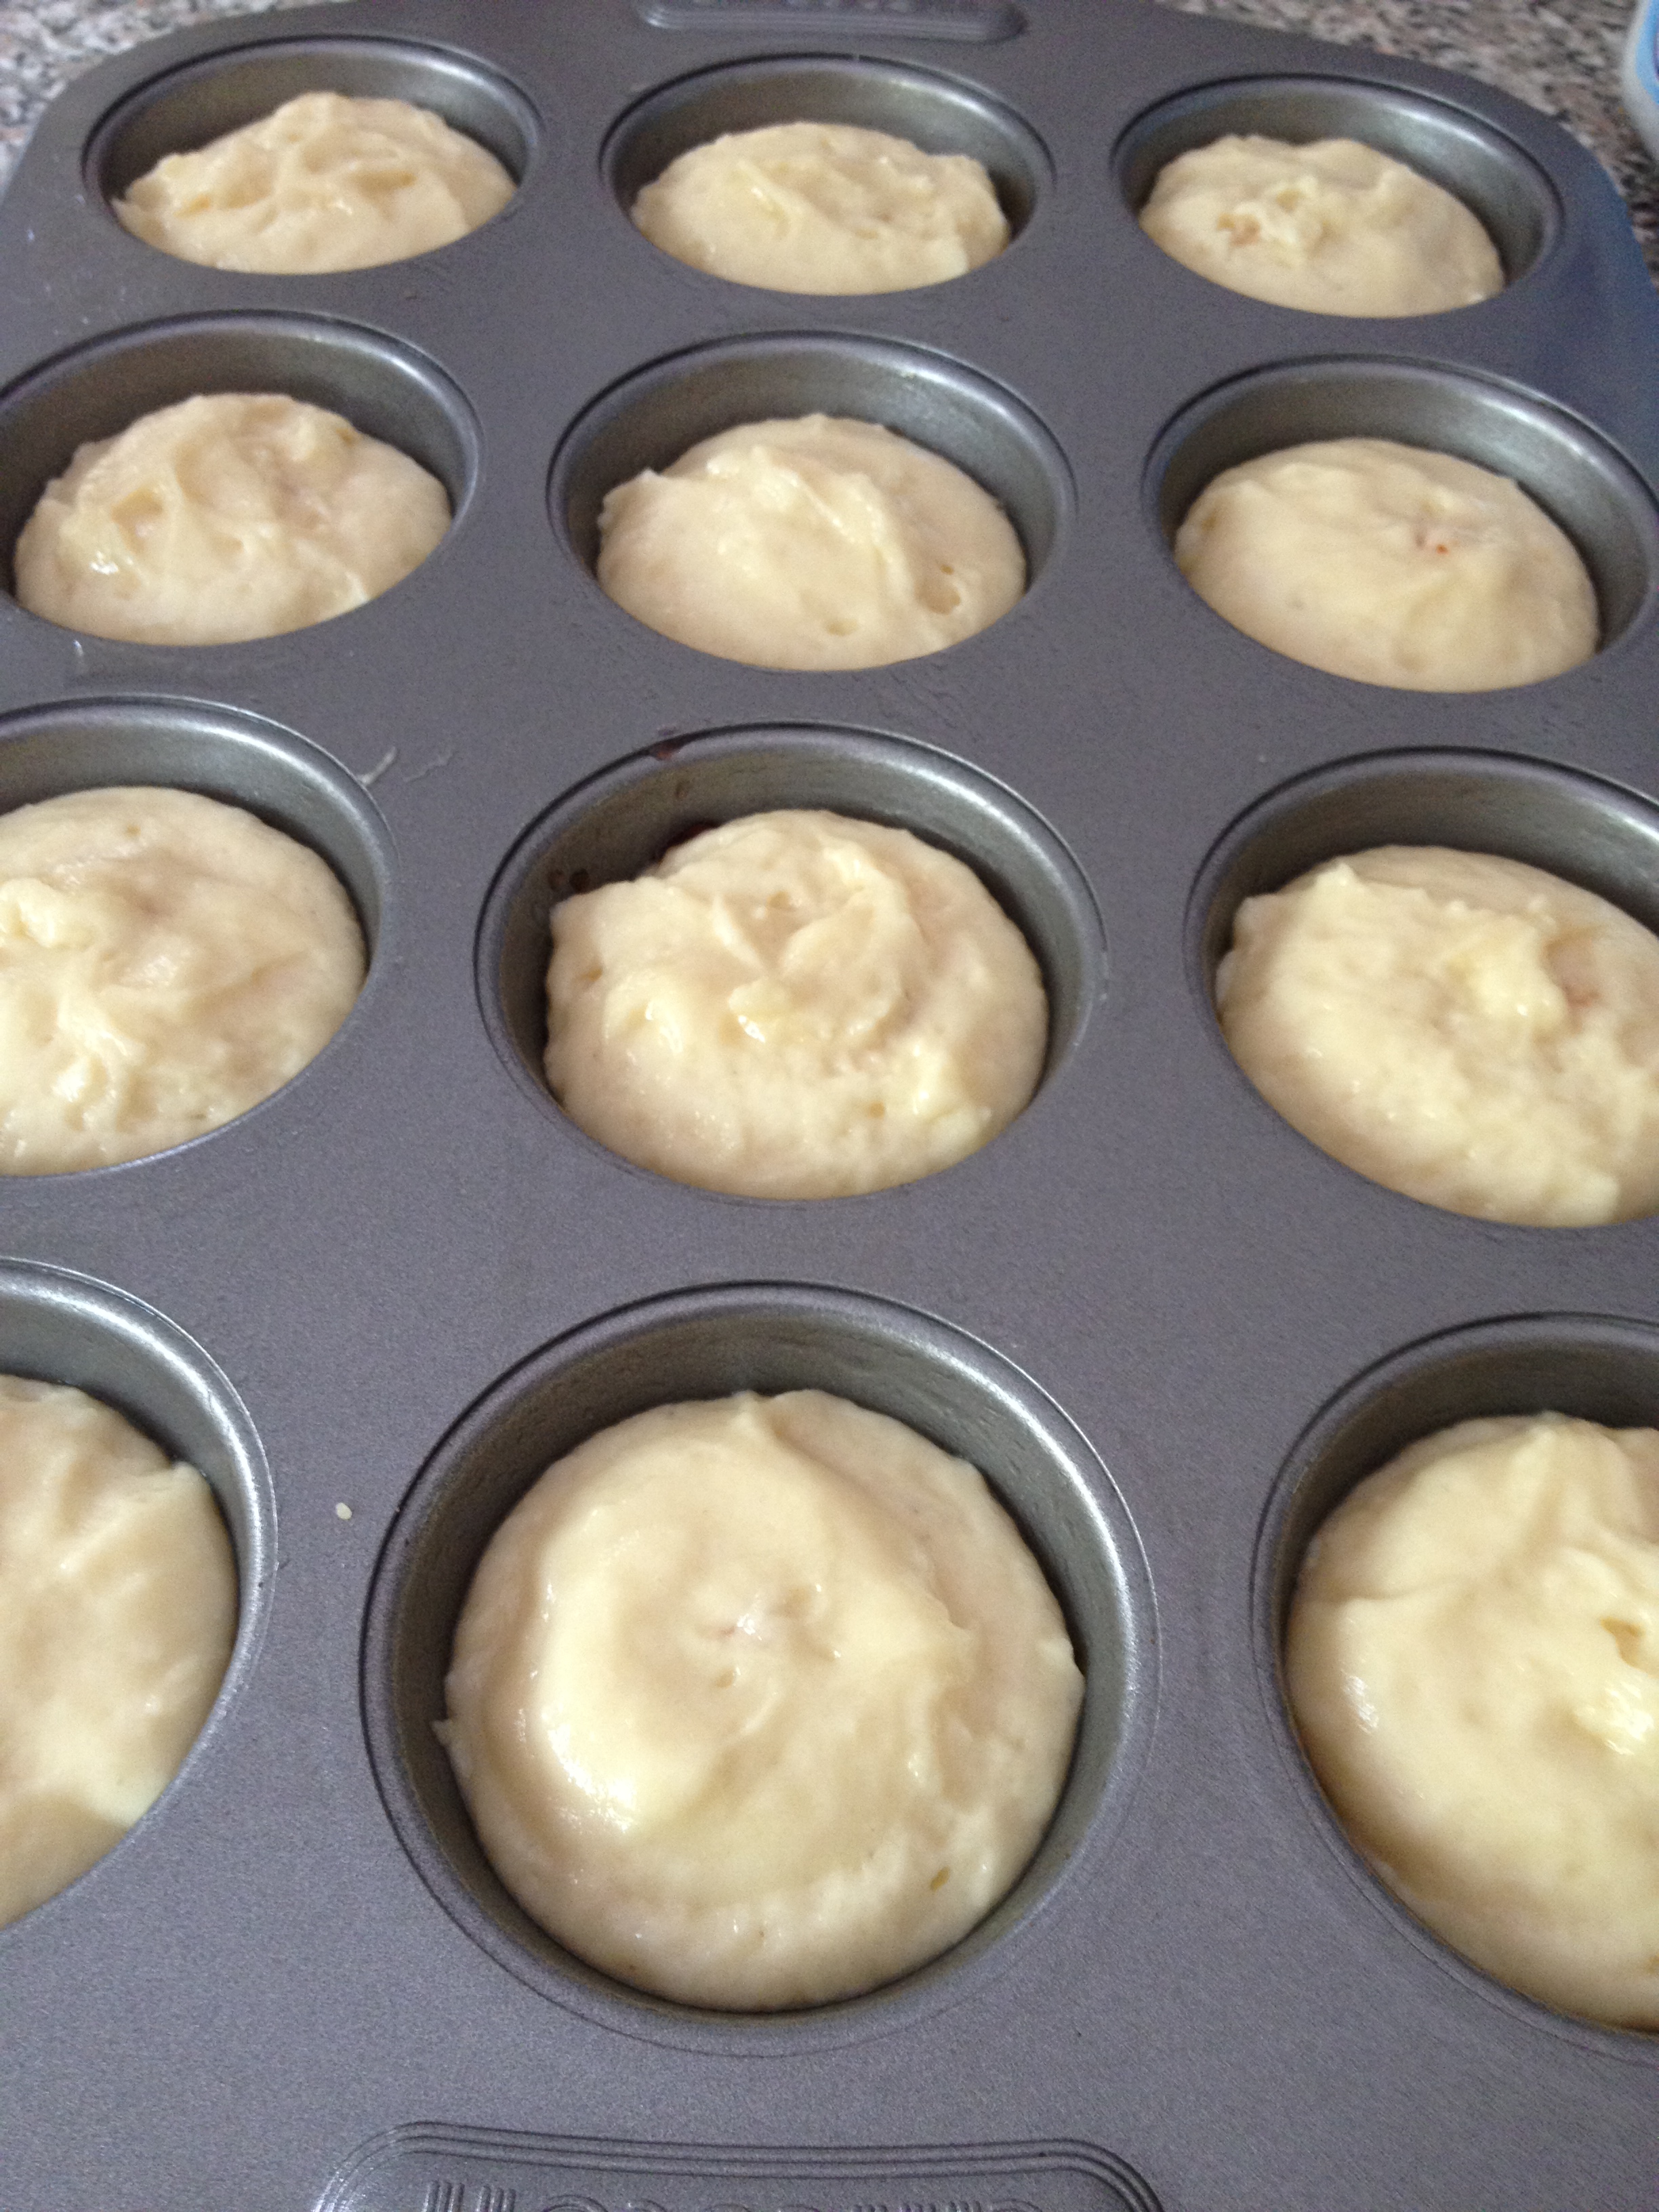
Voila!! A beautiful red velvet batter! Pour into your cupcake trays lined with cupcake liners and bake away!!
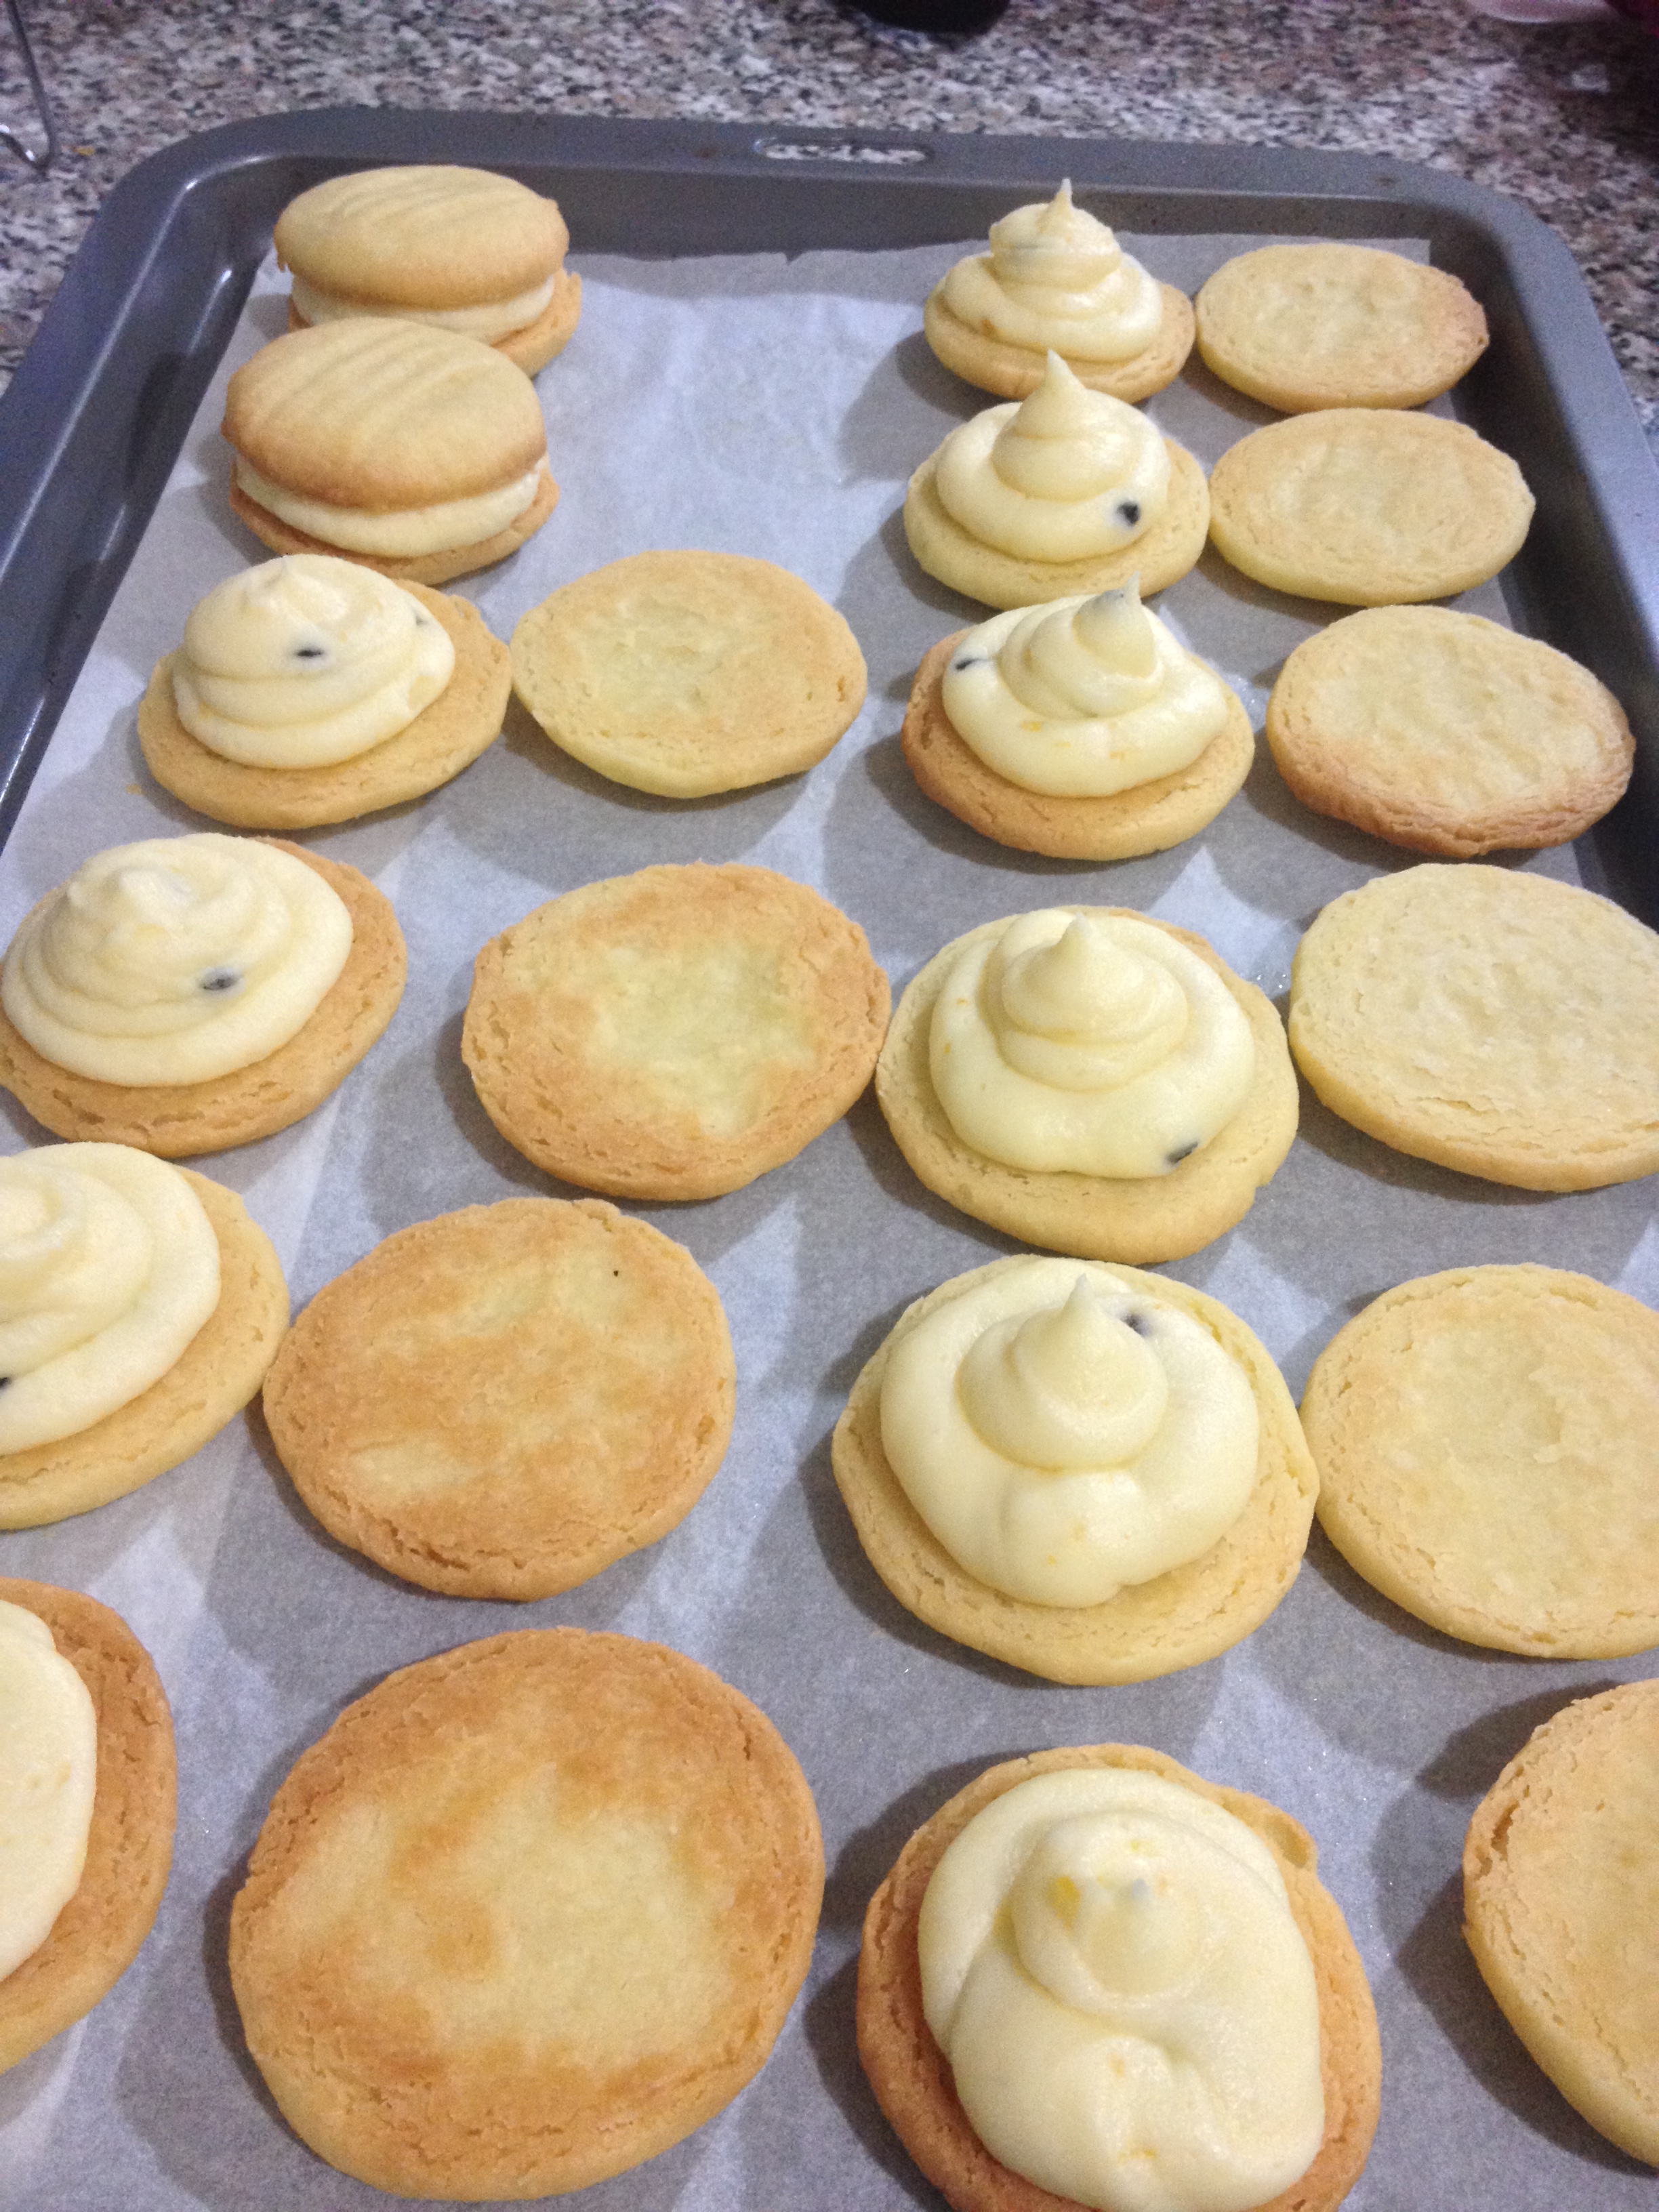
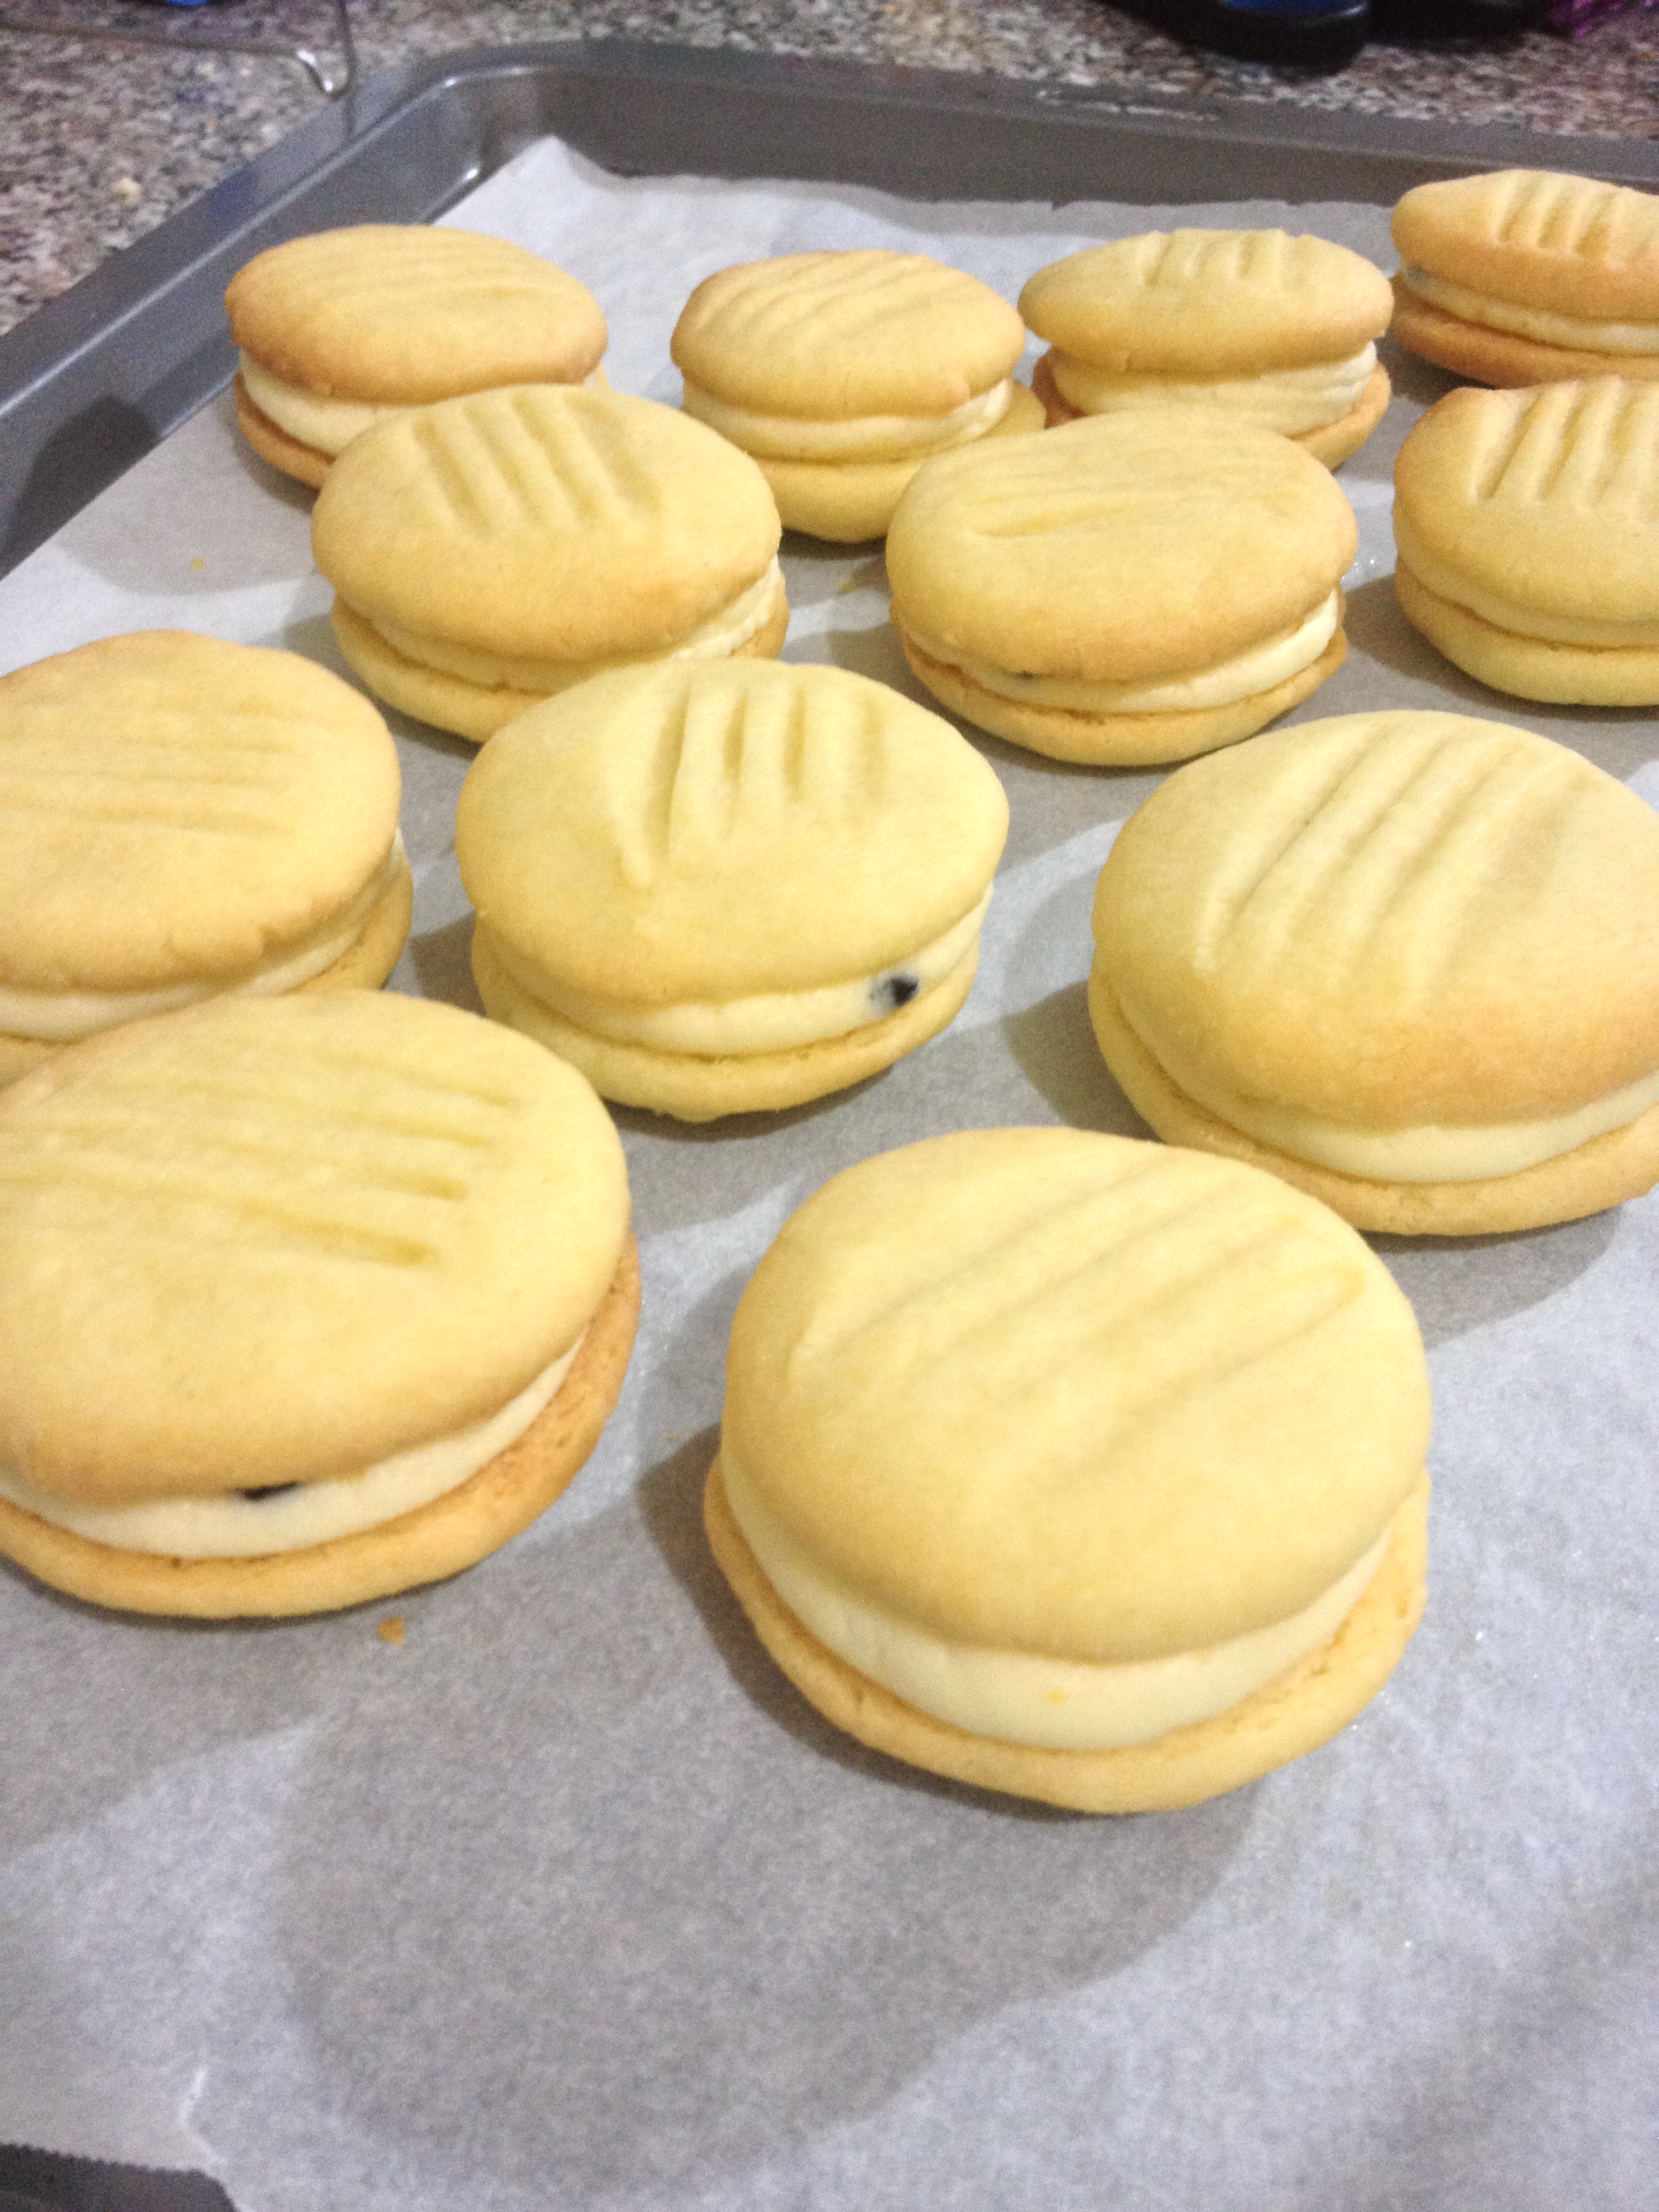
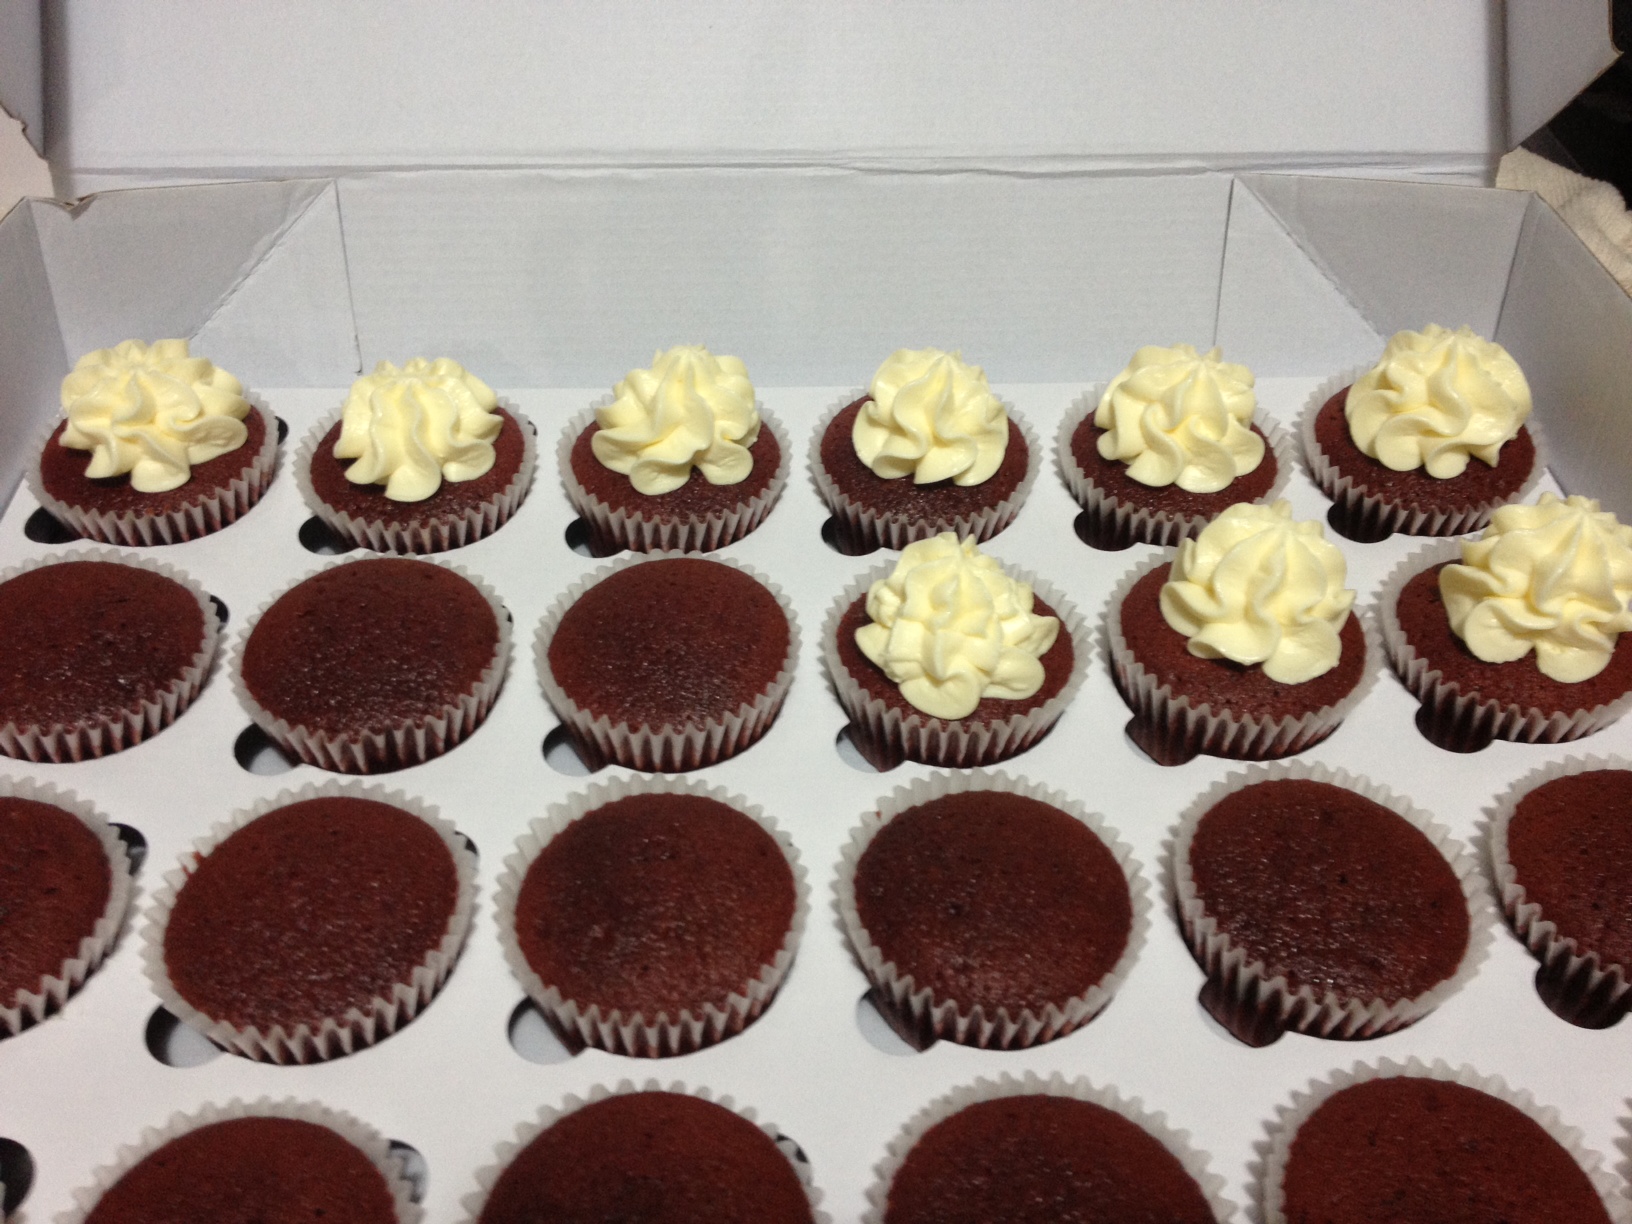
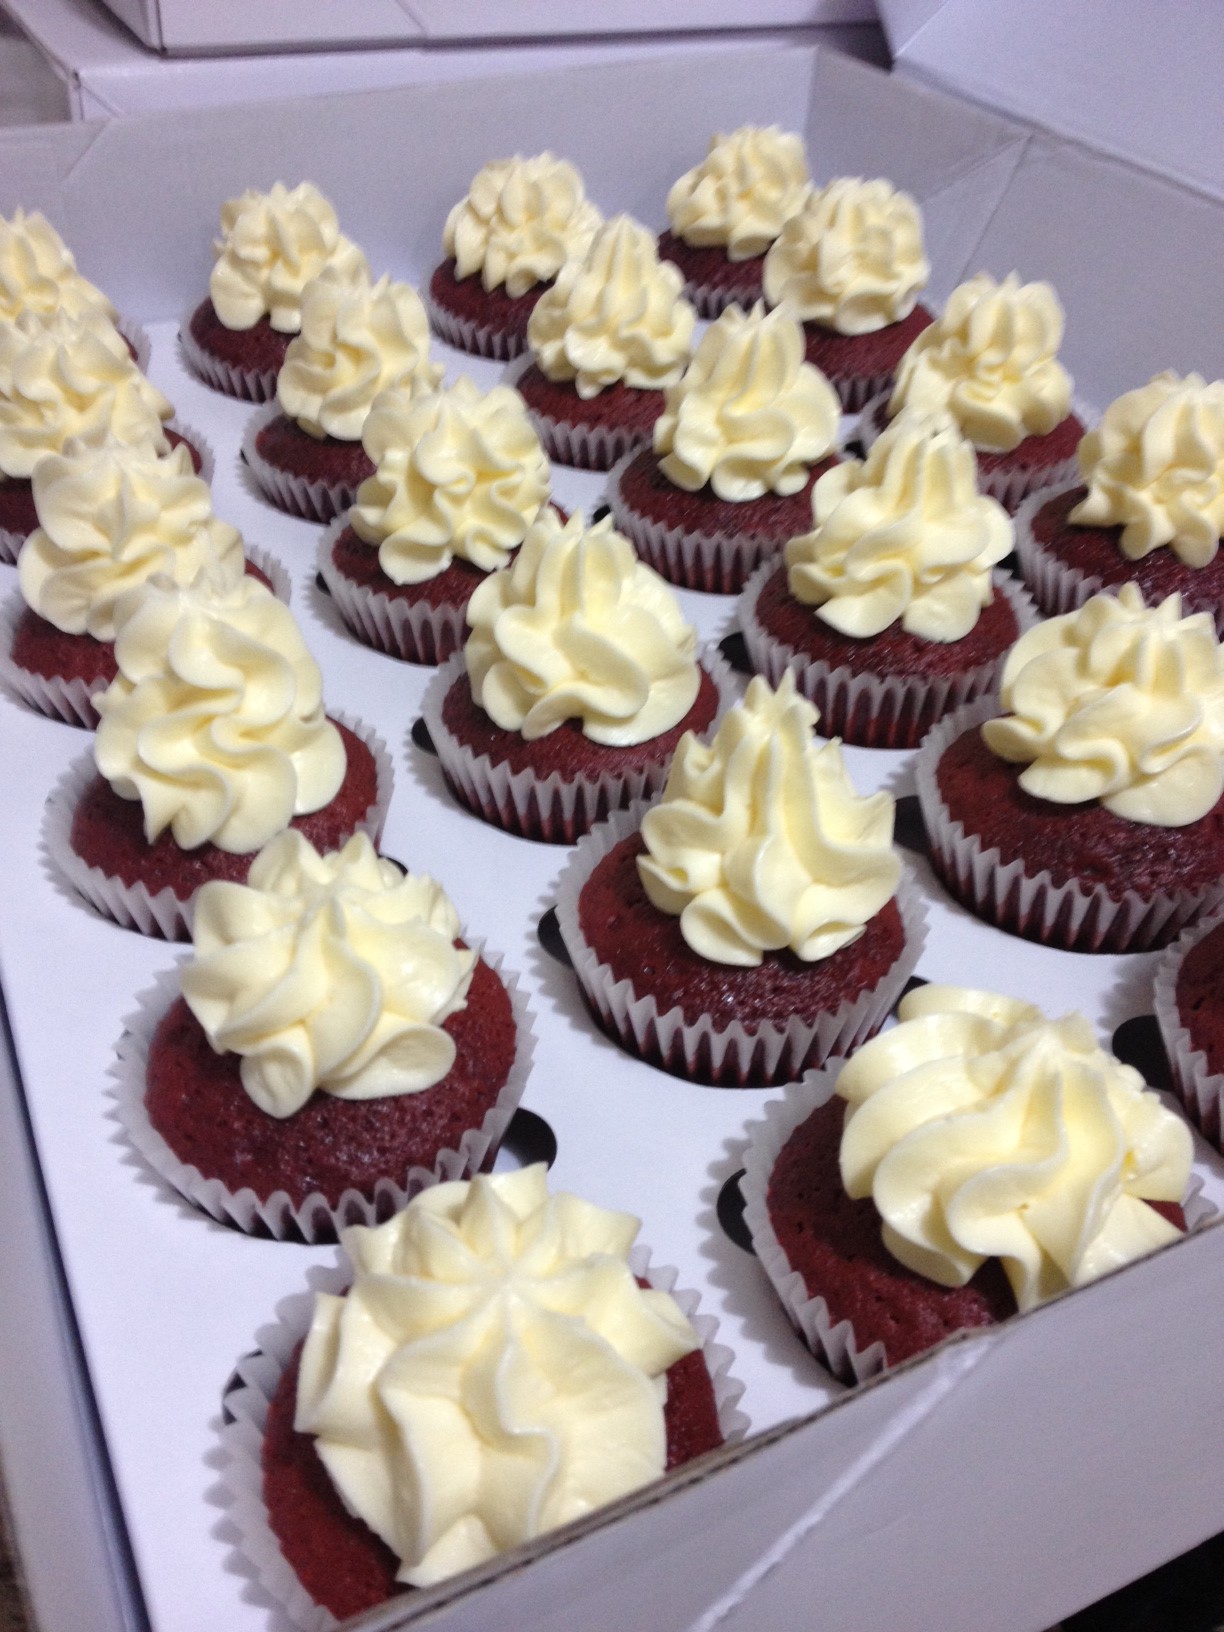
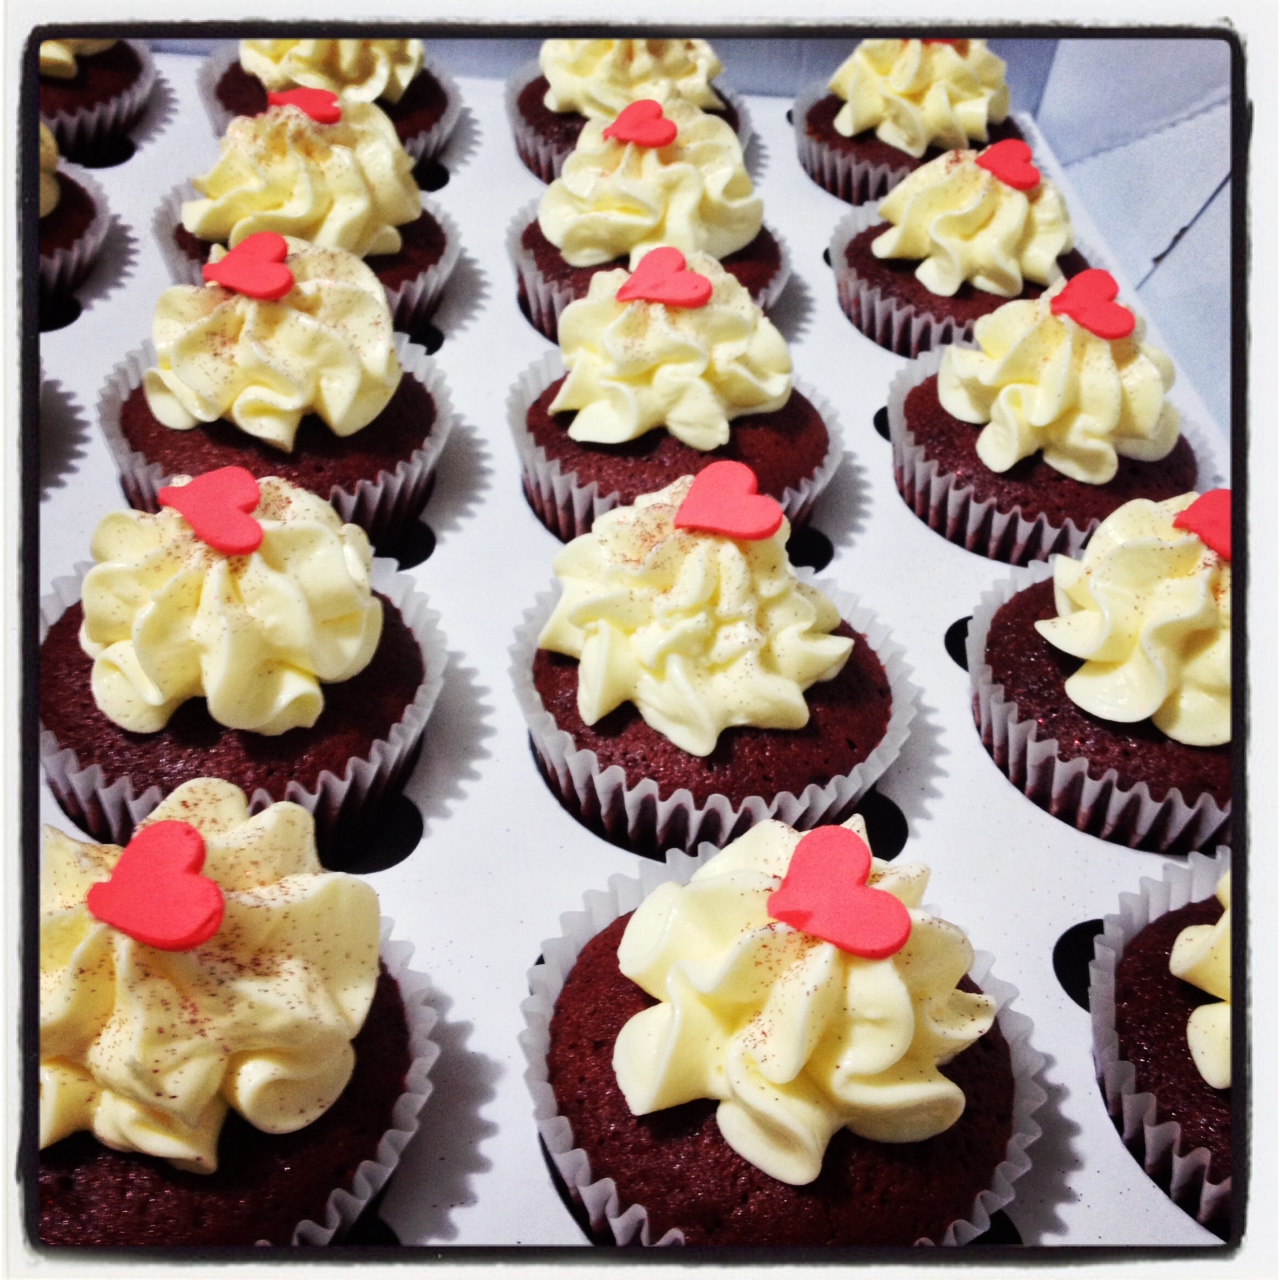
Here are some images of my big production line for the Heart Beauty Magazine order!!

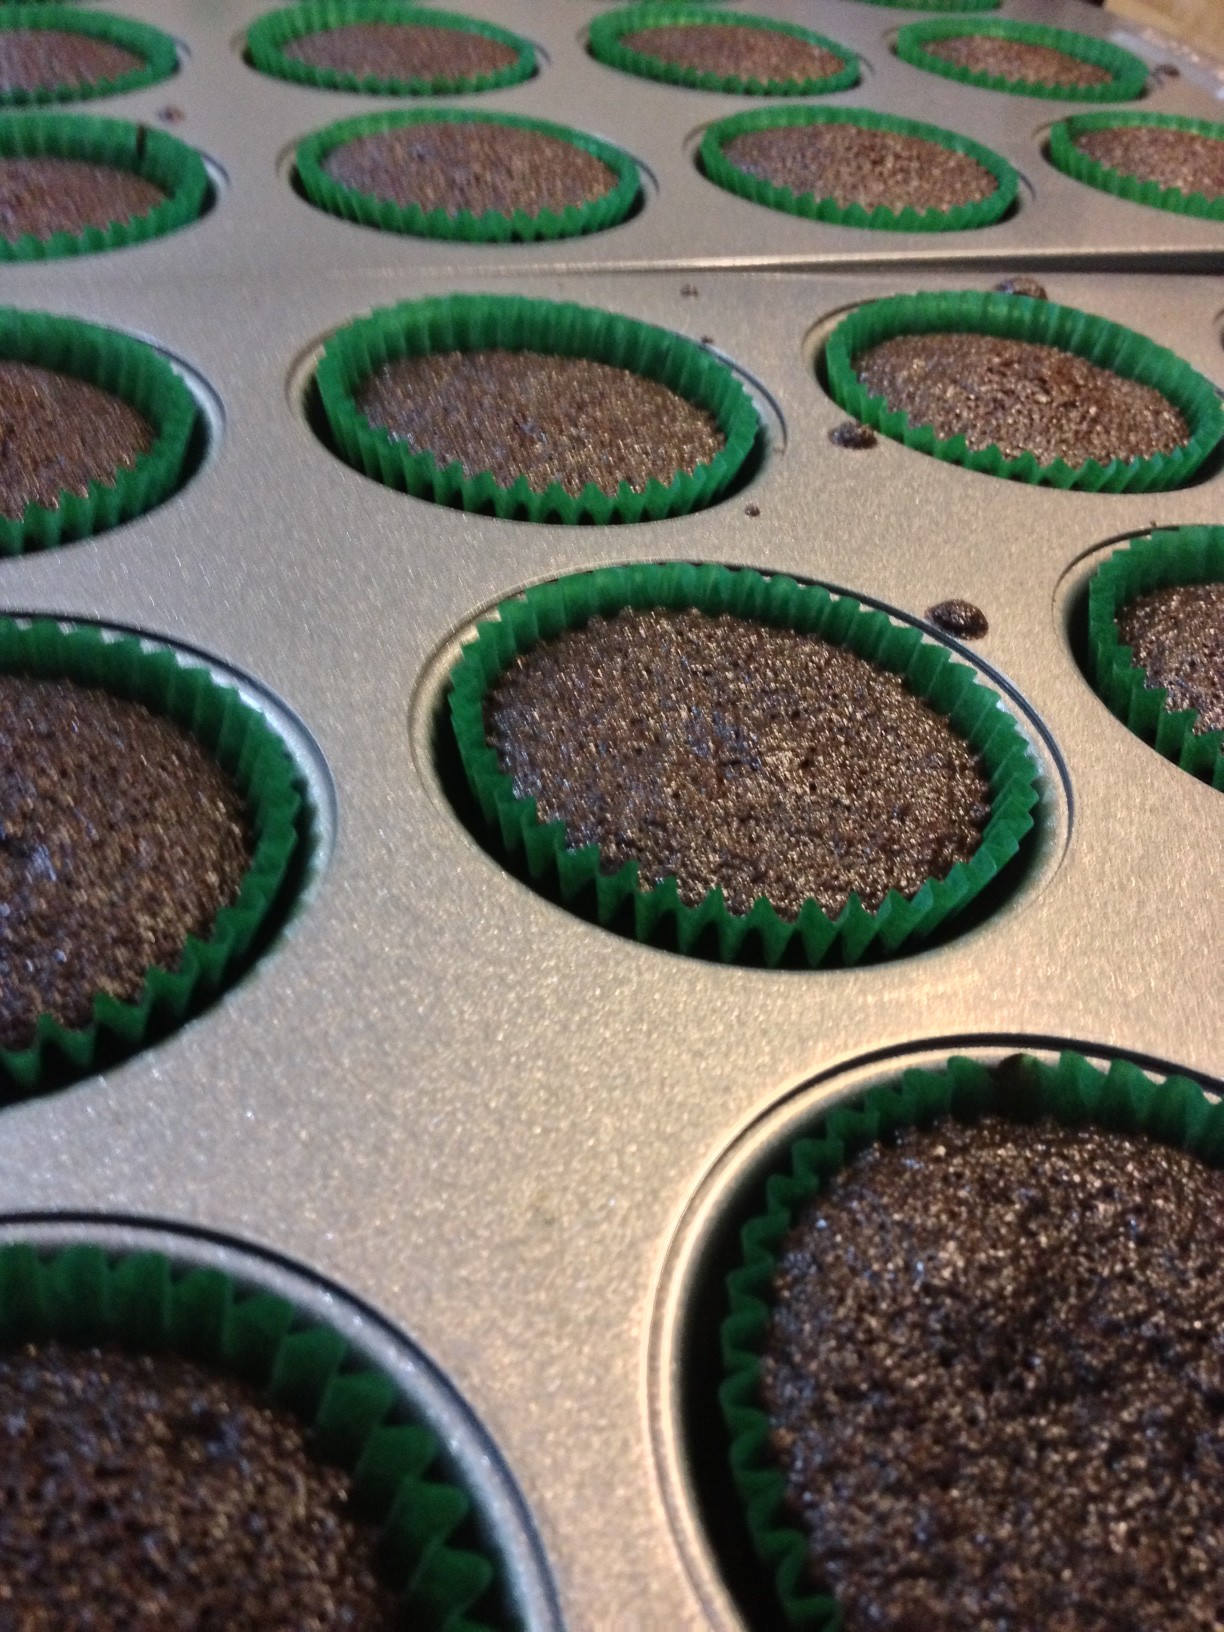
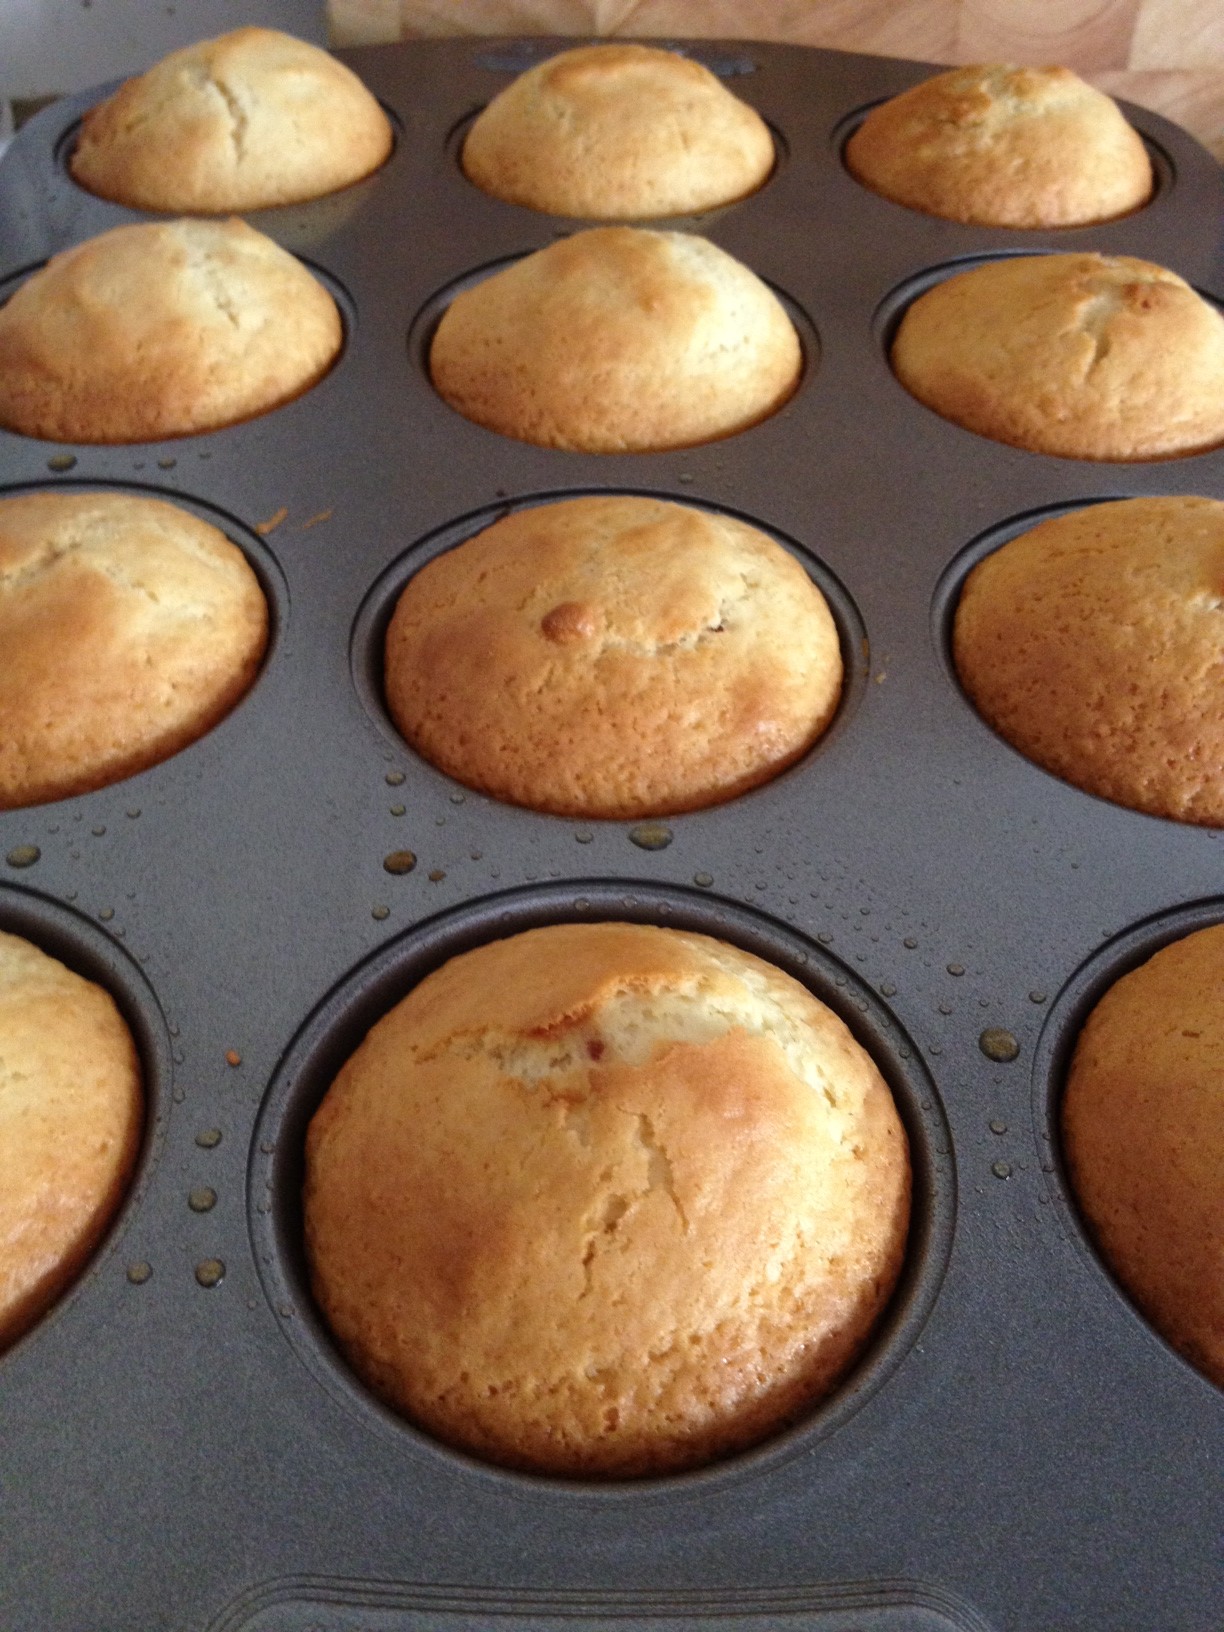
Fresh out of the oven! It smelled devine!!

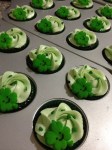
The icing process…it kept going…and going…and going…

…getting there!!

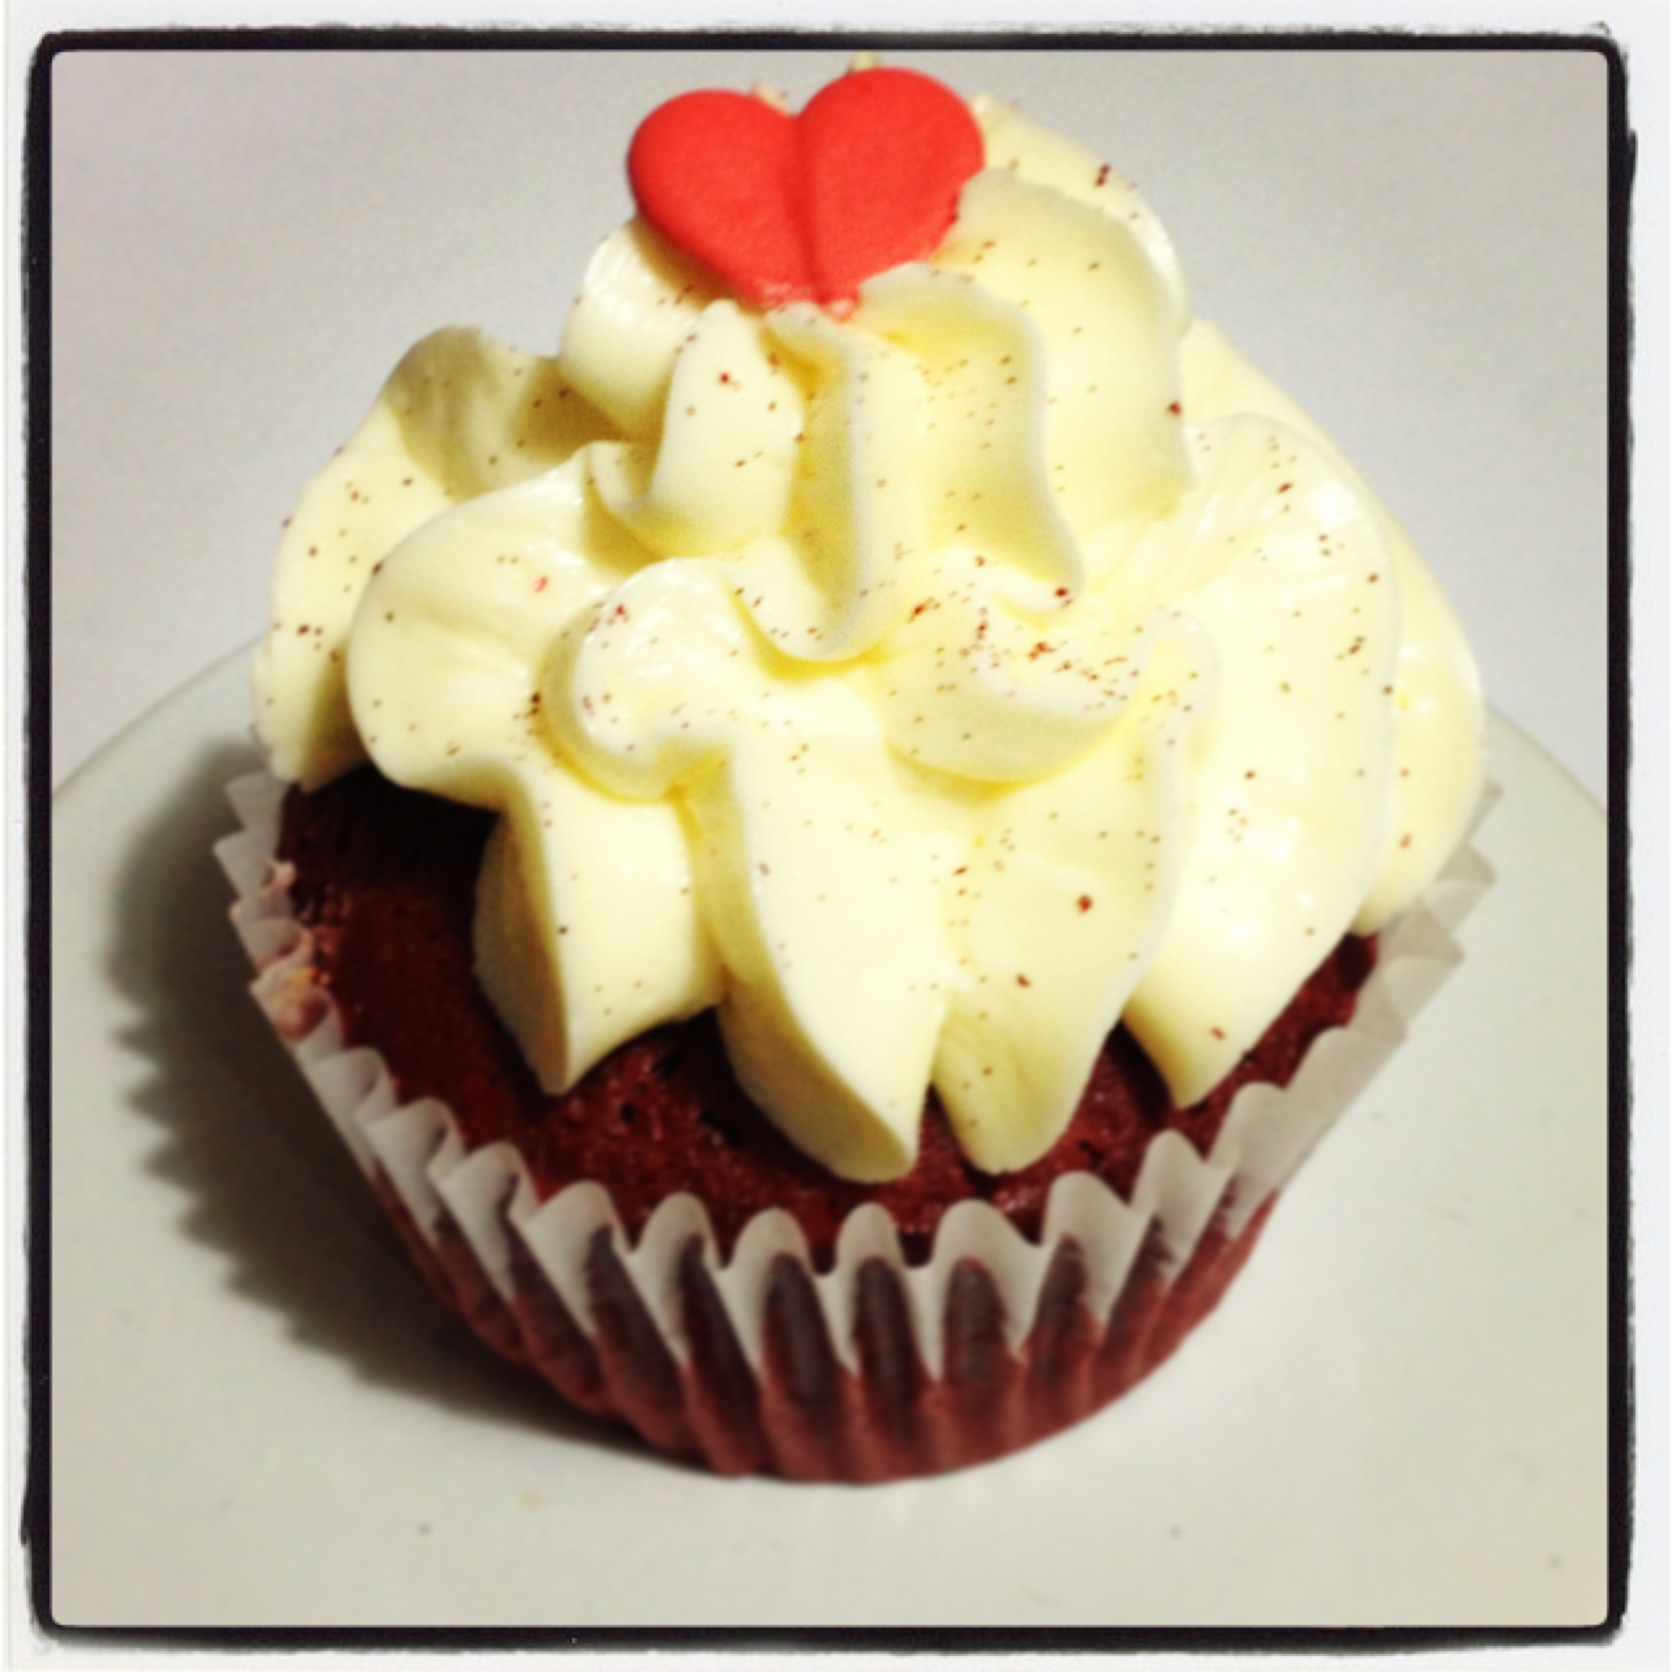
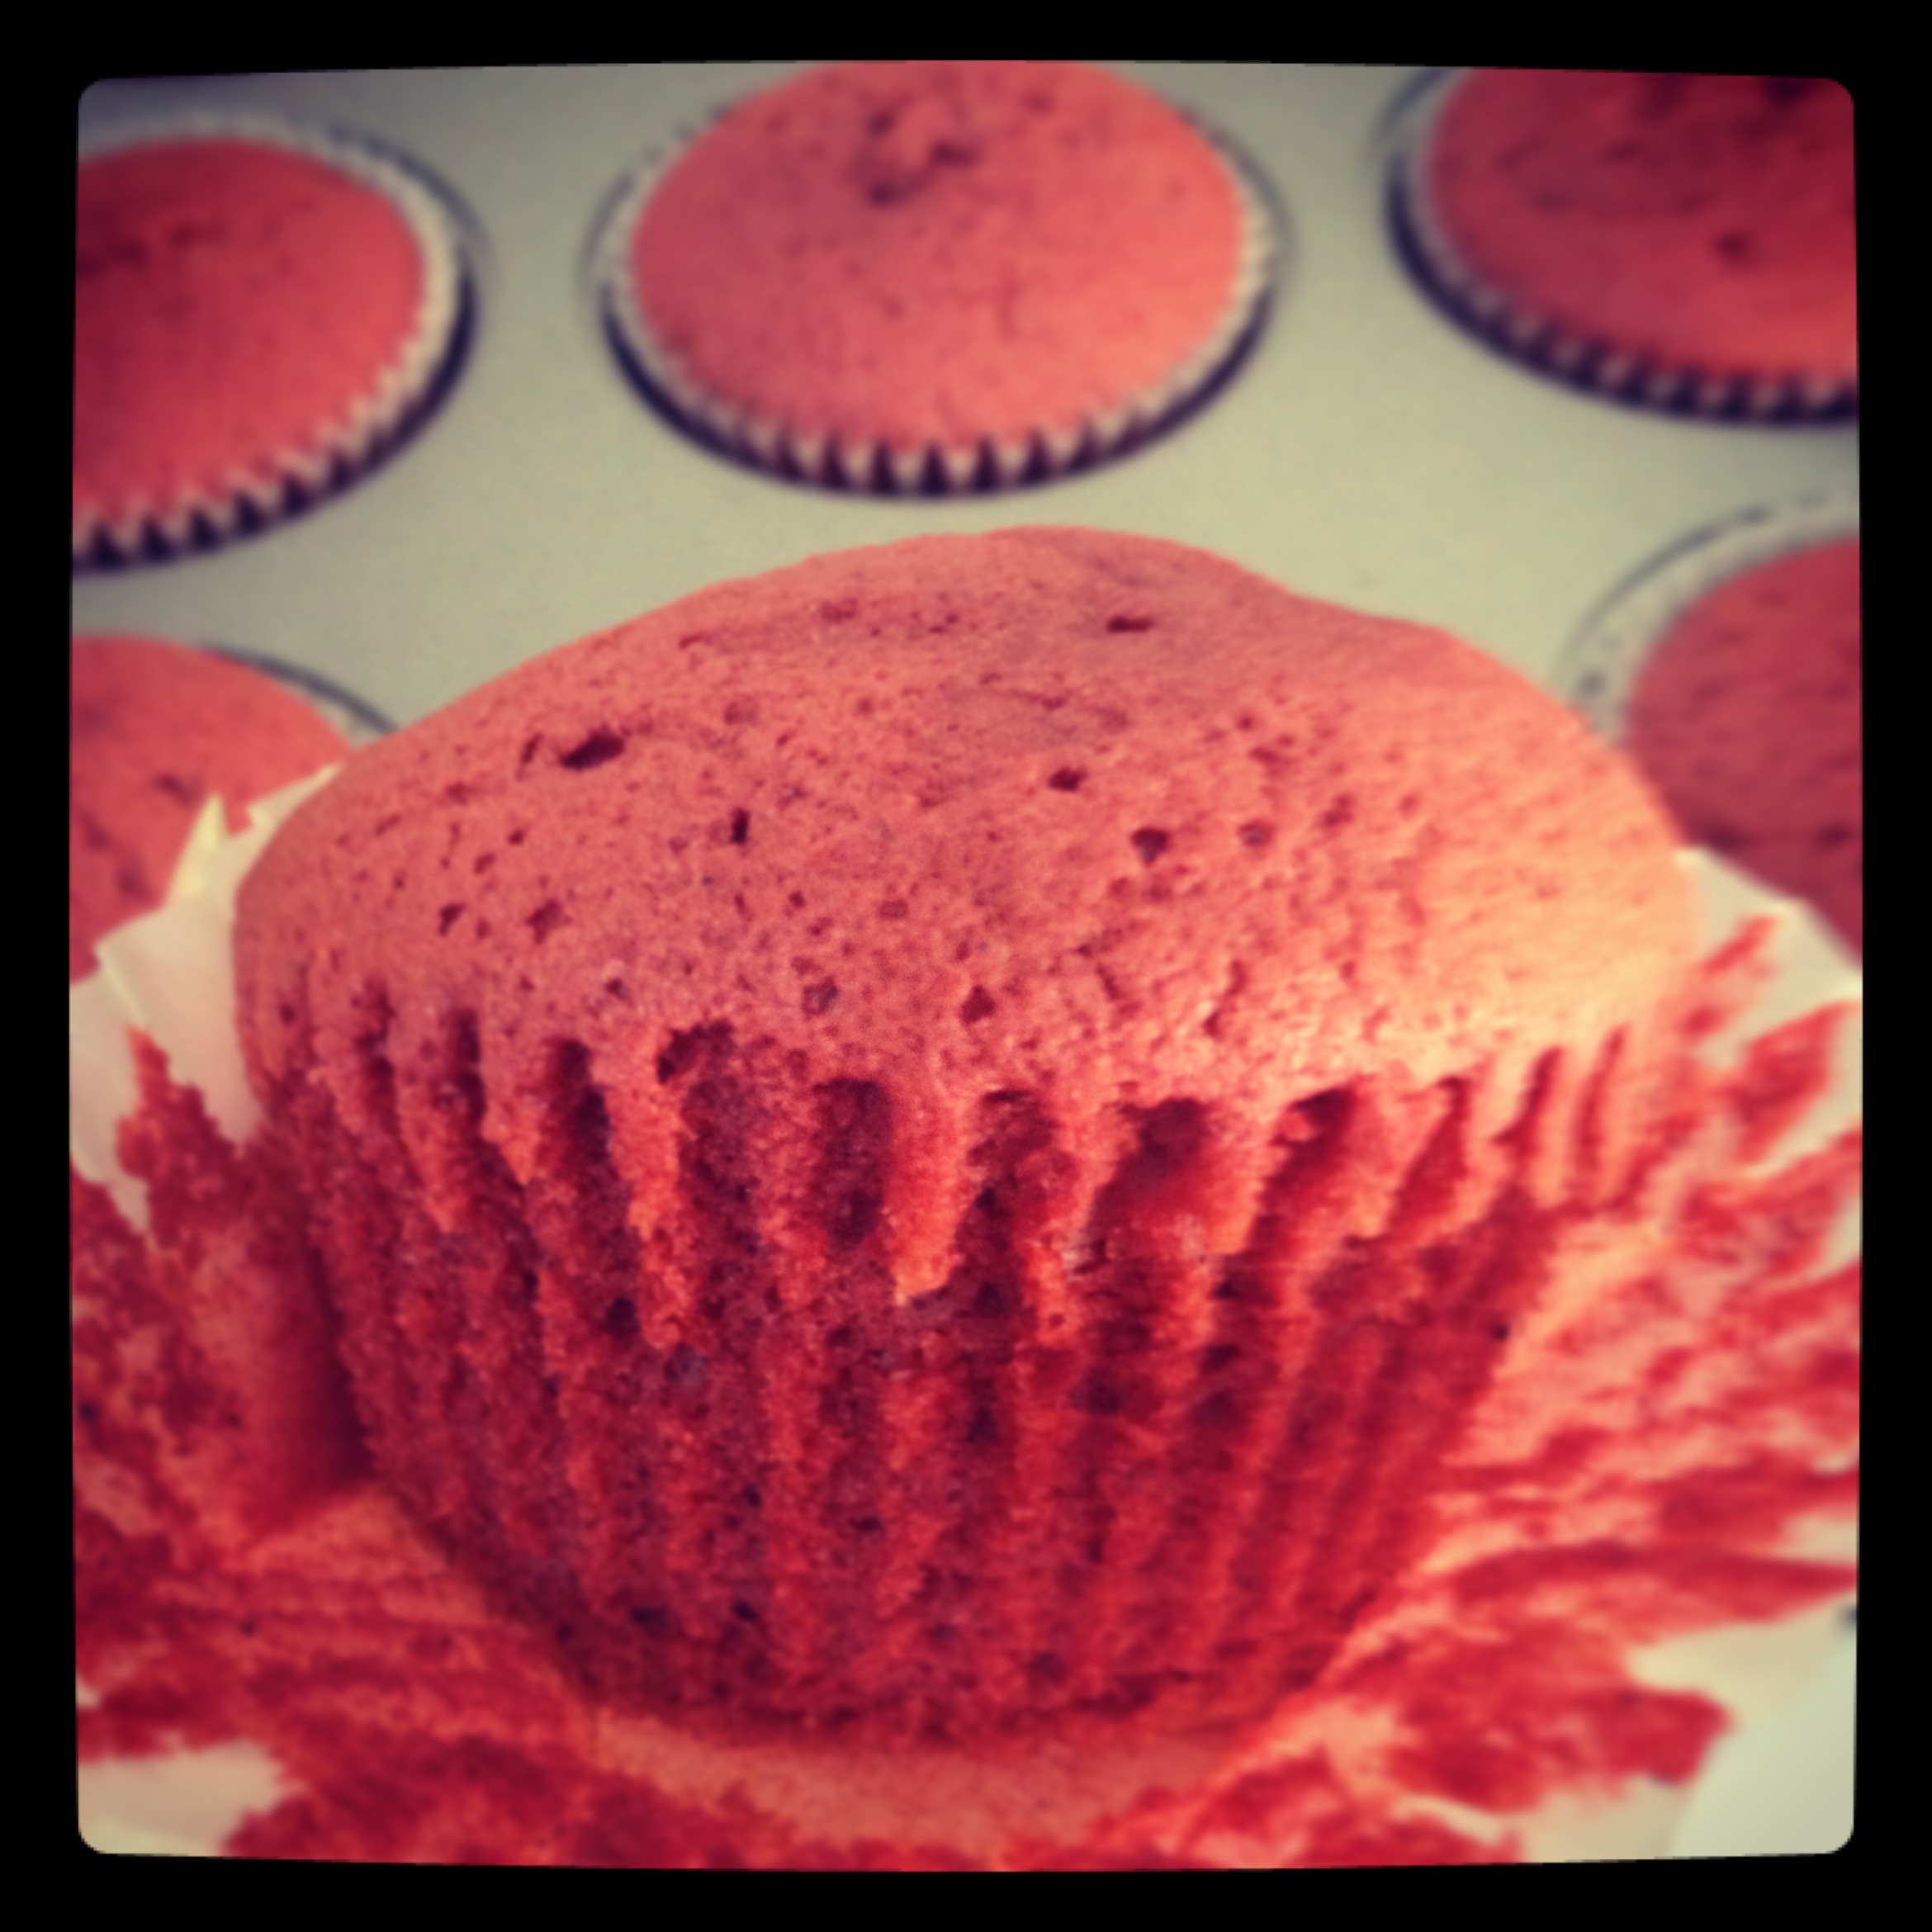
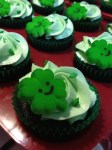
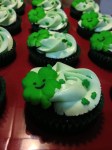
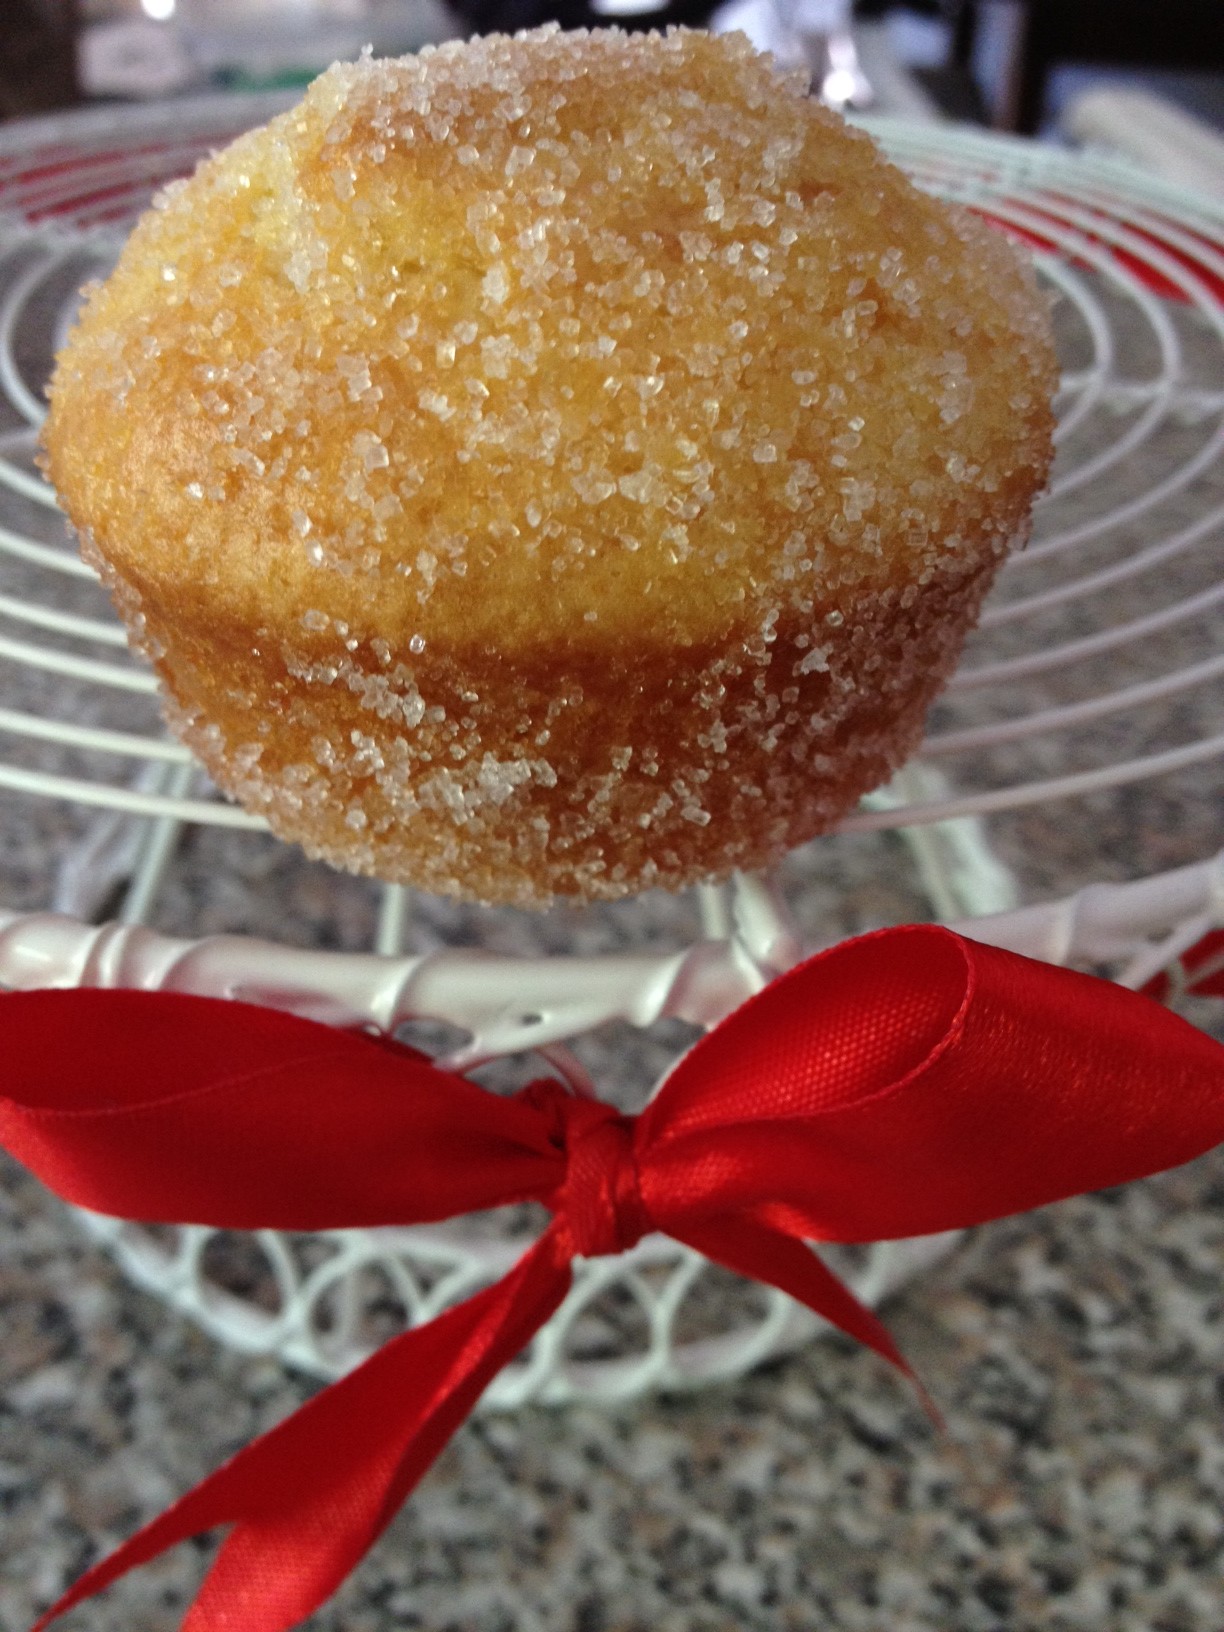
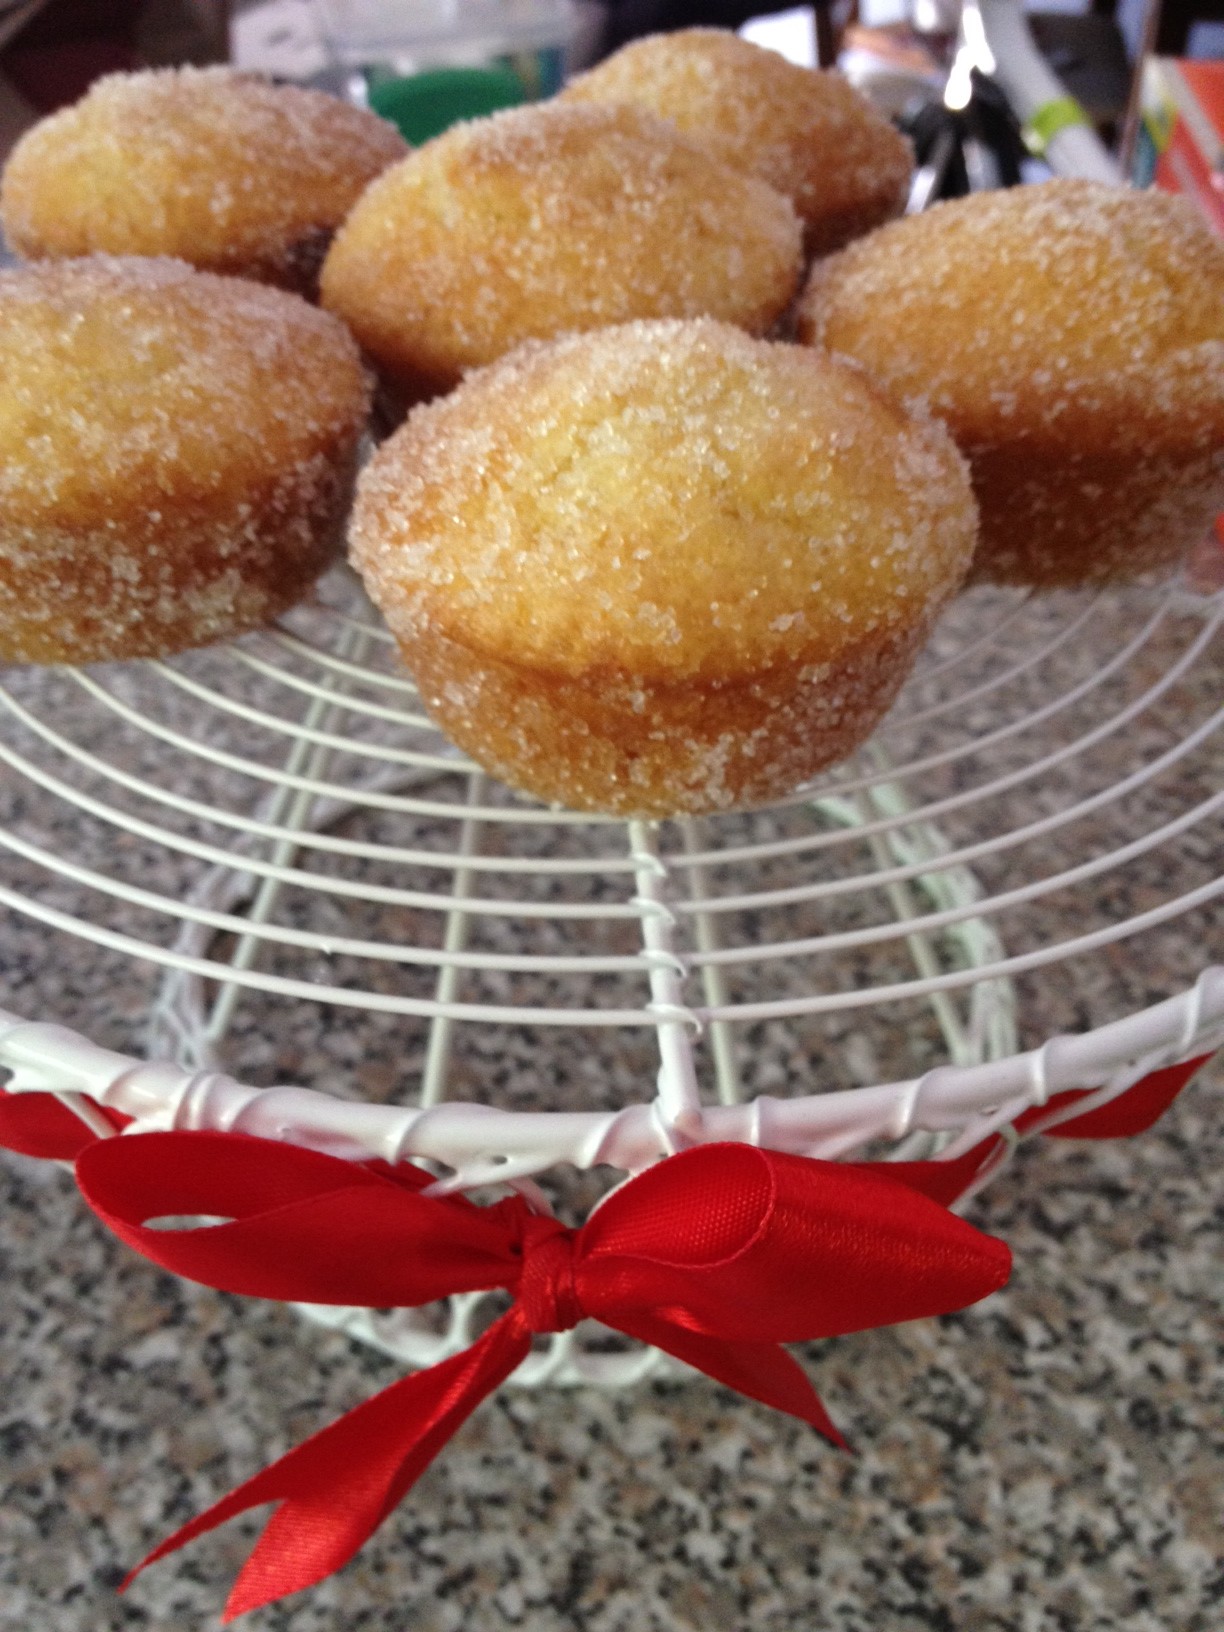
The final result…over 250 Red Velvet Cupcakes!!
Cupcake Recipe:
Ingredients:
200g Room temperature/Softened butter
370g (1 3/4 cup) Caster sugar
4 eggs (at room temperature)
2 tsp vanilla extract (optional for red velvet recipe if using an emulsion)
405g (2 3/4 cup) Self raising flour
1/3 to 1/2 cup cocoa powder (up to the baker on how strong they want a cocoa flavor to come through)
1 cup (250ml) milk
2 or 2.5 tablespoons of LorAnn Oils’ Red Velvet Emulsion
Method:
1. Preheat oven to 180 degrees celcius and line your cupcake trays with 24 cupcake liners
2. Cream the butter, sugar and optional vanilla extract together using an electric mixer. The butter should be fluffy and pale in colour.
3. Add eggs one at a time
4. Add flour and milk in small amounts alternating between the two, starting and ending with the flour.
5. Add the LorAnn Oils’ Red Velvet Emulsion
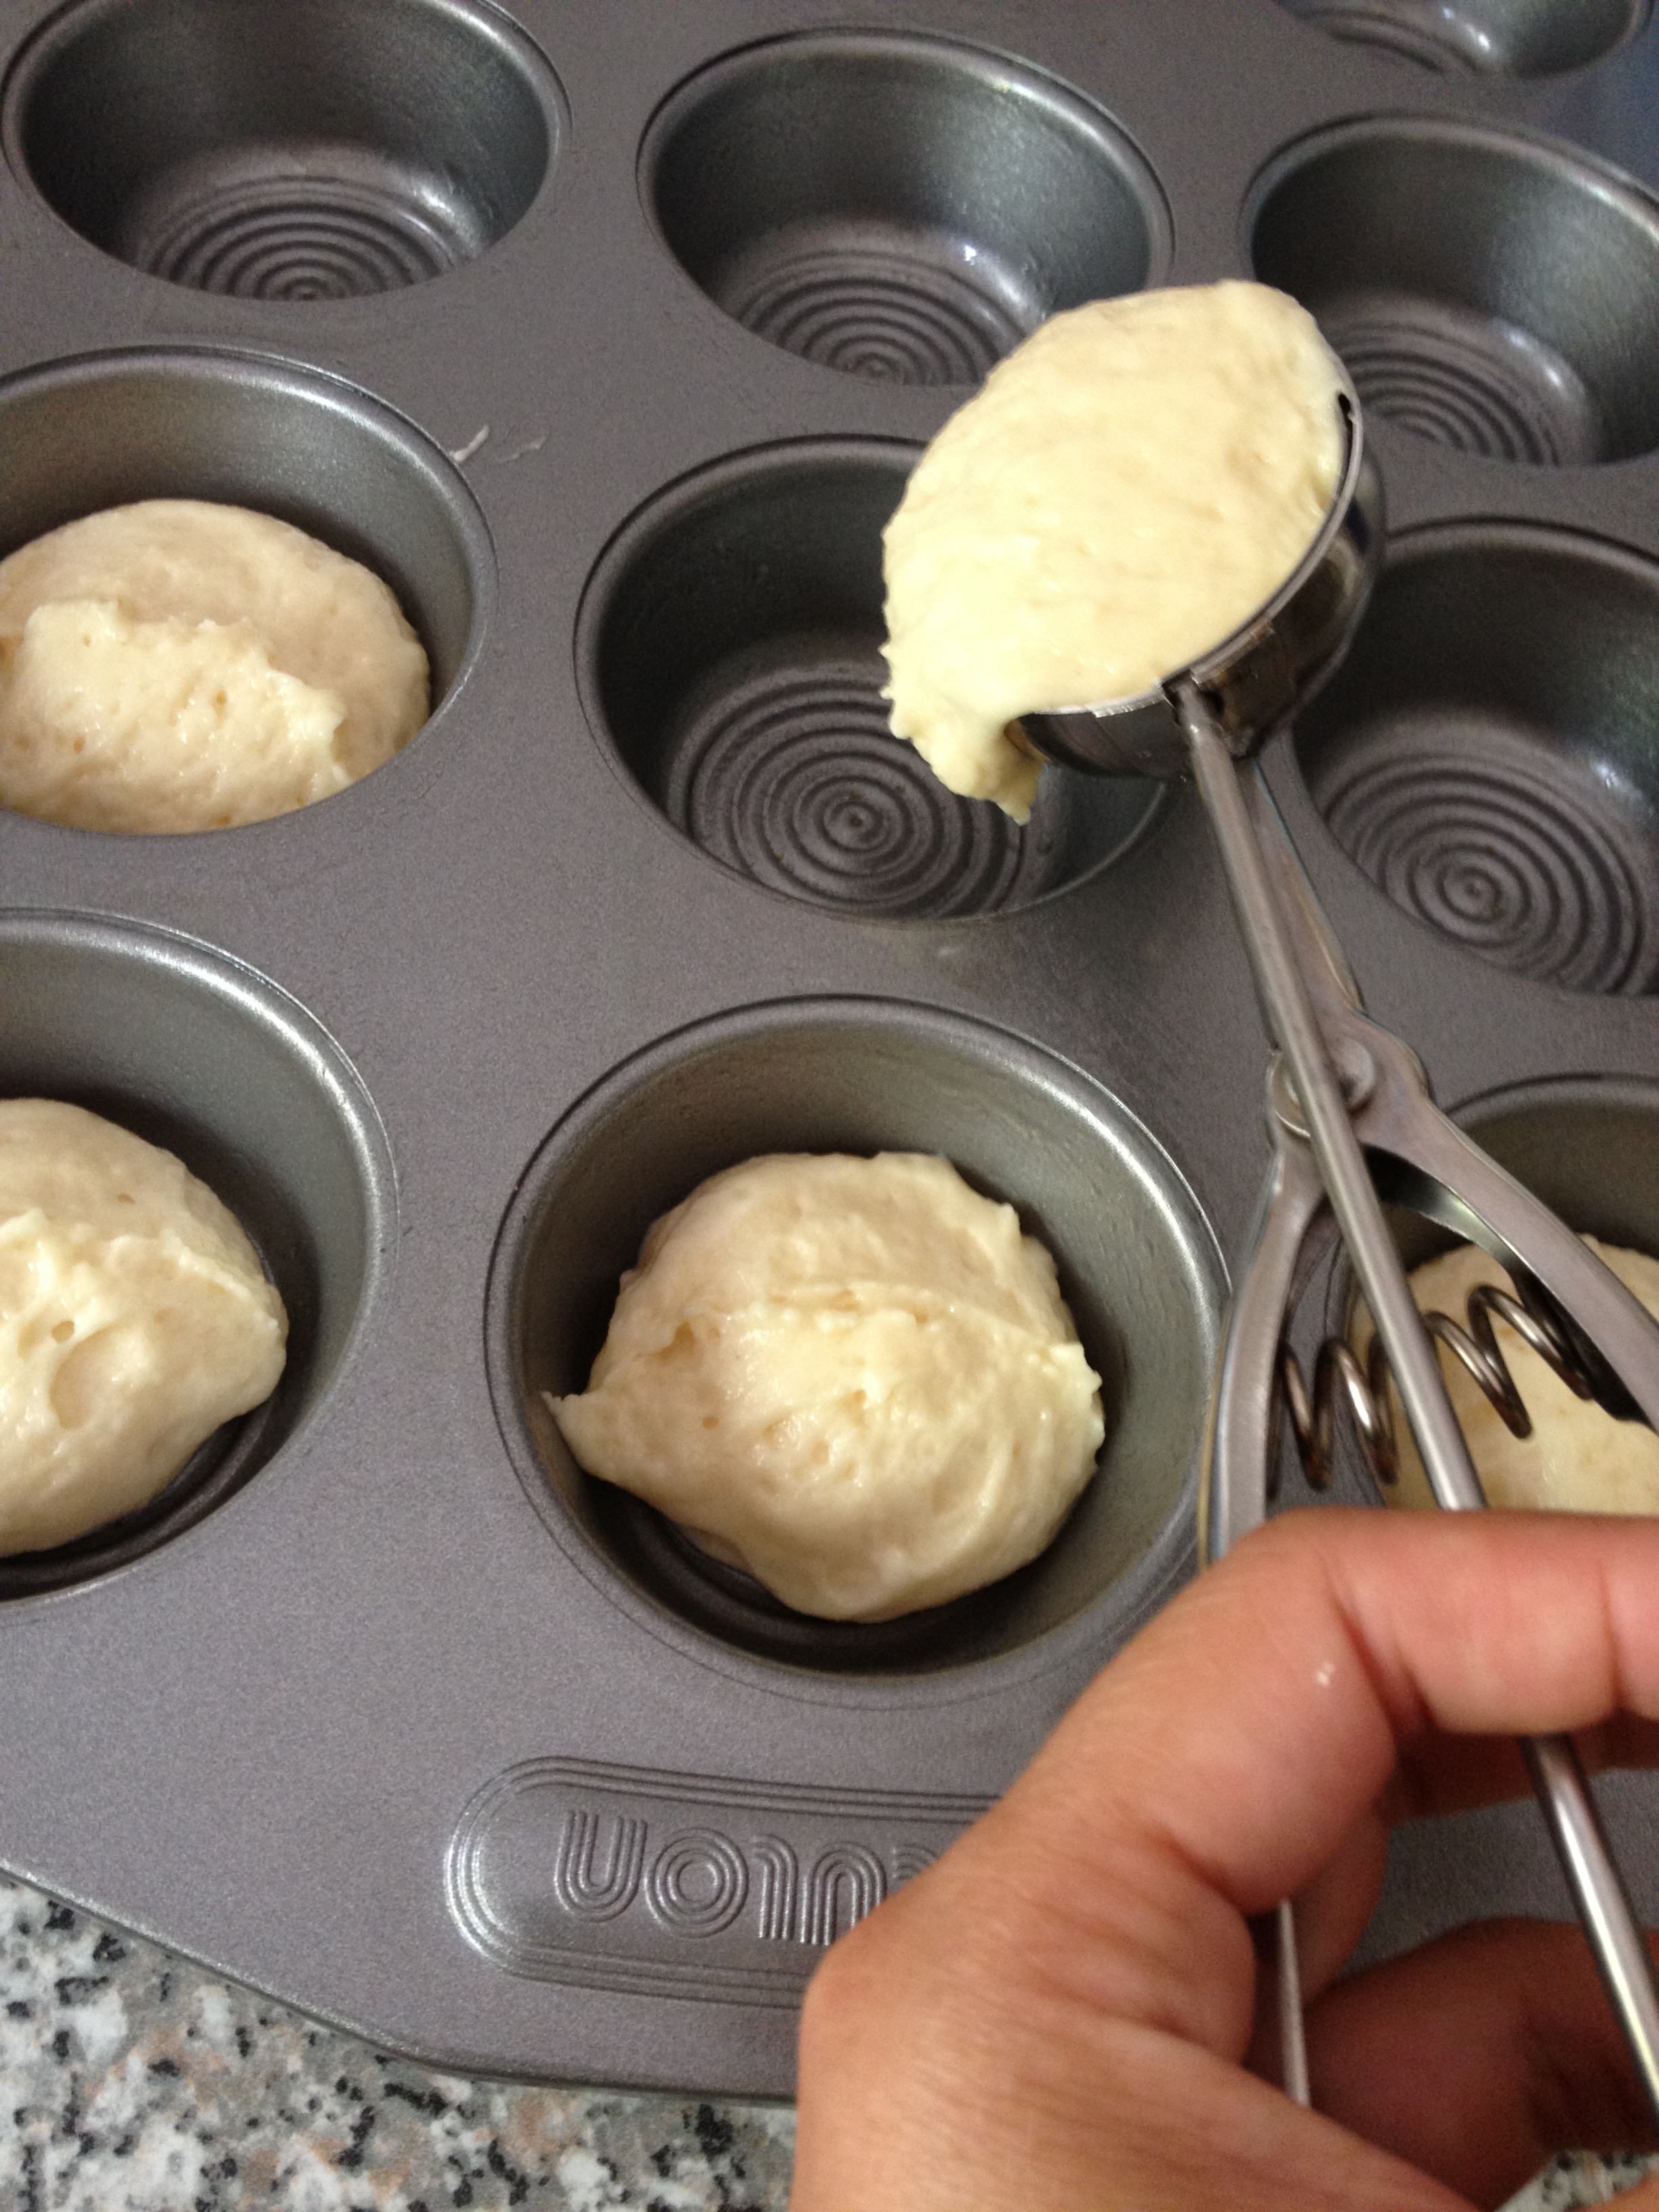
6. Divide the batter using an ice scream scoop to keep your cupcakes even in size.
7. Bake for 20 mins or until skewer comes out clean
Baking Tip: For a ‘whiter’ cupcake without the golden brown top, reduce the oven temperature to 160 degrees celcius and bake for approximately 4 to 5 minutes longer or until skewer comes out clean.
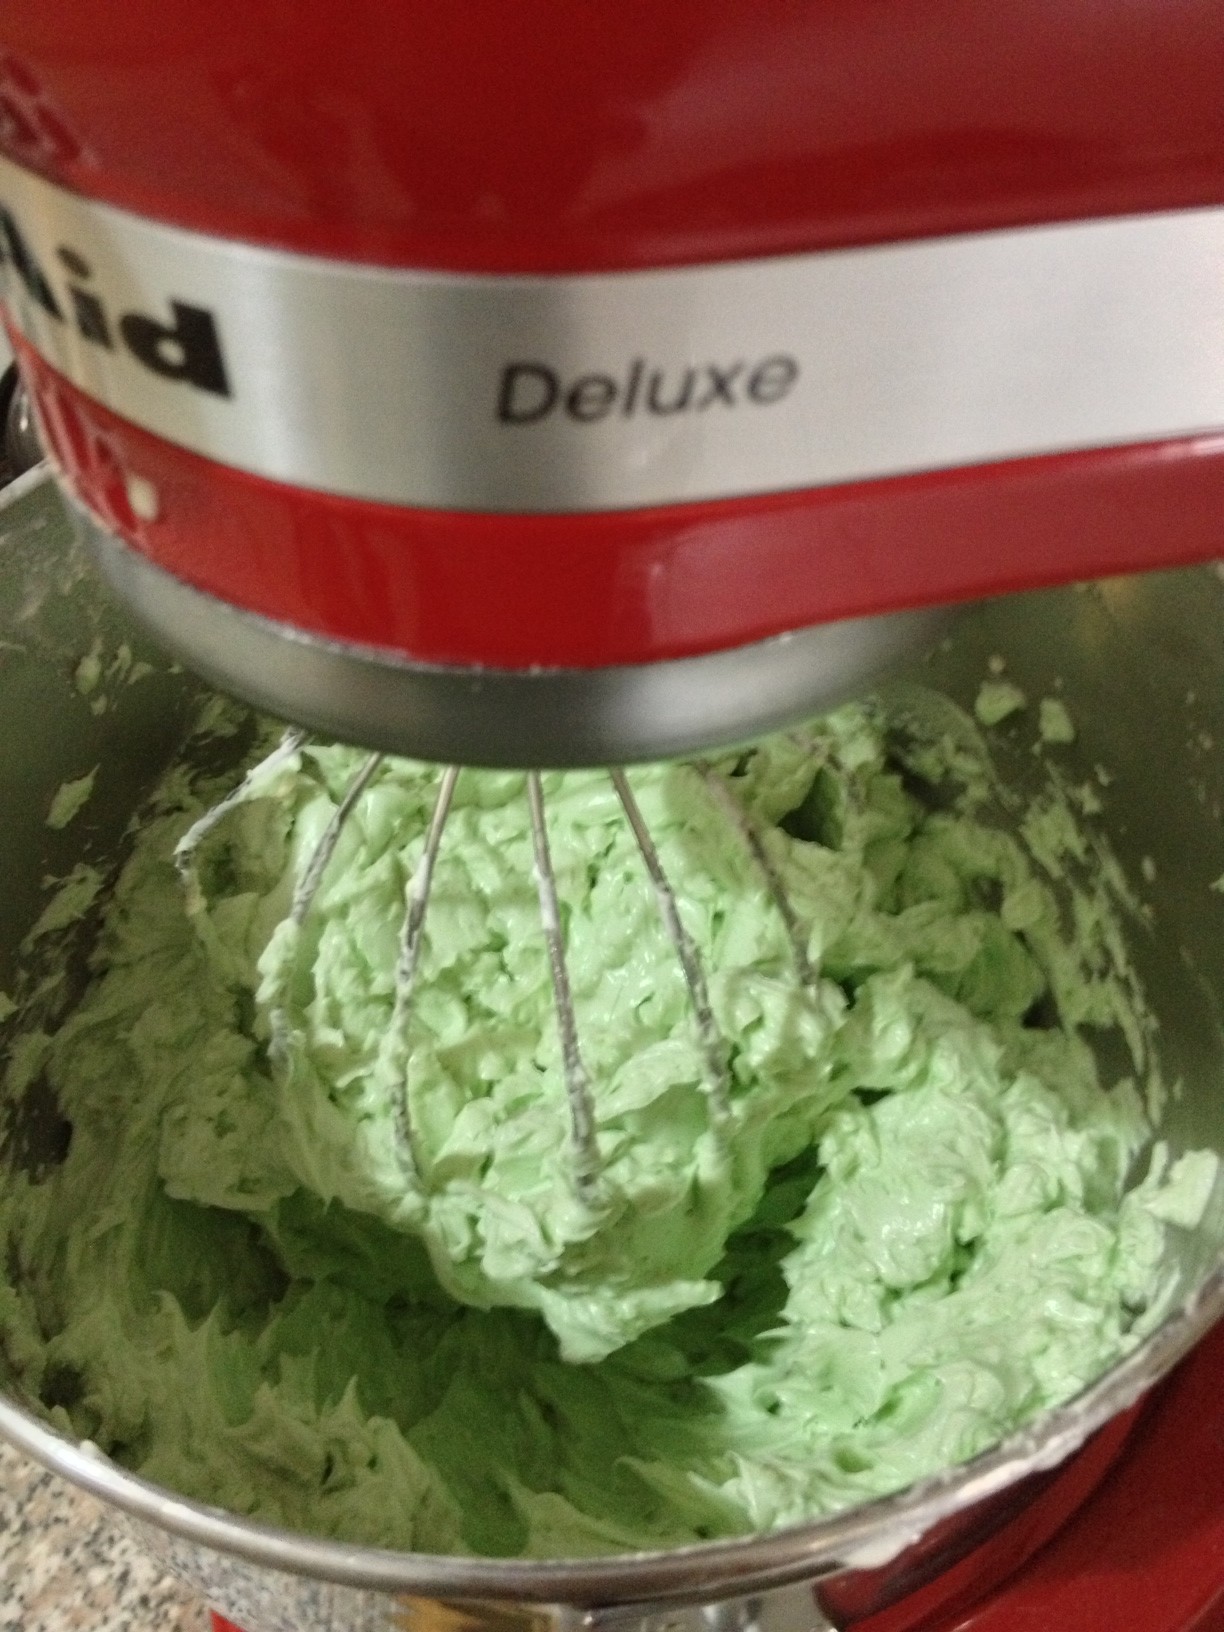
Frost with your favourite cream cheese frosting recipe!